|
For this photo assignment, I was tasked with taking a photo of a architecture. To accomplish this, I went to Ann Arbor and walked around for about two hours with my family stopping at every building to take at least 10 pictures of the beautiful architecture. With all the photos I took that day, this one, hands down, is the best. 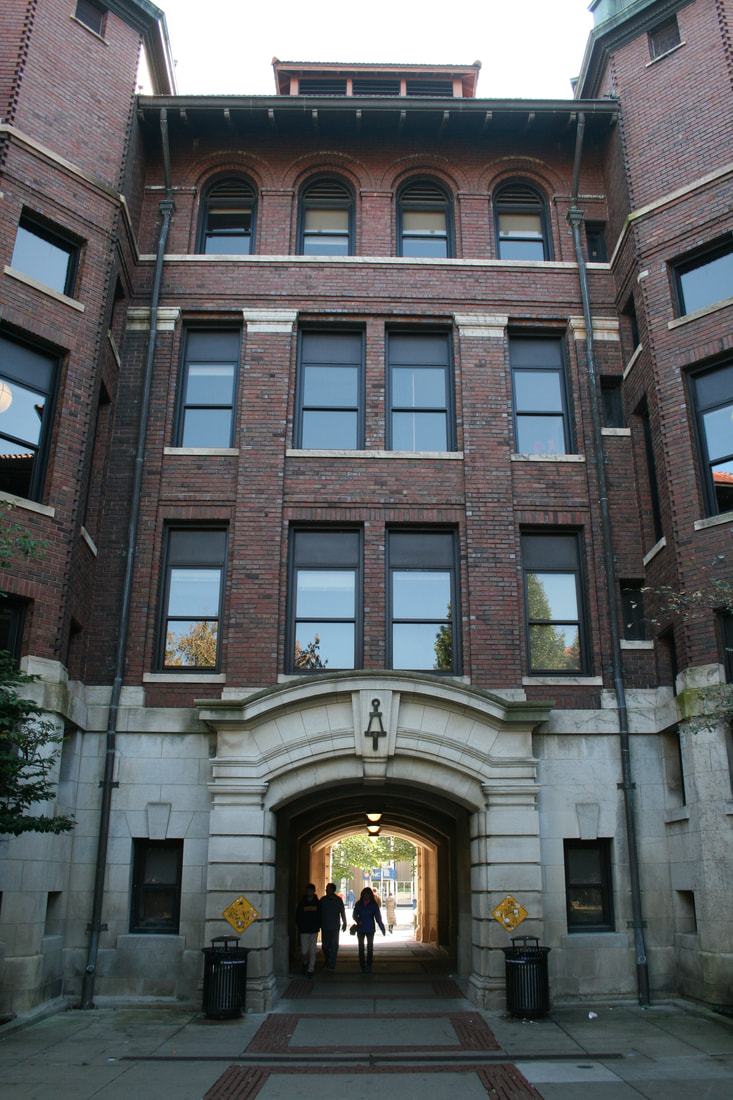 When I took this photograph, the camera was set to an aperture of 6.3, a shutter speed of 1/100, and an ISO of 400. My next best 5: 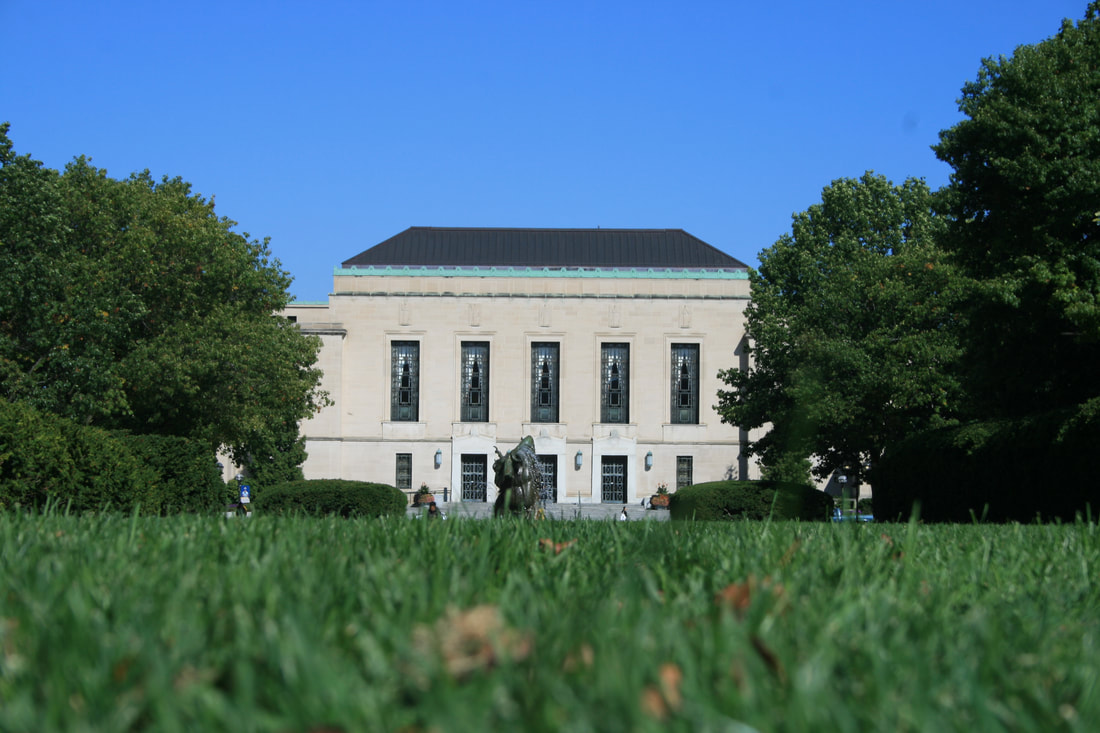 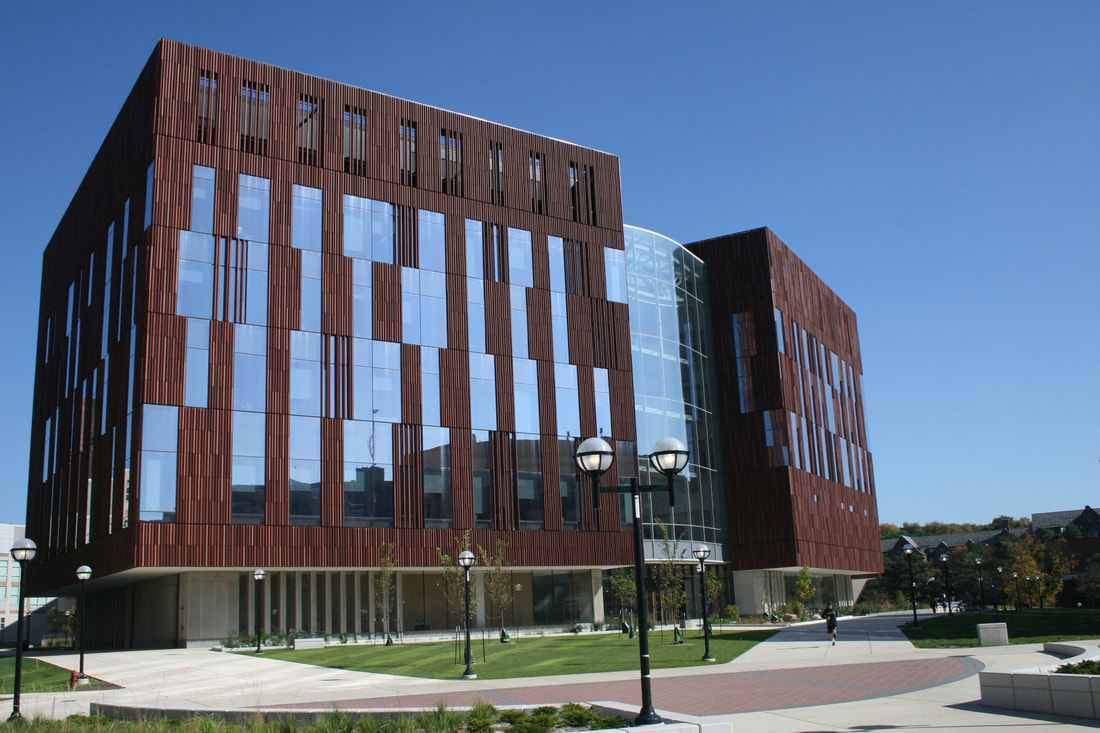 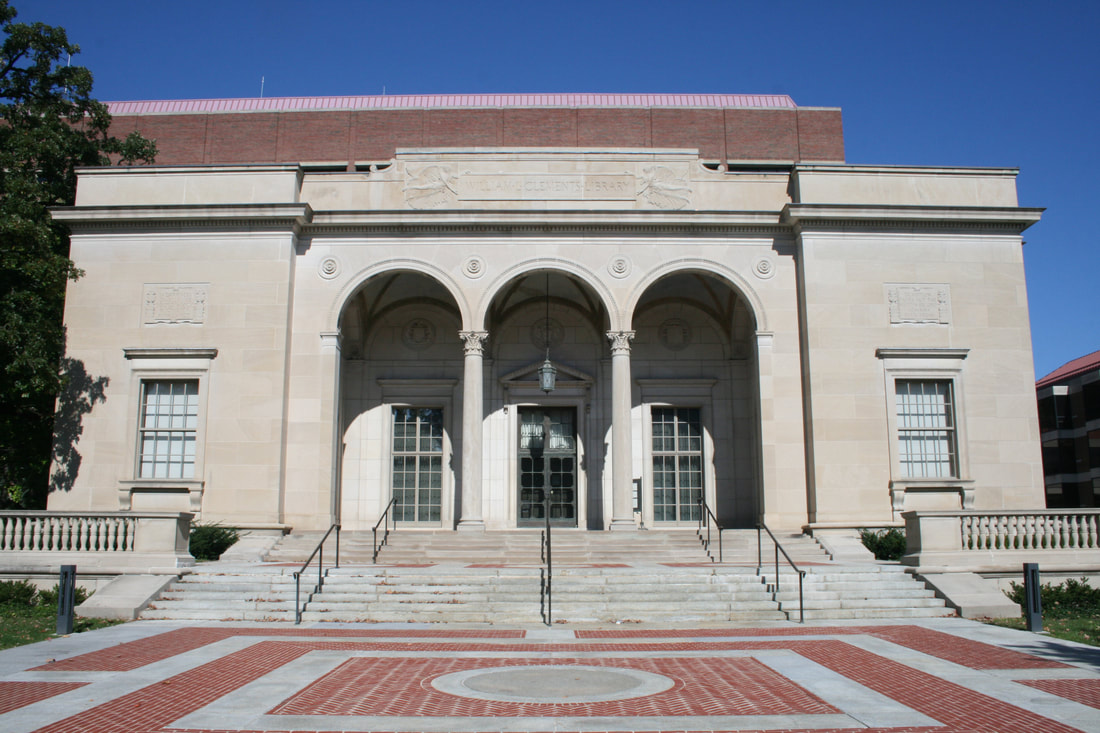 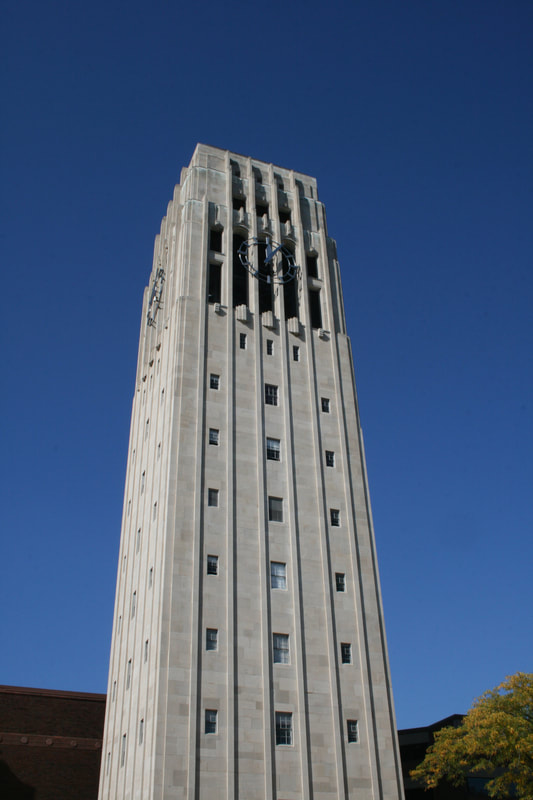 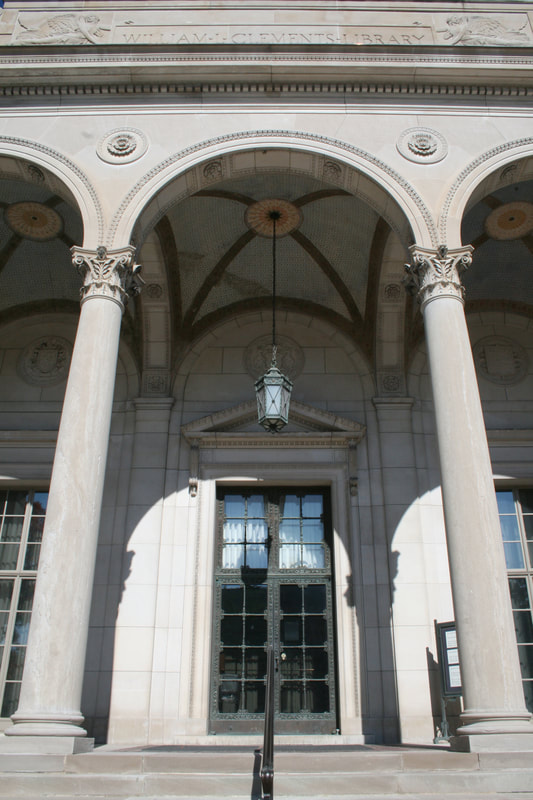 Through this assignment, I learned how to use the aperture setting better. By learning to use the aperture, I was able to create a large depth of field to capture all the beauty of each building. Since it was a bright and sunny day, I didn't really have to adjust the ISO setting for I could keep it low and still have an image with a good exposure. By adjusting the aperture, I was able to shoot over a hundred beautiful photos of the buildings in Ann Arbor.
0 Comments
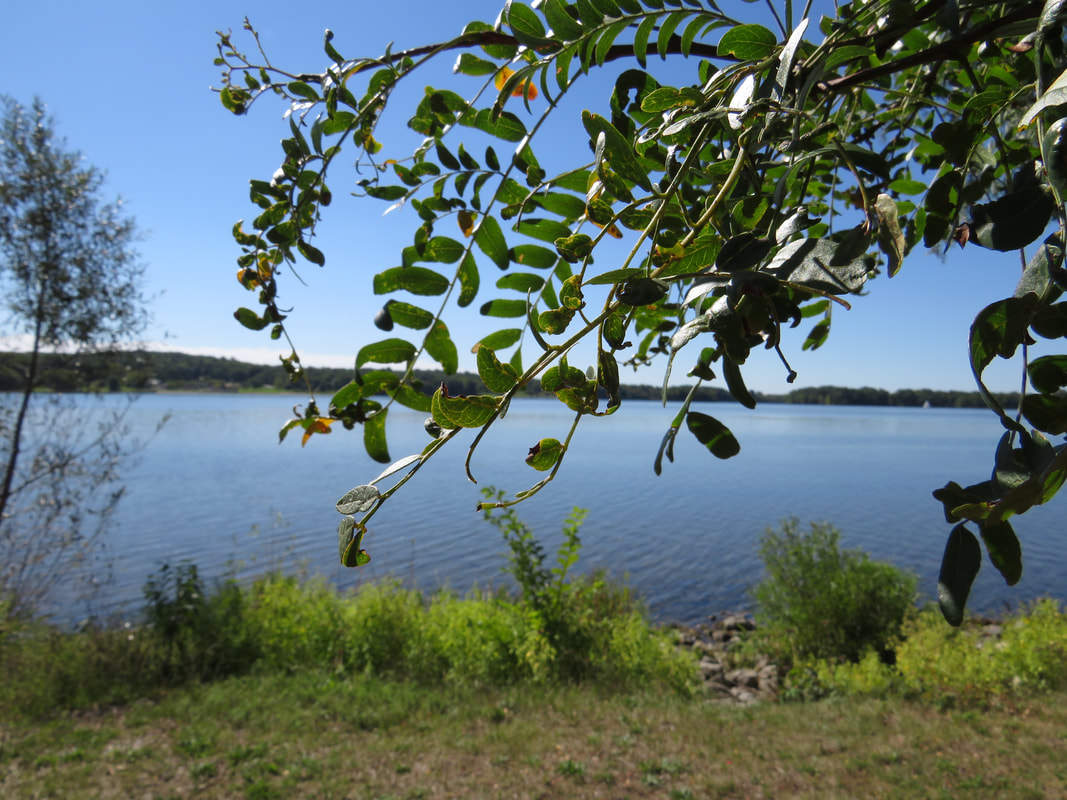
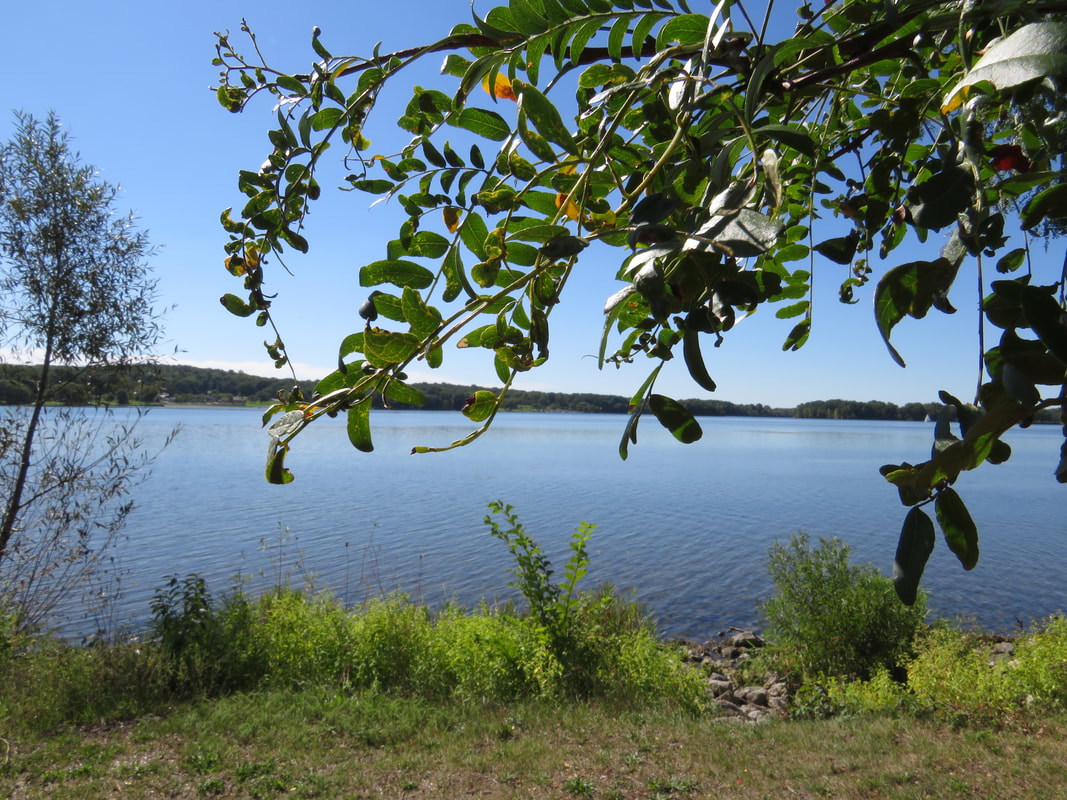
My two best panoramic photographs: 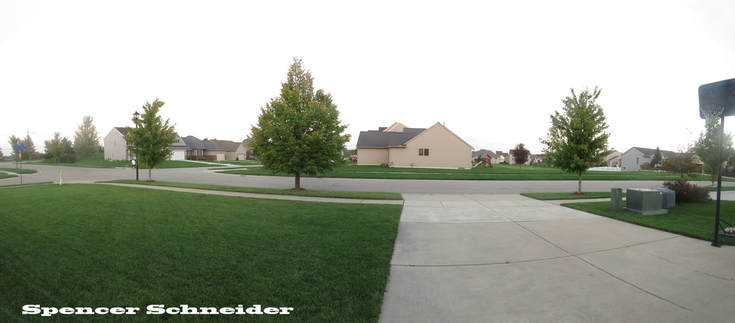 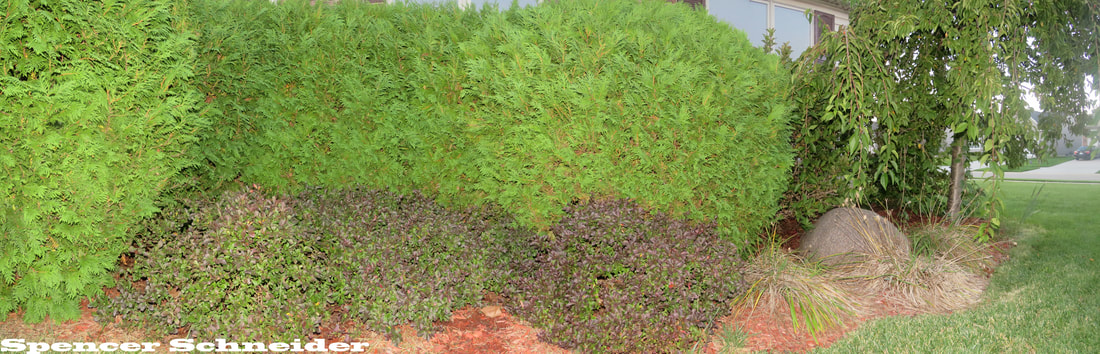 For this assignment, we were tasked with creating panoramic photos in photoshop. To be able to create panoramic photos, we had to go and take multiple photos of a certain scene while mounted on a tripod and use the photomerge function in Adobe Photoshop. To accomplish this, we had to learn how to better use the cameras in manual mode for the panoramic could be messed up if the exposure or focus is different. From this assignment, I was able to learn how to use all the functions of the camera in manual mode as well as use photoshop to create wonderful pictures. My next best 3: 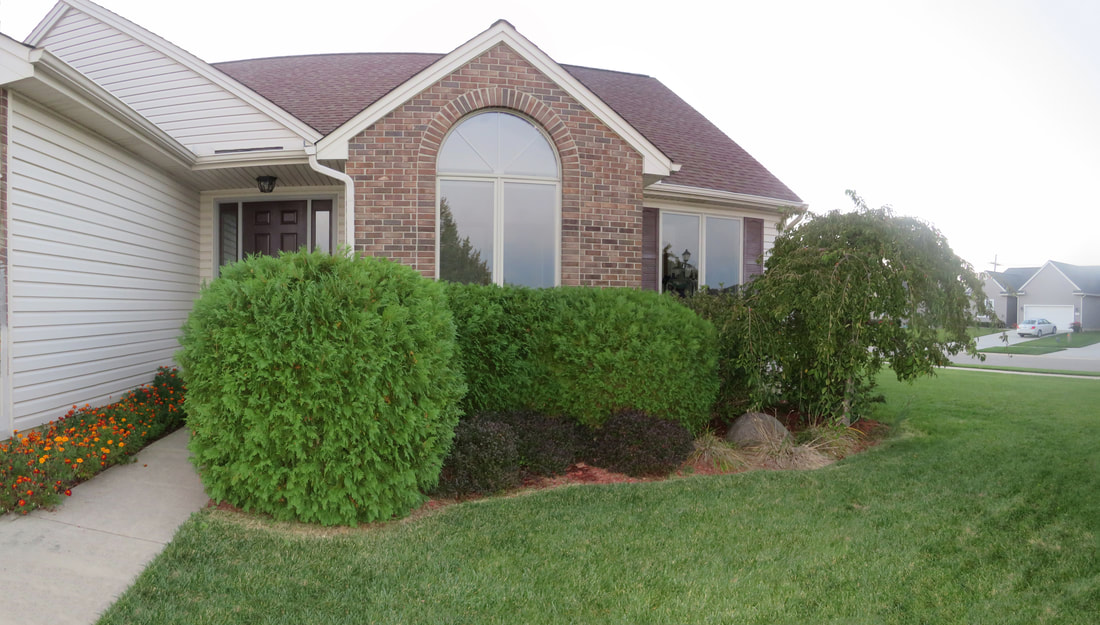 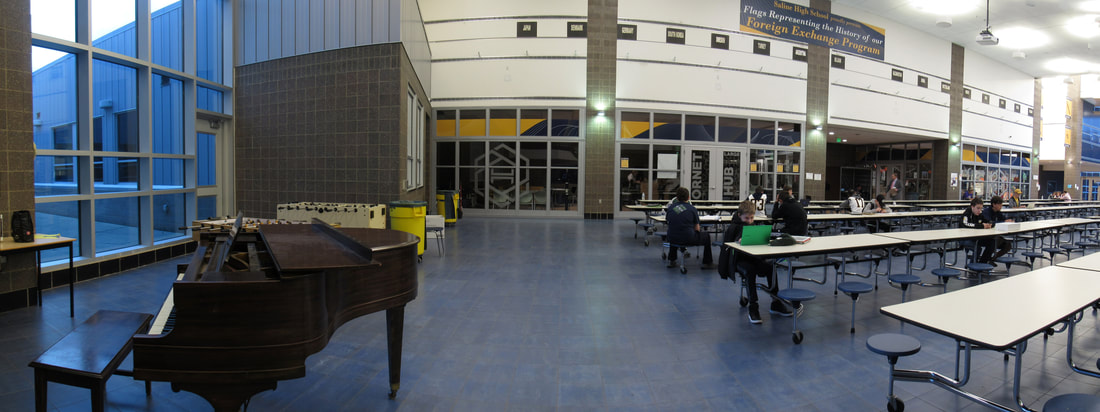 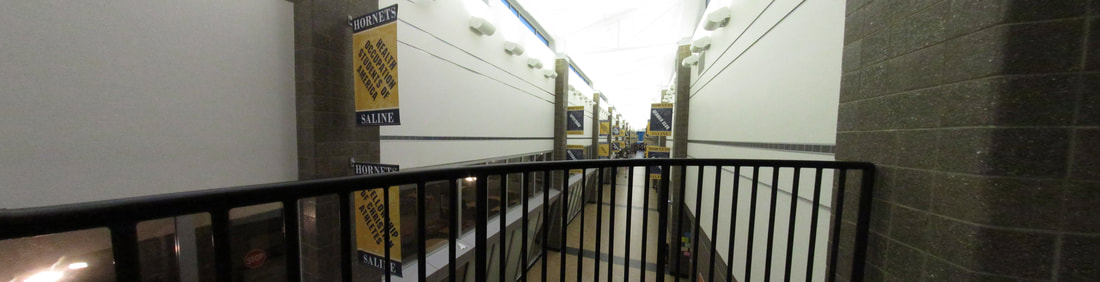 For this photo assignment, I was tasked with taking a photo of a beautiful landscape. To accomplish this, I went to Gallup Park in Ann Arbor and walked around for about two hours with my family and took over 100 pictures. With all the photos I took that day, this one, in my opinion, is the best. 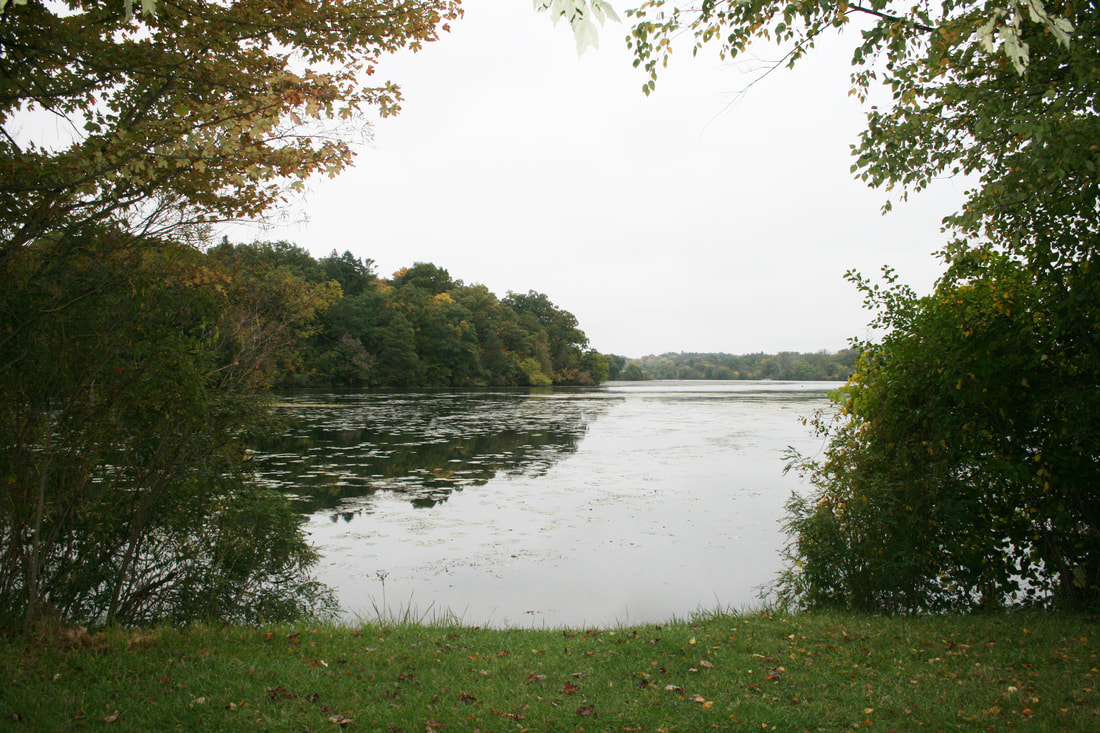 When I took this photograph, the camera was set to an aperture of 8.0, a shutter speed of 1/200, and an ISO of 400. When I edited this photo, I made it a little brighter and changed the corves to bring out the colours of the trees in the landscape. My next top 5: 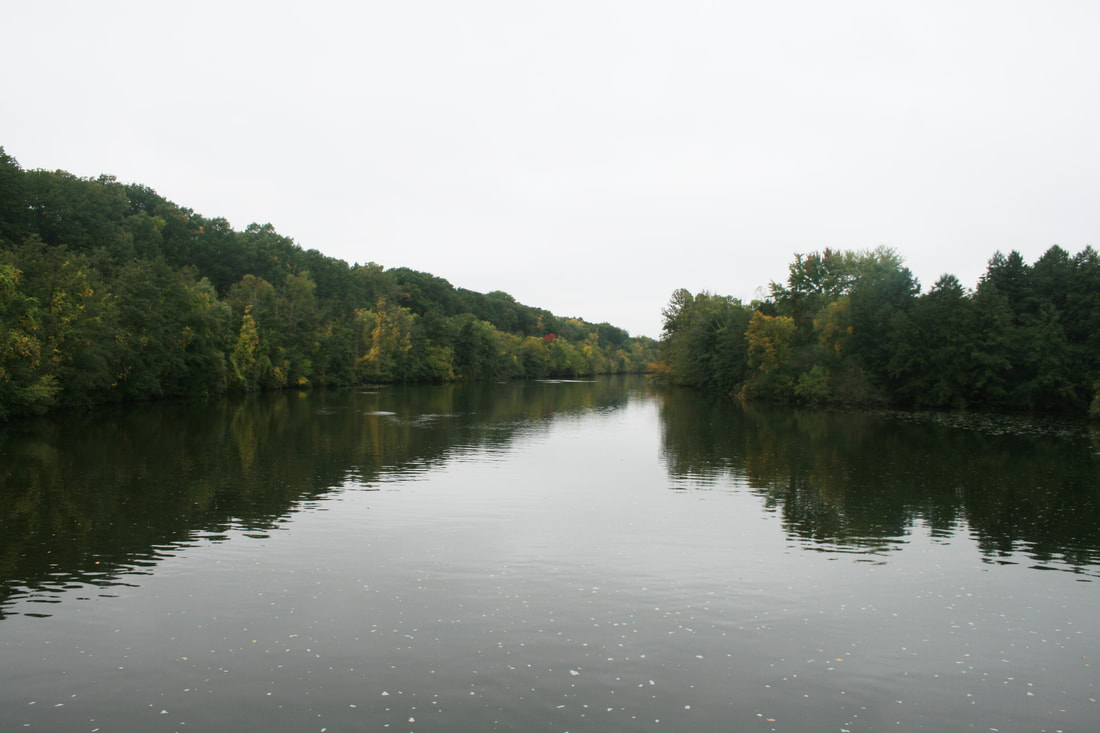 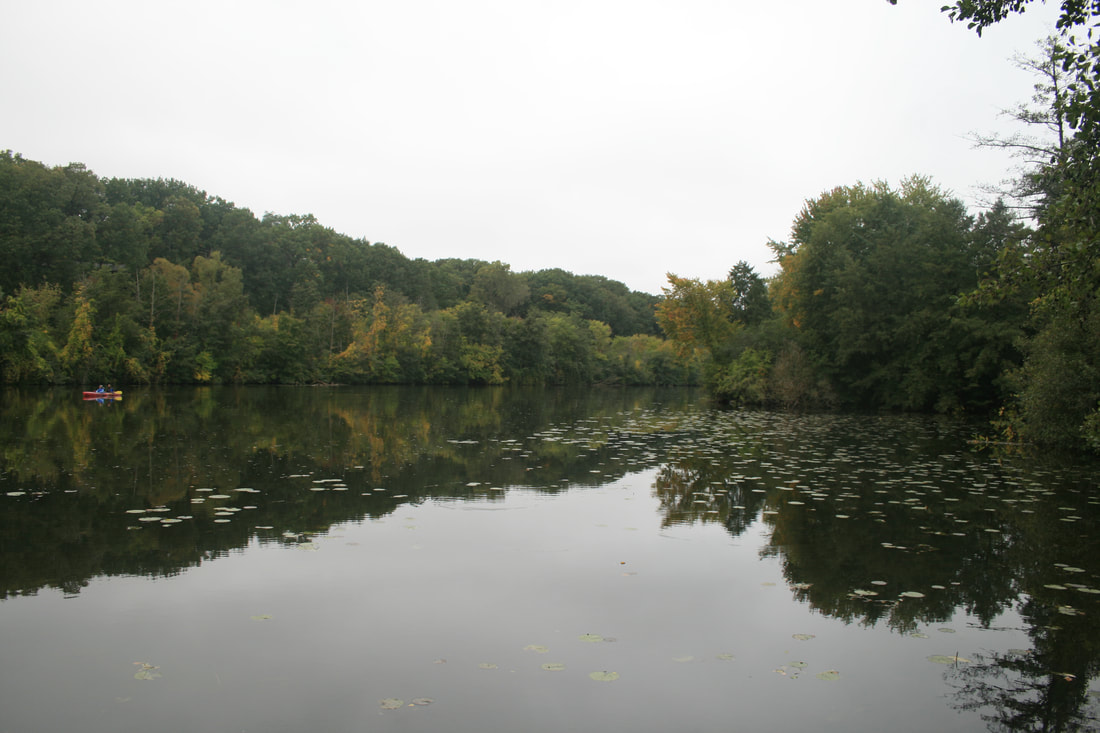 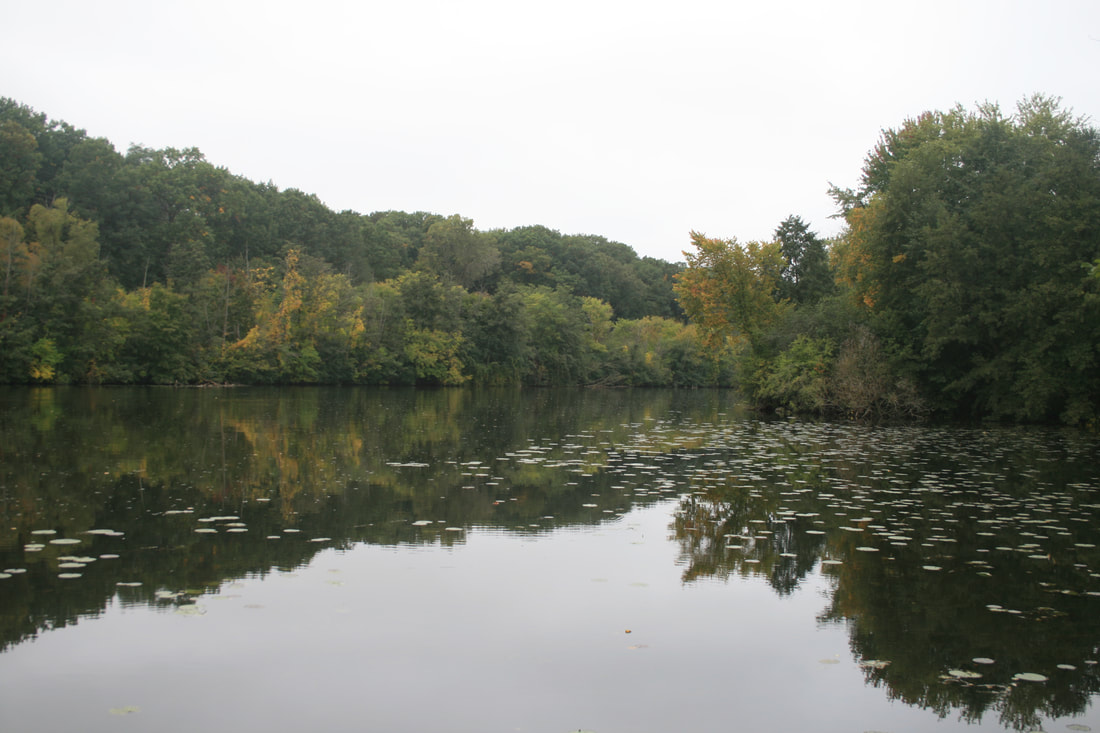  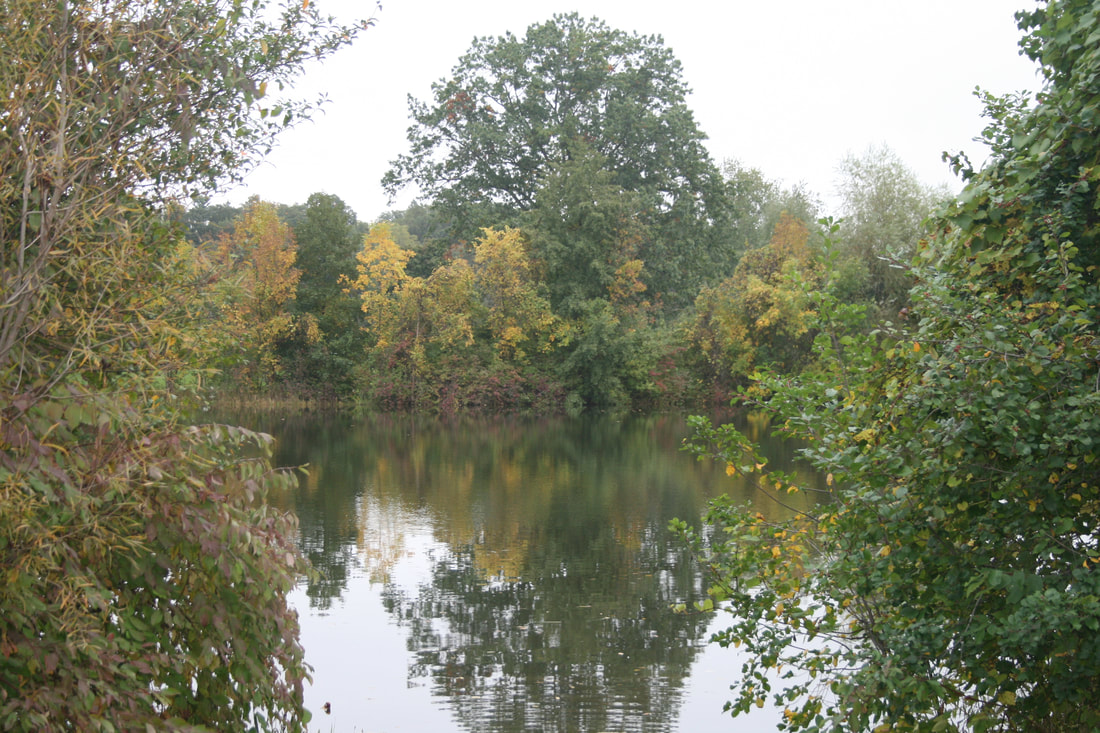 Through this assignment, I learned how to use the aperture and ISO settings better. By learning to use the aperture, I was able to create a large depth of field to capture all the beauty of the landscape. Since it was a dark day, I had to adjust the ISO settings so that the camera was more sensitive to light while trying to prevent the occurrence of digital noise. By adjusting these settings, I was able to shoot over a hundred beautiful photos of Gallup Park.
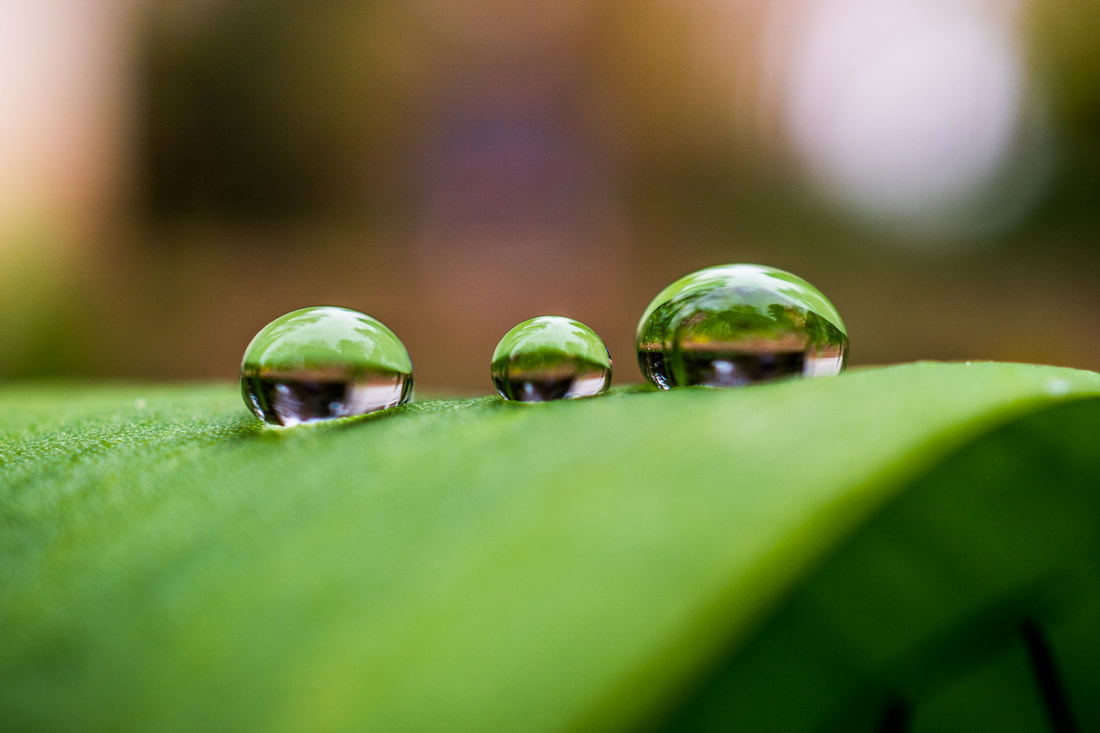
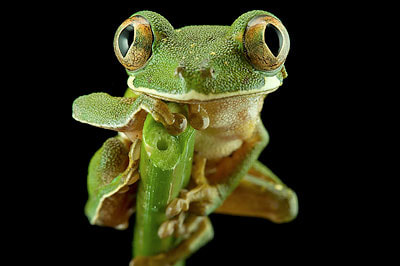
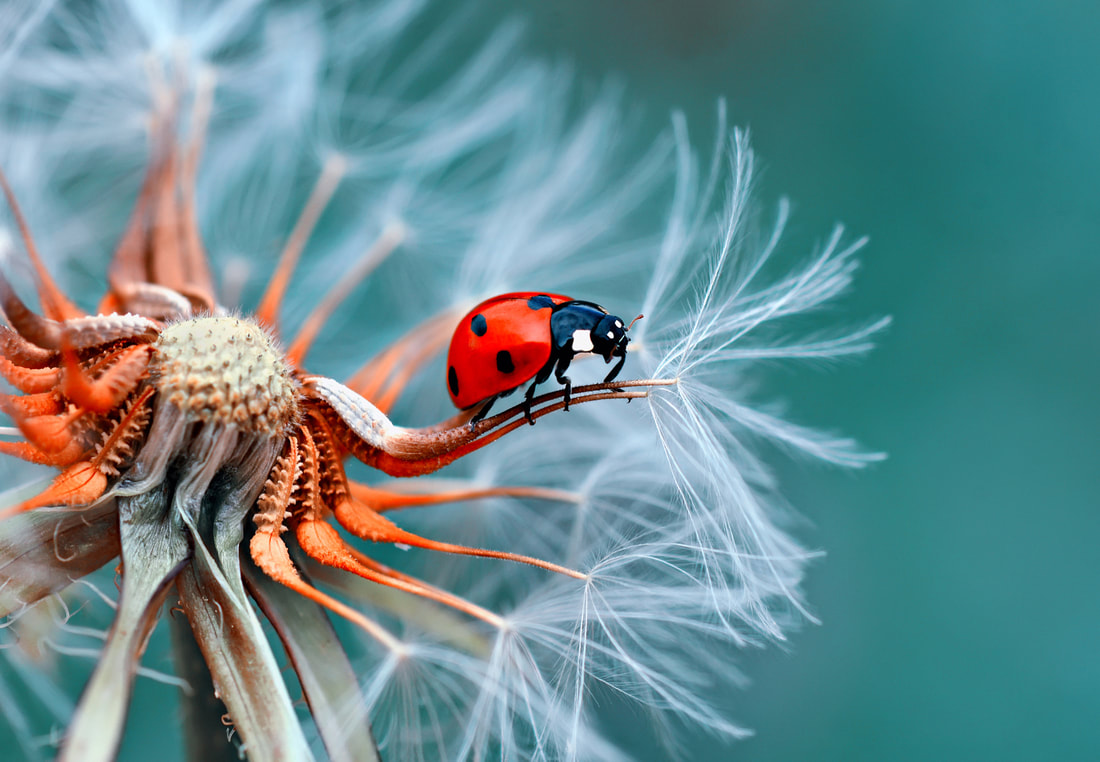
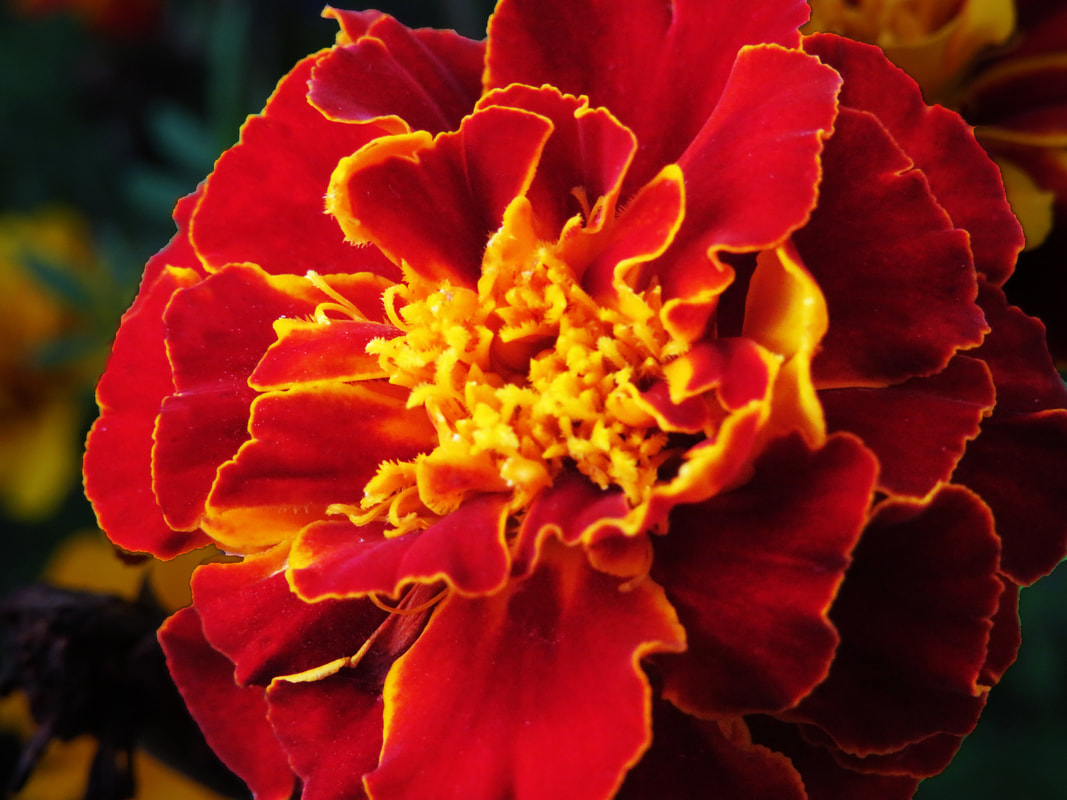
For my second photo assignment, I have chosen to try using the macro setting on the camera more often. I chose this because it can reveal a lot of tiny details that we usually don't pay attention to. Macro photos can be really interesting, give you a new perspective, and I would like to try and create some really good ones. Some photos that have inspired me: In this assignment, we were tasked with taking a original picture (right) and modifying it in Adobe Photoshop to make it look better (left). 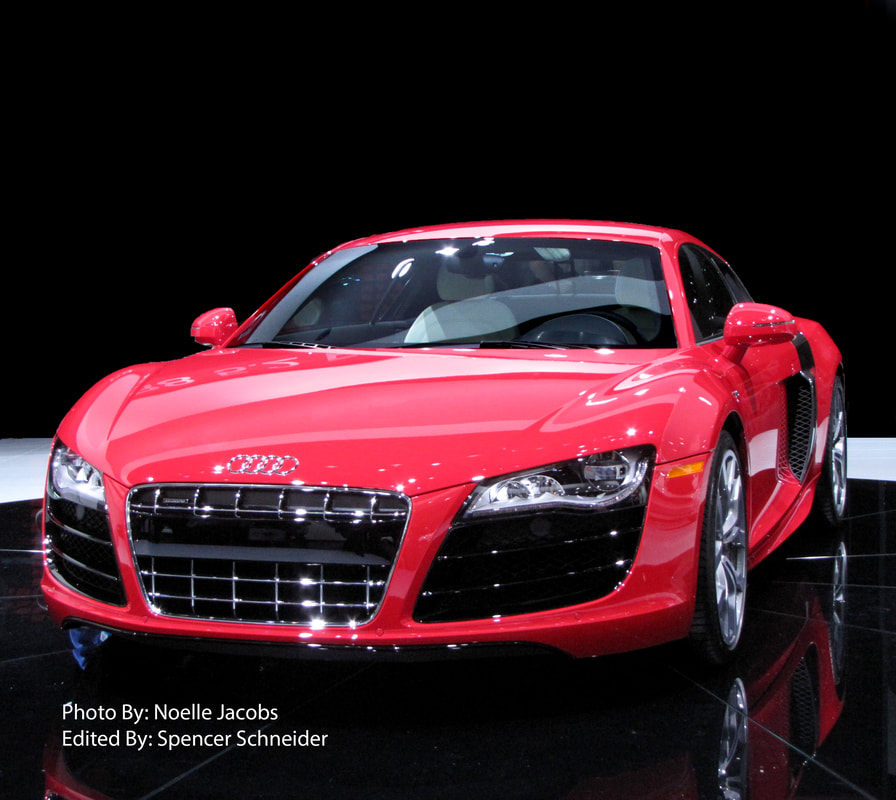 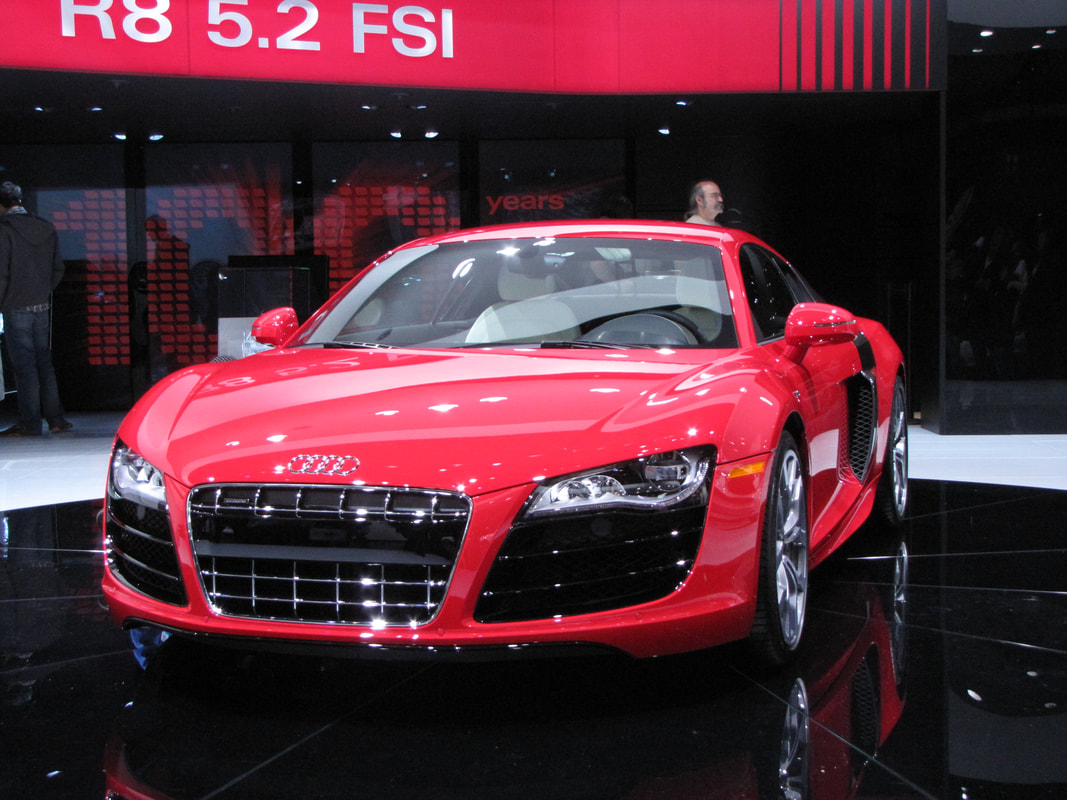 In this assignment, I learned how to better use the tools in Adobe Photoshop. Overall it was a lot of fun. Now I know how to use even more tools in Adobe Photoshop which will help me a lot in this class. Since I had some extra time, I tried using the same tools on one of my own photos. Original on the left and edited on the right. For this assignment, I was tasked with taking a picture of nature. For this, I went around my house taking pictures of all the trees and flowers we have. In my opinion, the picture of the flowers were the most beautiful. 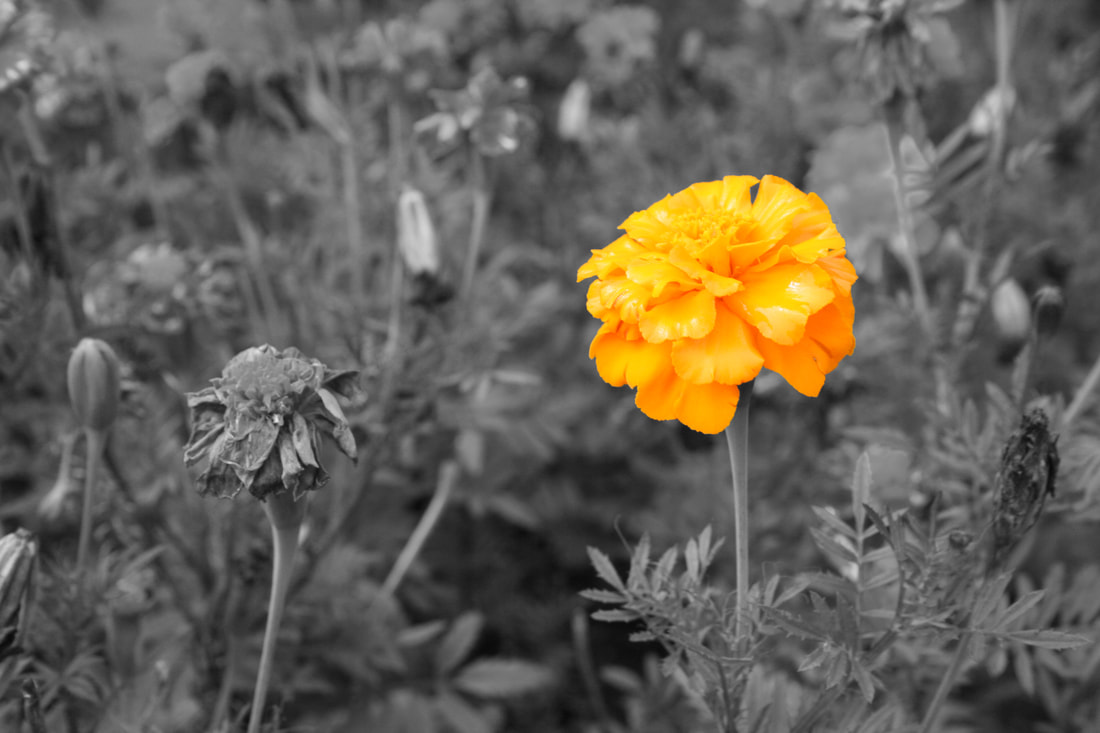 When I took this image, the camera was set to an aperture of 9.0, a shutter speed of 1/200, and an ISO of 400. When I edited this photo, i copied the main subject of the photo, the orange flower, and turned the rest of the surroundings black and white to draw the viewer's eye to the main point. My next top 5 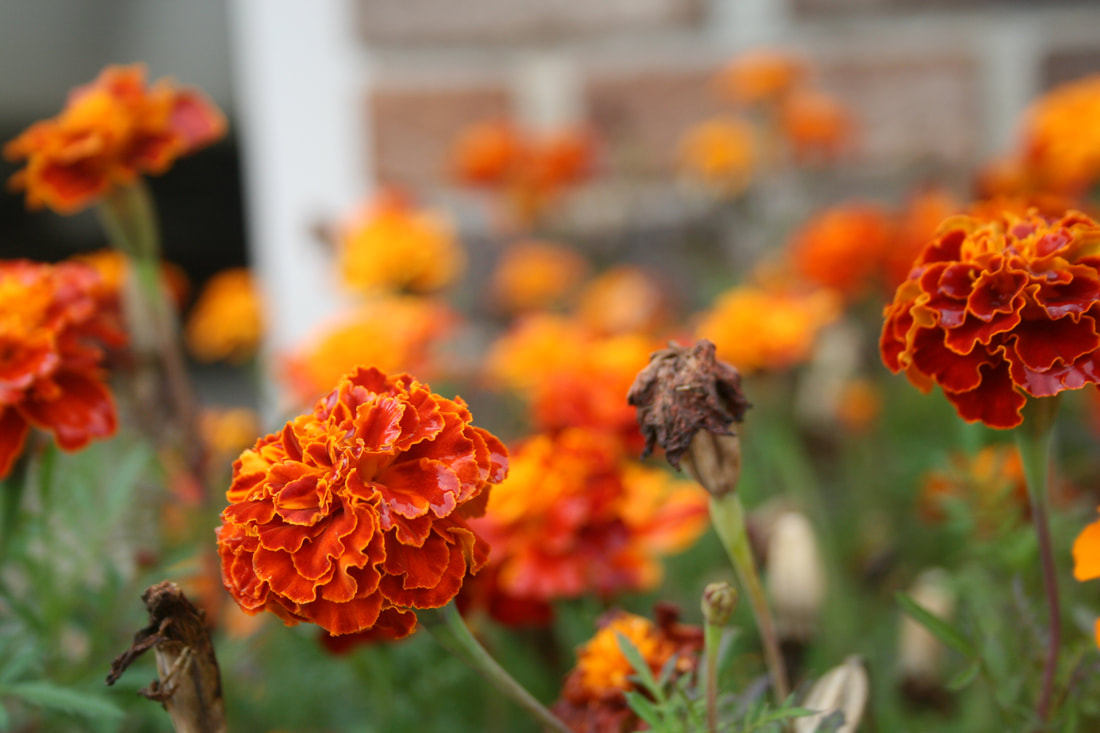 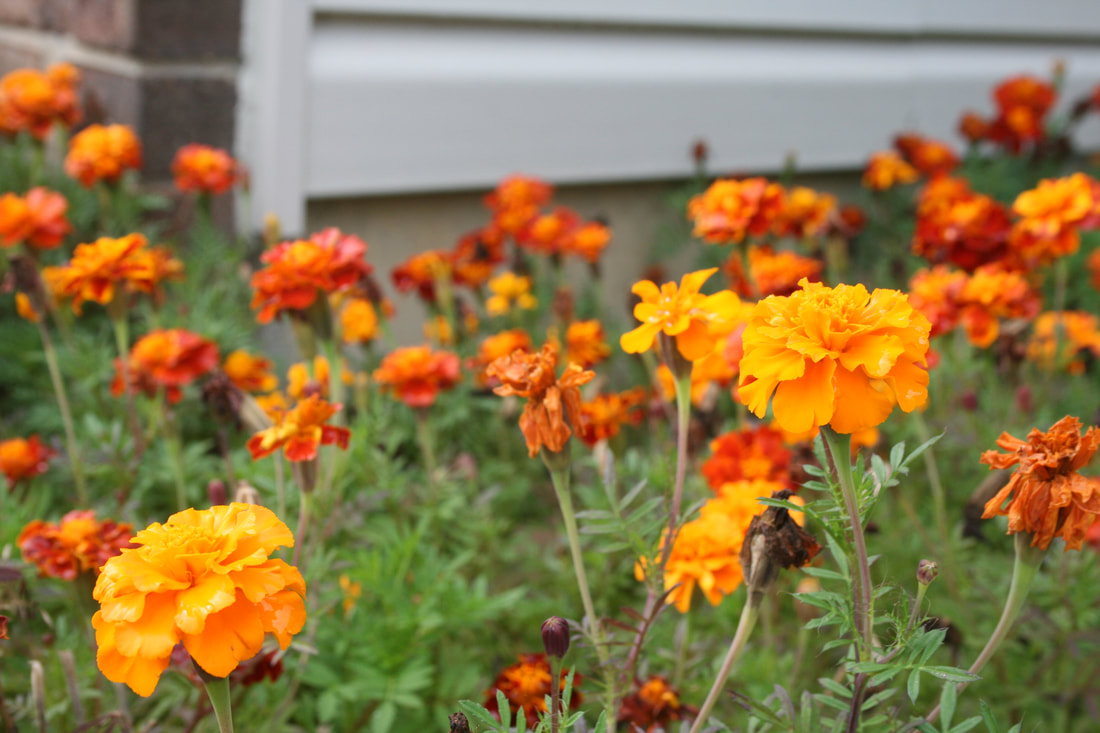 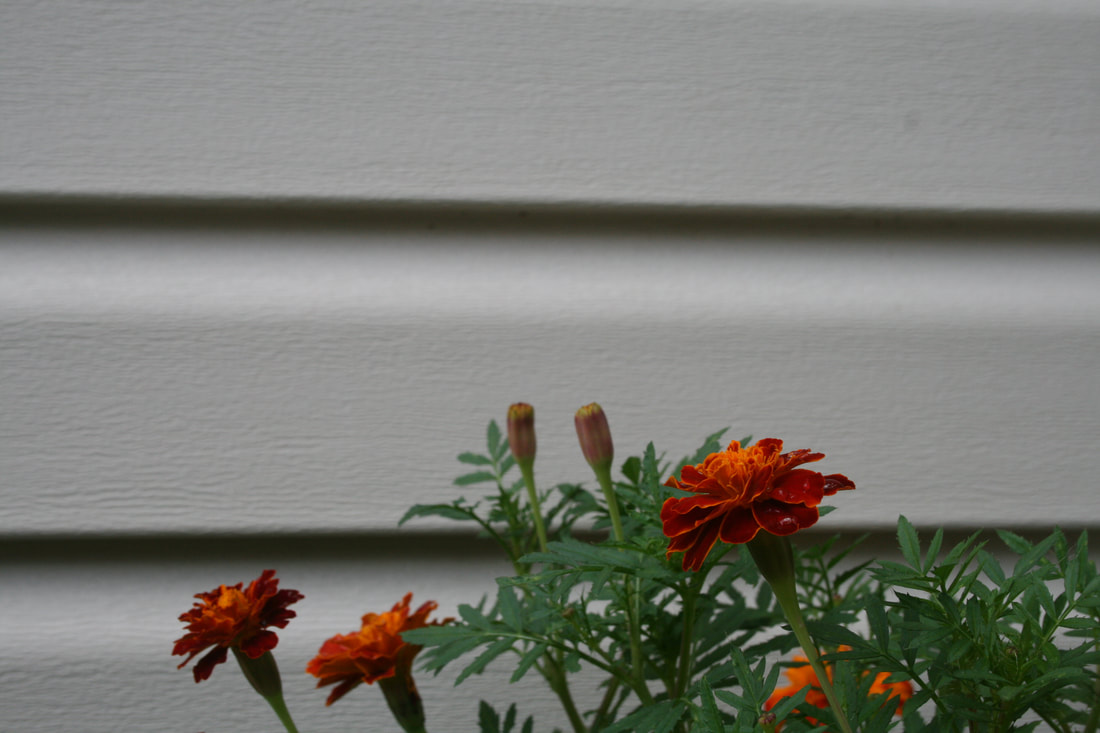 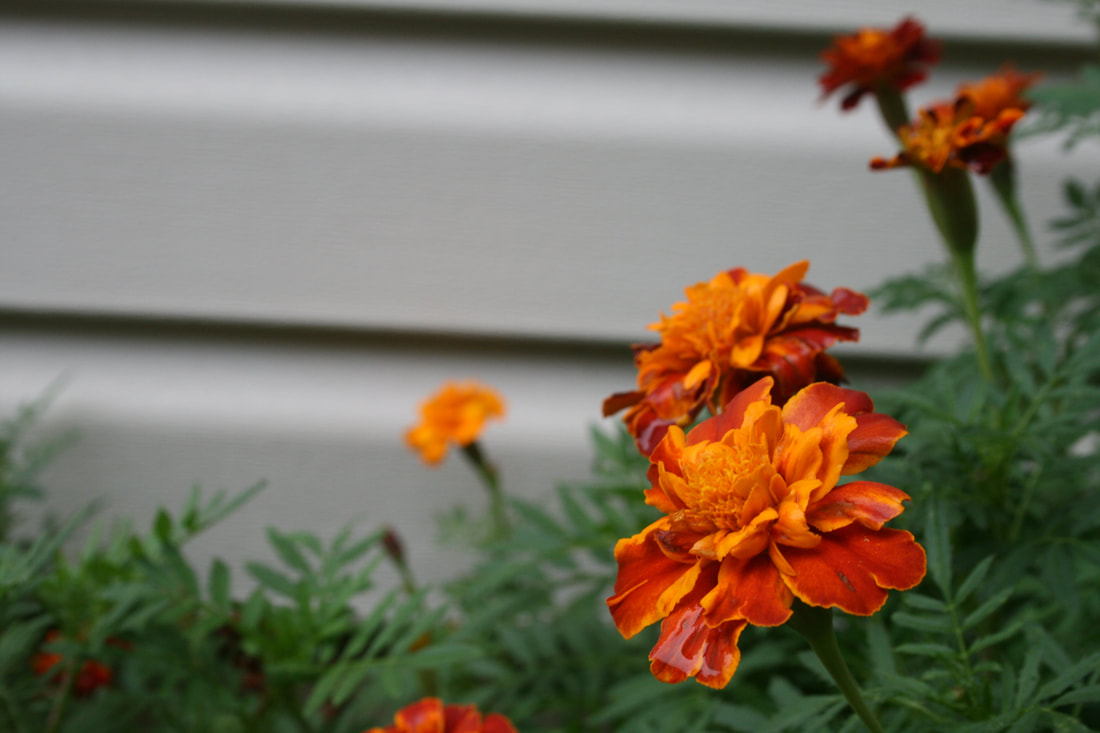 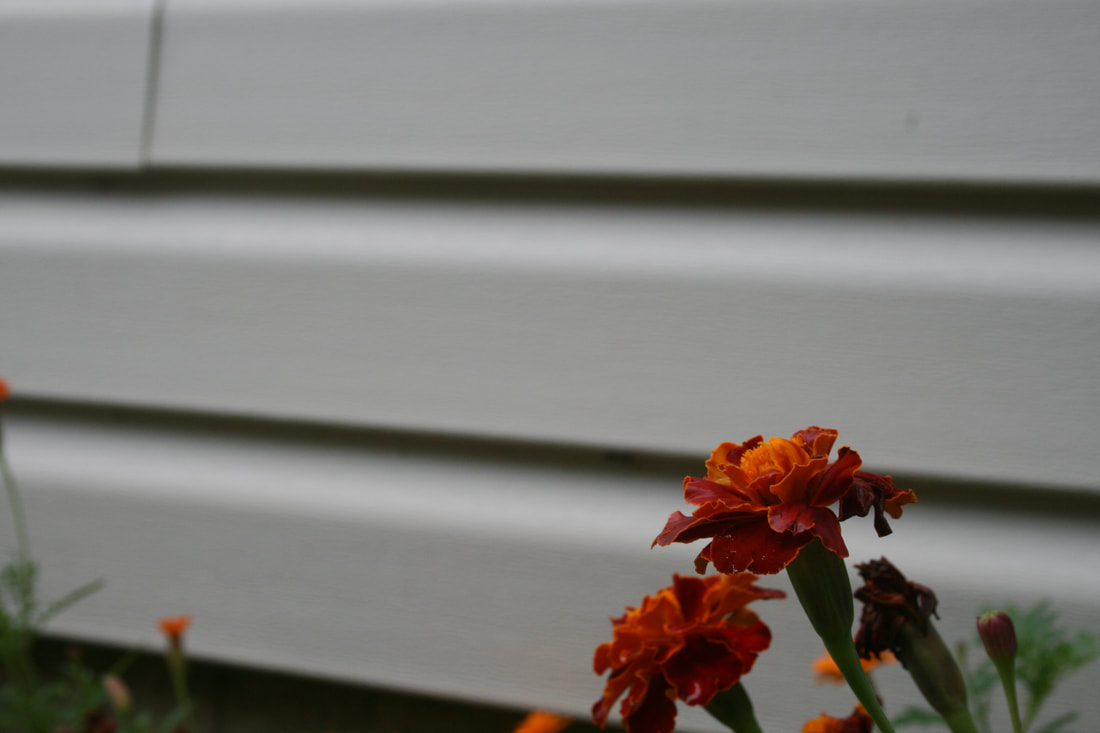 Through this assignment, I learned how to use the aperture and ISO settings better. By learning to use the aperture, I was able to create a shallow depth of field or a large depth of field. I also learned that you must find the right balance of shutter speed and aperture to get a picture just right. If you have a large aperture, you must adjust your shutter speed to make sure the picture is not washed out by light. If you have a large aperture, you must increase the shutter speed in order to make sure that your picture is not too dark. By adjusting these settings, I was able to take many beautiful photos.
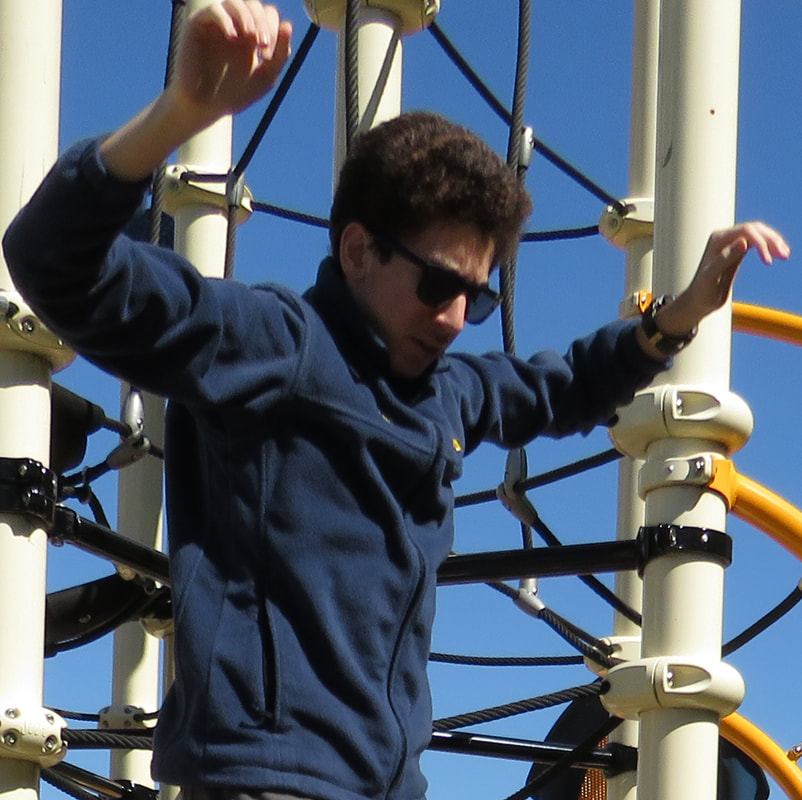
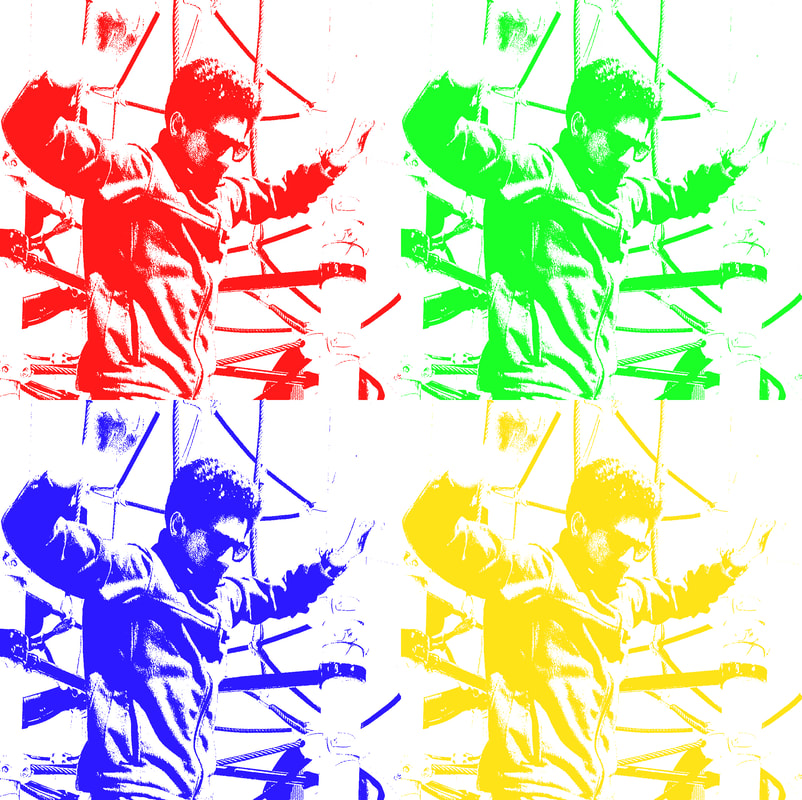
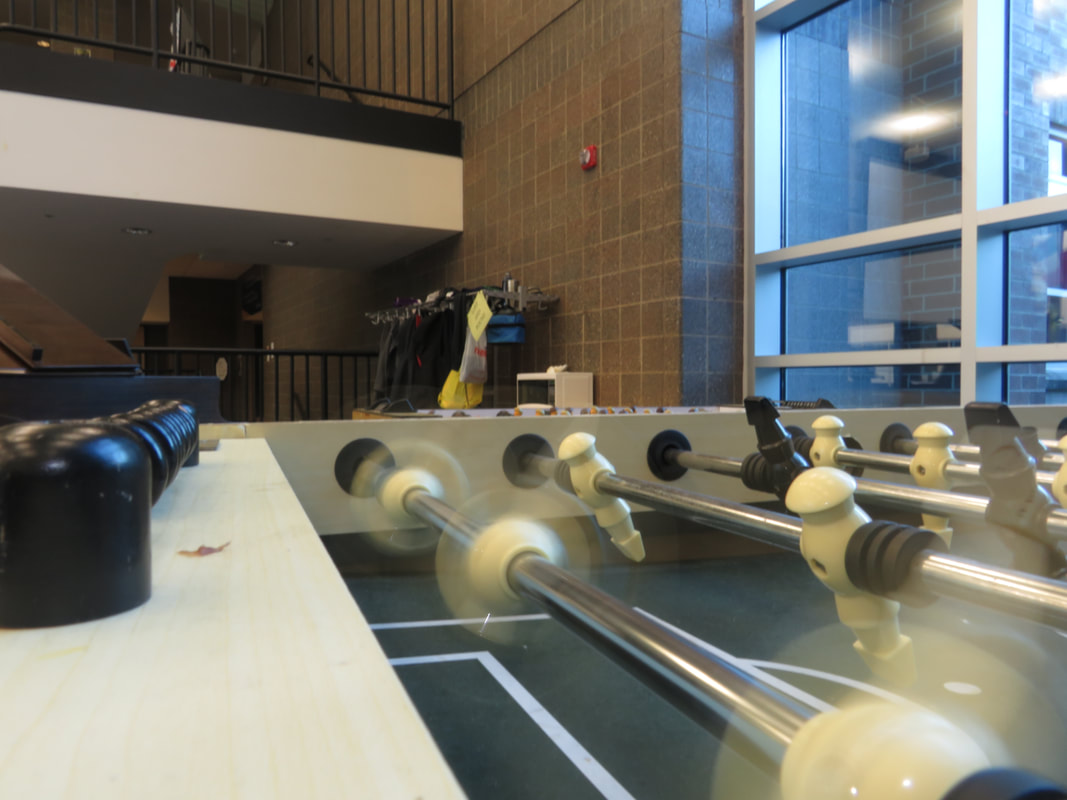
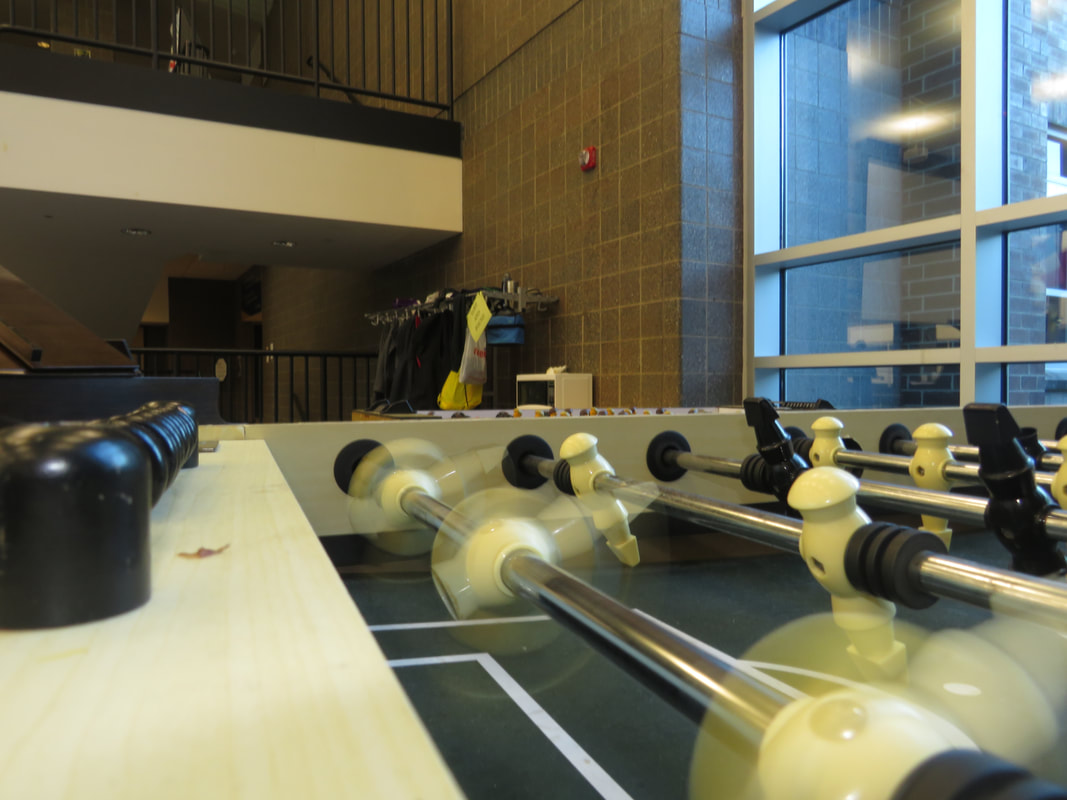
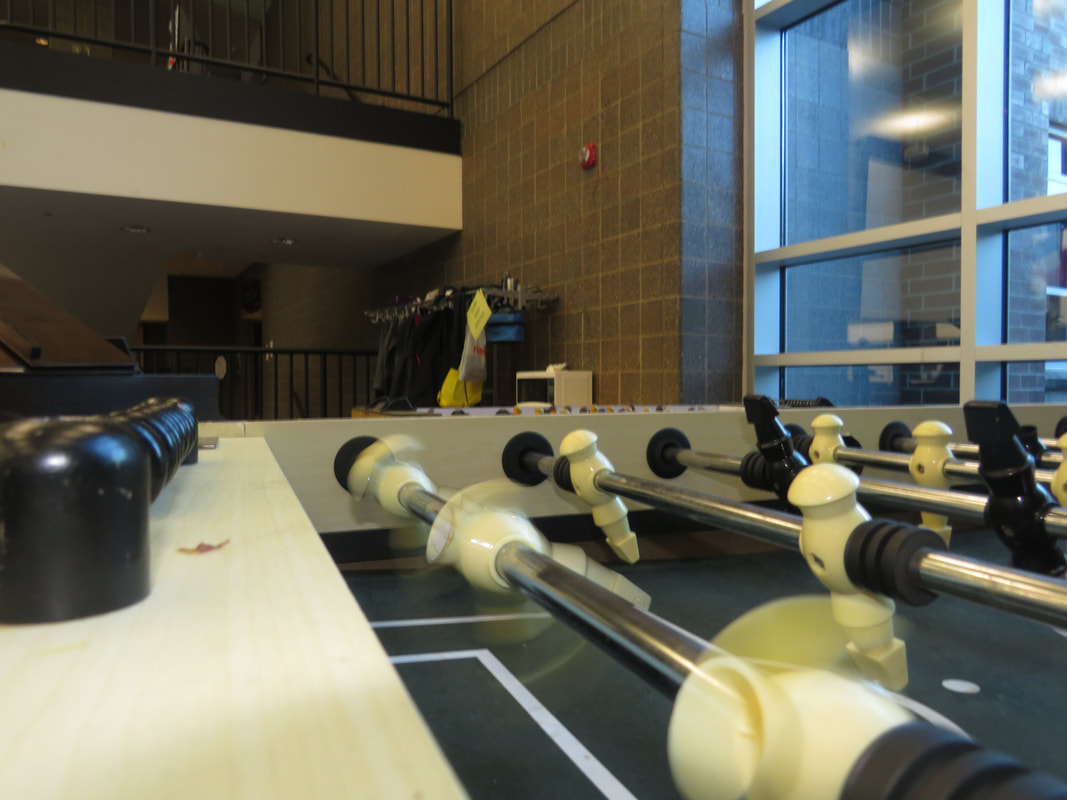
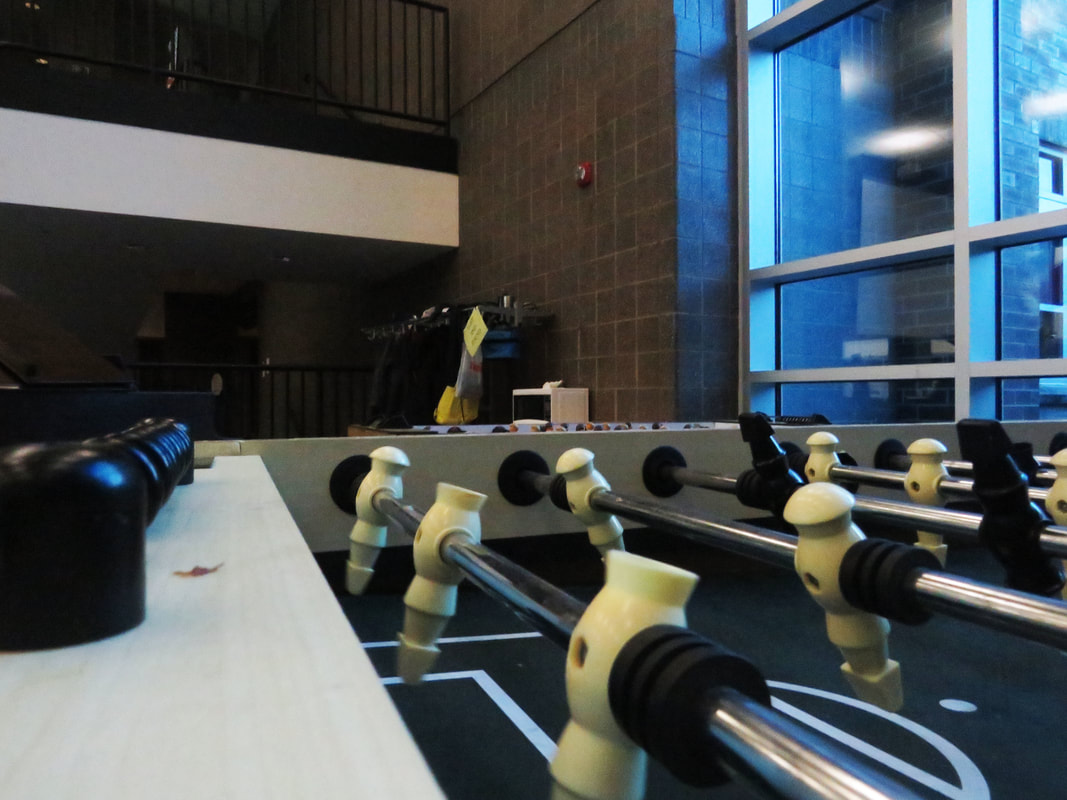
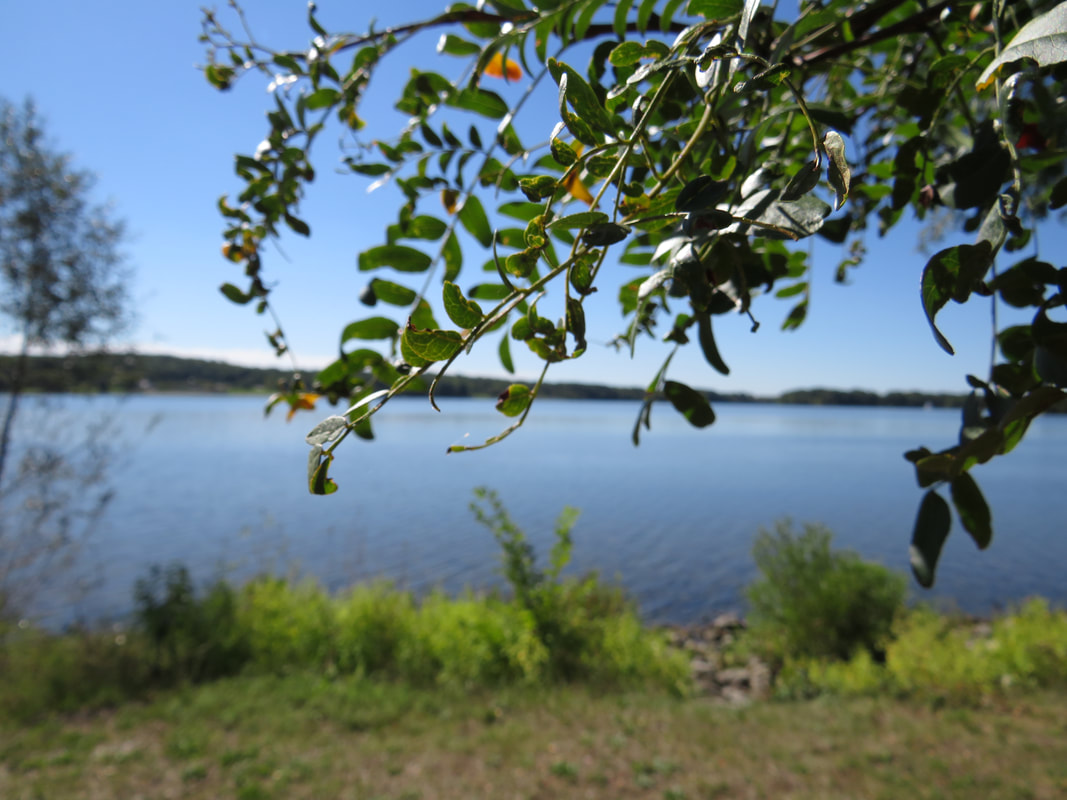
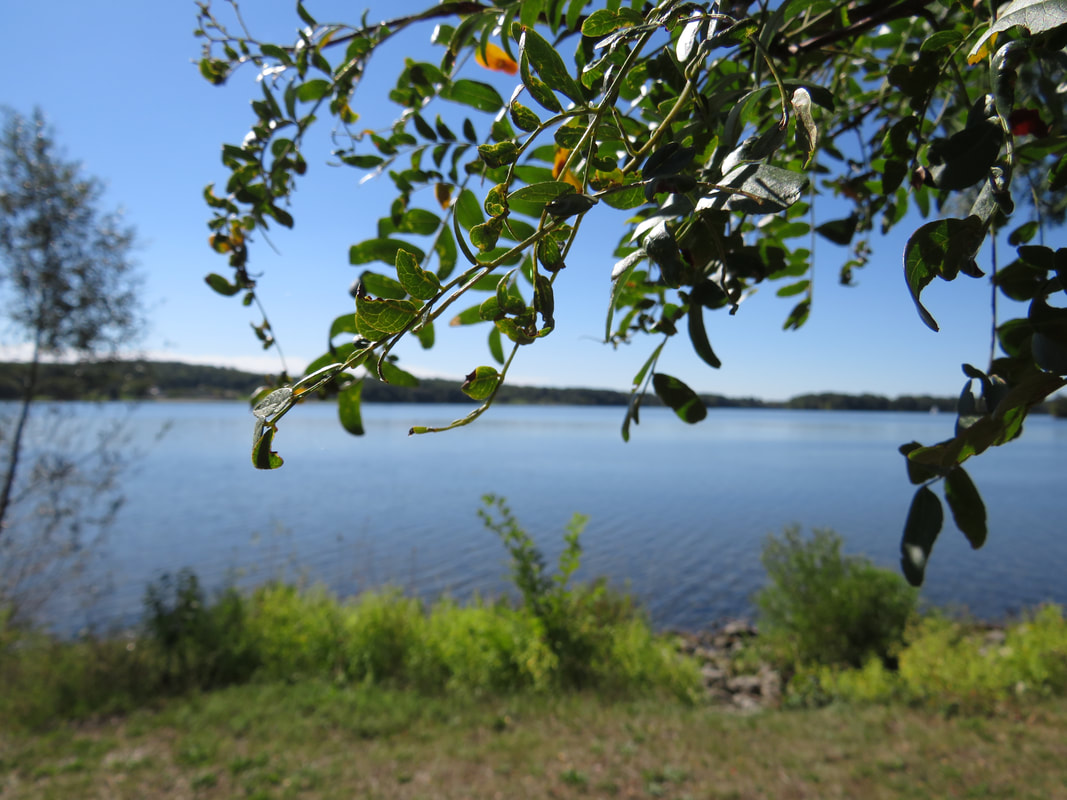
In this assignment, we were tasked with creating a piece of pop art form some pictures we had taken. In Photoshop, we had to use layers, use guides, resize the canvas, and use the threshold. Since we use Photoshop a lot in Digital Photography, we need to know how to use Photoshop and this assignment helps us better understand Photoshop. With this assignment, I learned how to use multiple tools in Adobe Photoshop and that I can create great by using just a couple simple tools in Adobe Photoshop. Since I had some extra time, I decided to make another pop art photo.  Hover over a picture to see more information The first picture to the left is an example of a shutter speed of 1/4. The one next to that is an example of a shutter speed of 1/15. The third picture is an example of a shutter speed of 1/30. The rightmost picture is an example of a shutter speed of 1/500. With these images, I am trying to show the possible ways to use the shutter speed setting. In the leftmost one, I'm demonstrating motion blur of the spinning foosball players. In the rightmost photo, I'm demonstrating the freeze action of the foosball players. In all photos the foosball players were spun at around the same speed. The leftmost picture is an example of an aperture of 3.4. The picture that is second to the left is an example of an aperture of 4.0. The third picture to the left is an example of an aperture of 5.6. The leftmost picture is an example of an aperture of 8.0. With these images, I'm trying to show how increasing the aperture (smaller number) creates a shallow depth of field while decreasing the aperture (bigger number) creates a larger depth of field. As seen in the image with an aperture of 3.4 (rightmost), there is a very shallow depth of field and only some of the leaves are in focus. While in the image with an aperture of 8.0 (leftmost), the whole background is basically in focus. Thus showing that a larger aperture has a smaller depth of field and a smaller aperture has a larger depth of field. Questions about Aperture and Shutter SpeedQ; A fast shutter speed does what to an image?
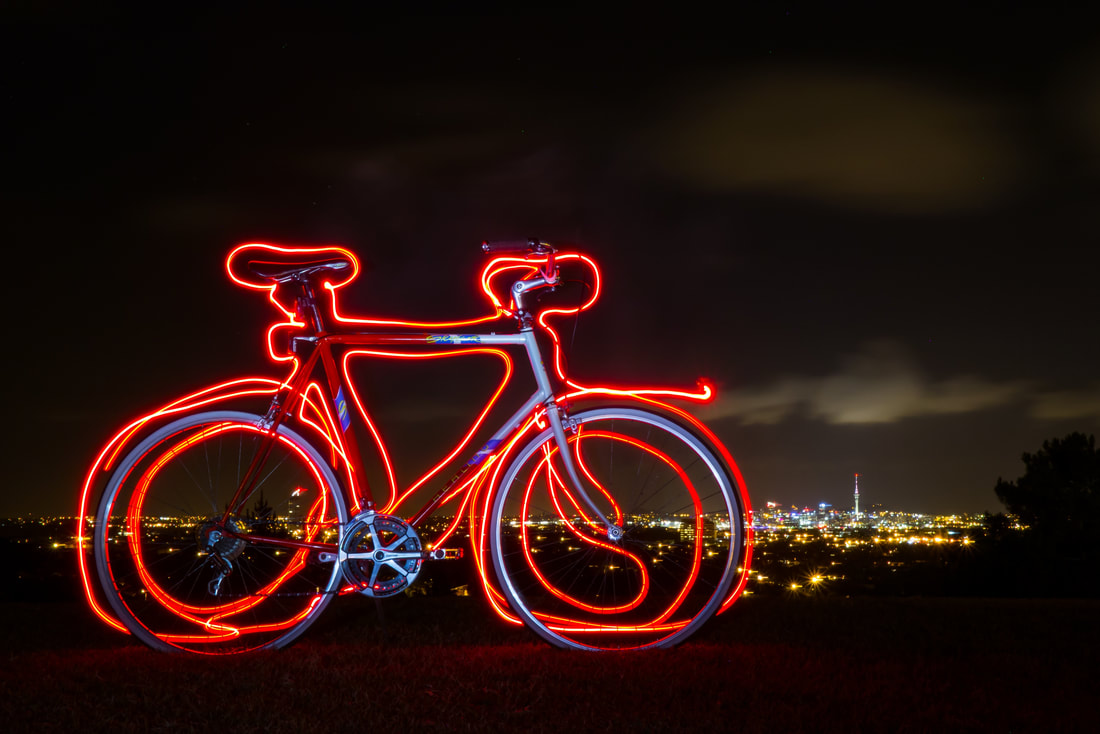
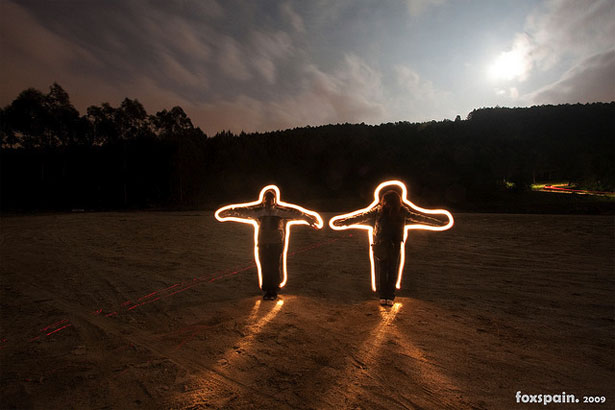
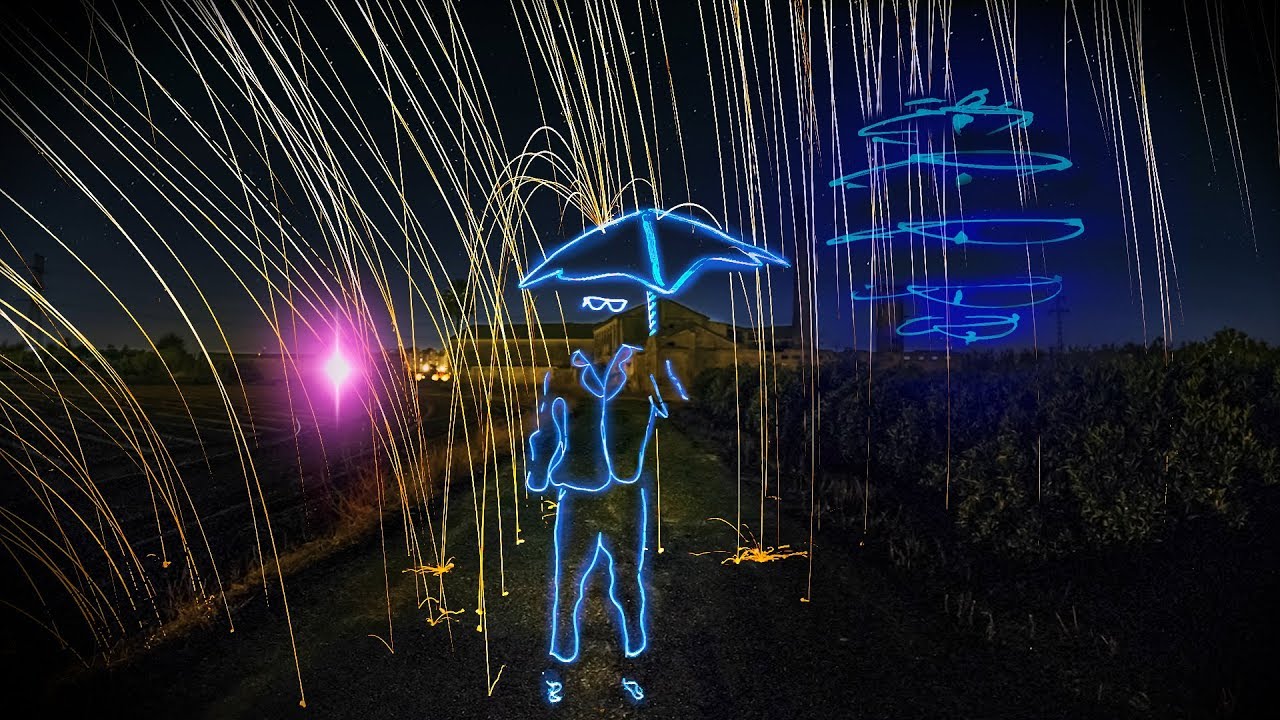
A: A fast shutter speed will decrease the exposure of a photo (make it darker) and create a freeze motion effect with any movement in the photo. Q: A slow shutter speed causes what effect on an image? A: A slow shutter speed will increase the exposure of a photo (make it brighter) and create a motion blur effect with any movement in the photo. Q: A LARGE aperture (size wide open) causes what effect on an image? A: A large aperture size (smaller number) increases the exposure of a photo (makes it brighter) and creates a shallow depth of field. Q: A SMALL aperture causes what effect on an image? A: A small aperture size (bigger number) decreases the exposure of a photo (make it darker) and creates a large depth of field. For my very first photo assignment, I have chosen to try out Light Painting. I chose this because it is very interesting and seems very fun to do. Light painting creates very interesting photos and I would like to try and create some really good ones. Some inspiration comes from these photos: These, in my opinion, are great examples of light painting because they draw your eye to a certain place in the photo and highlight a subject. I hope that I can create some masterpieces like these.
My five, best pictures for the second Composition Assignment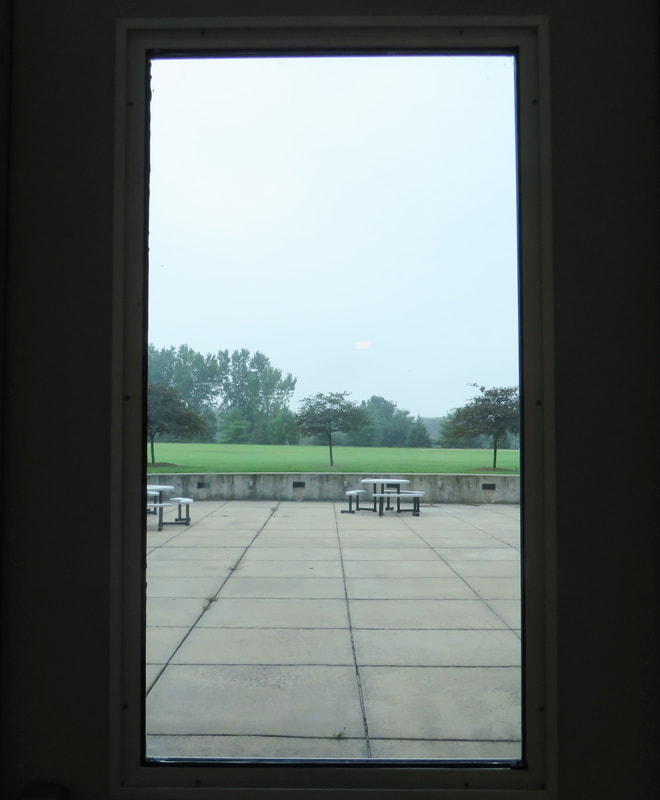  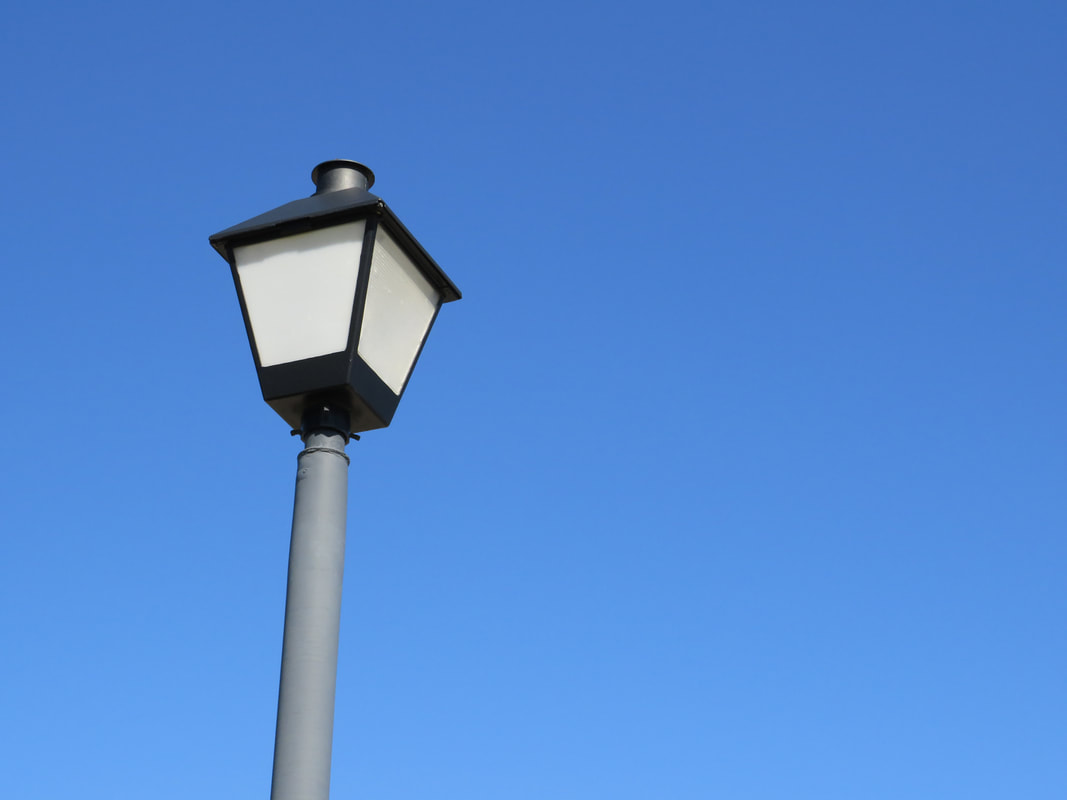 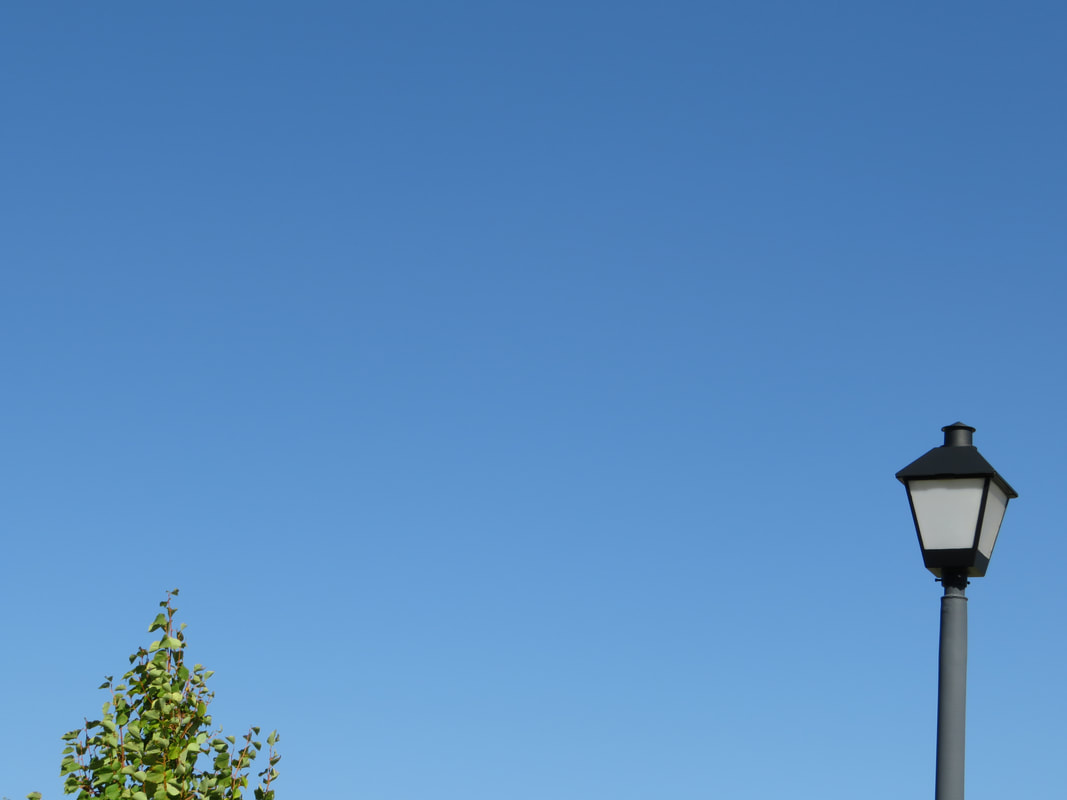 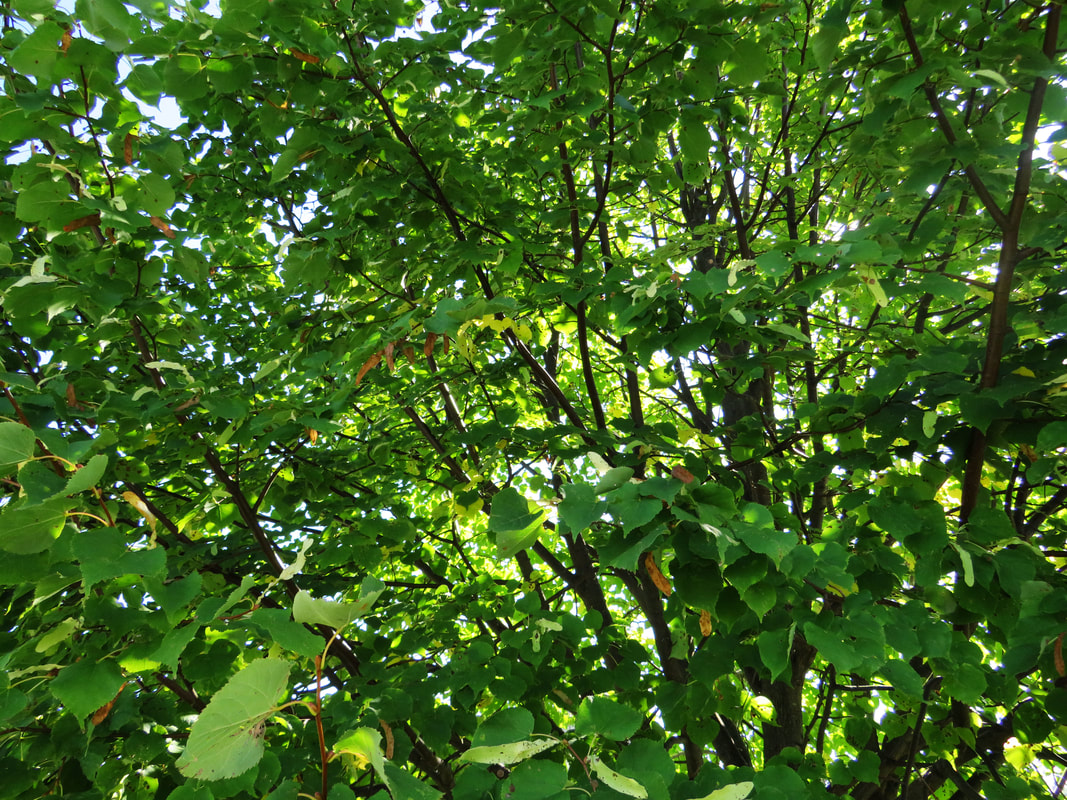 On the top row are examples of framing, perspective, and space. On the bottom row is balance and colour. For my balance picture, I chose to take a photo of a light post and the tip of a tree. This image is balanced because on the right side is the light post and on the left the tree creating a balance in the photo. For framing, I chose to take a picture looking through the glass on a door to the outside. This is an example of framing because it frames the outside world from the inside. From this project I learned more basics of camera use such as changing the aperture and shutter speed to increase or decrease the brightness of the photo and how to adjust the focus to get the camera to focus on a certain object.
|