|
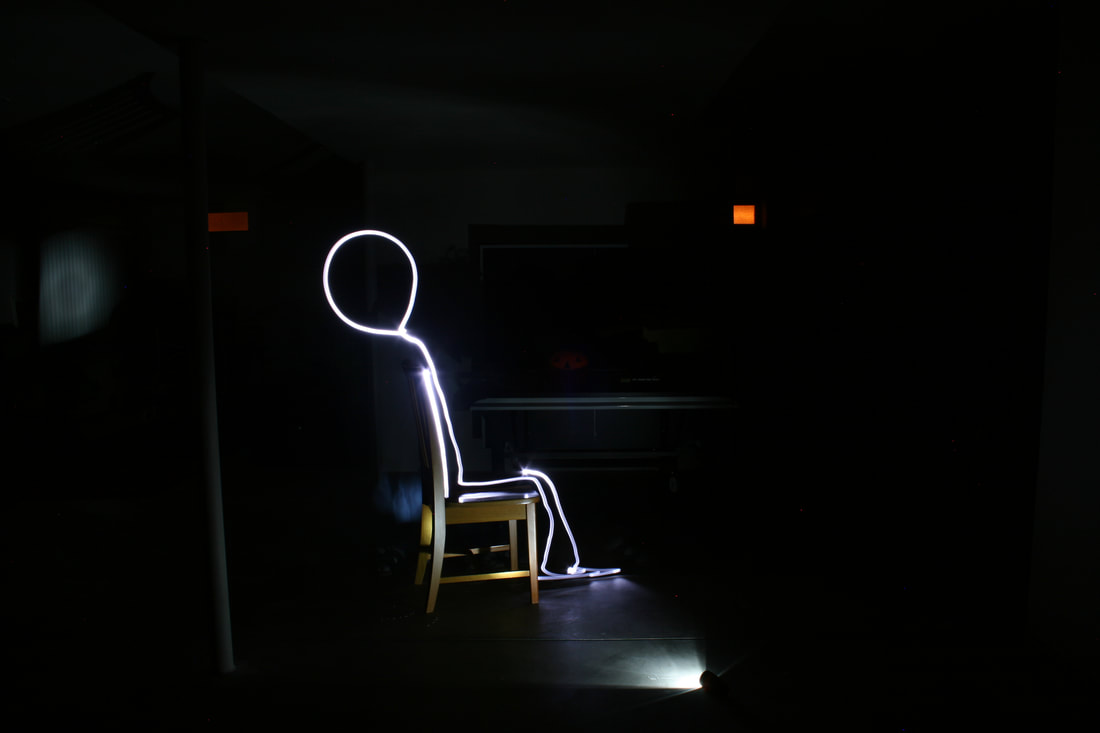
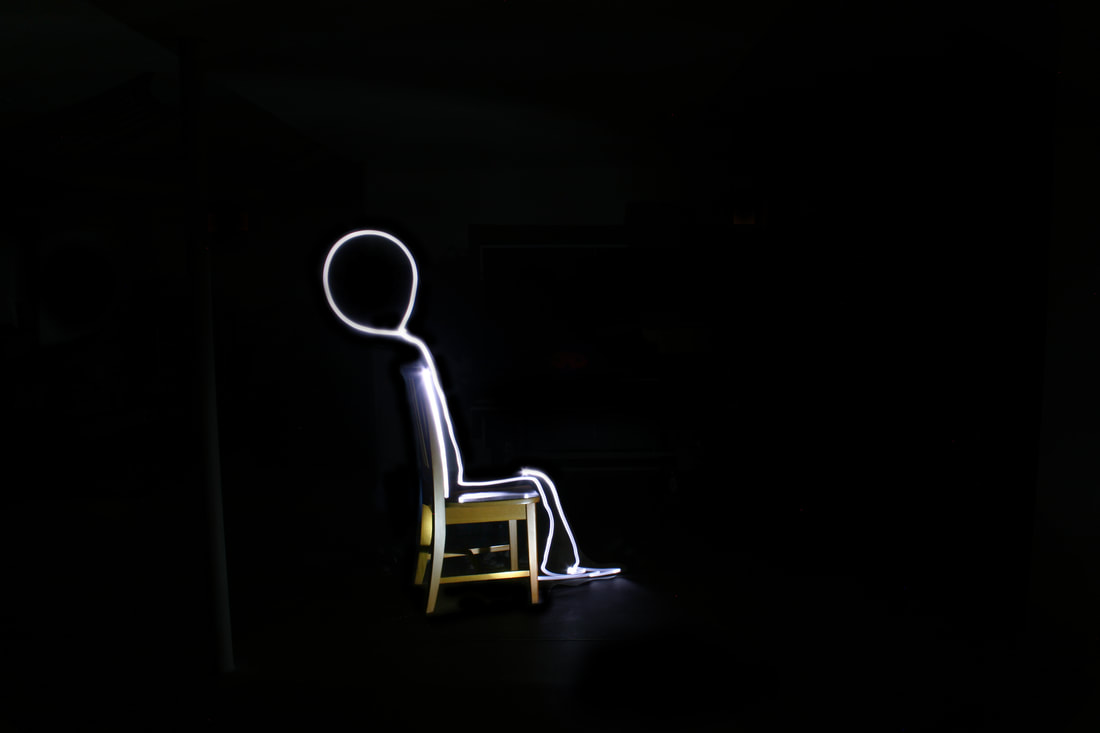
For this photo assignment, I was tasked with making a light painting. Light Painting is the process of leaving the camera shutter open for a long period of time while moving a light source around to create the effect of lines of light in the air. To accomplish this, I went in both the garage and basement, turned all the lights off, and set the camera in manual mode to make sure it didn't focus on anything else. I took a lot of pictures, but this one has to be the best.
When I took this photo, the ISO was set to 100, the aperture was set to 10, and the shutter speed was set to 30. To make the original photo better, I went into Adobe Photoshop and raised the brightness as well as make the rest of the background darker to get rid of distractions. 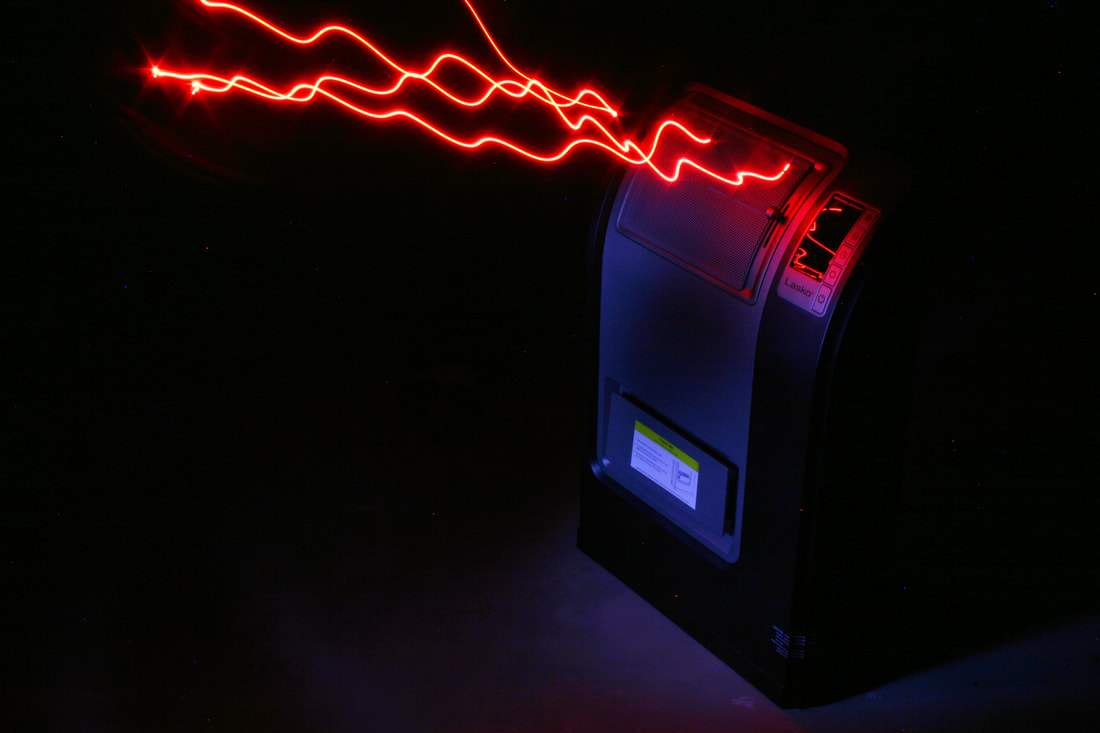 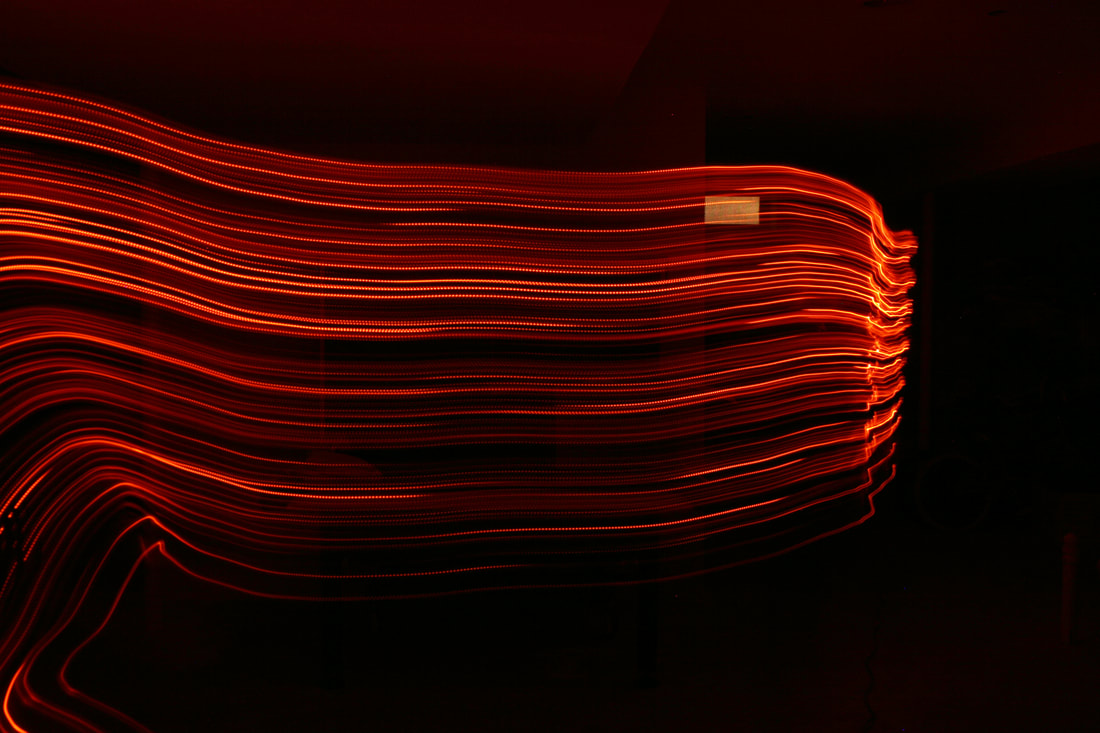 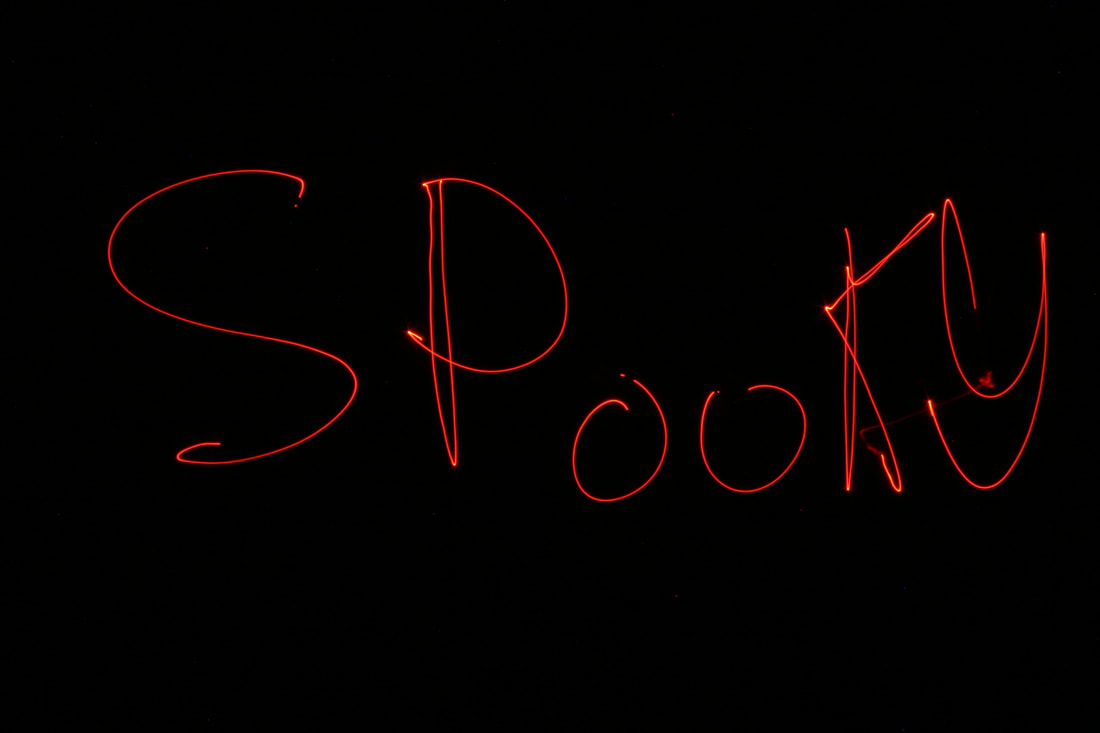 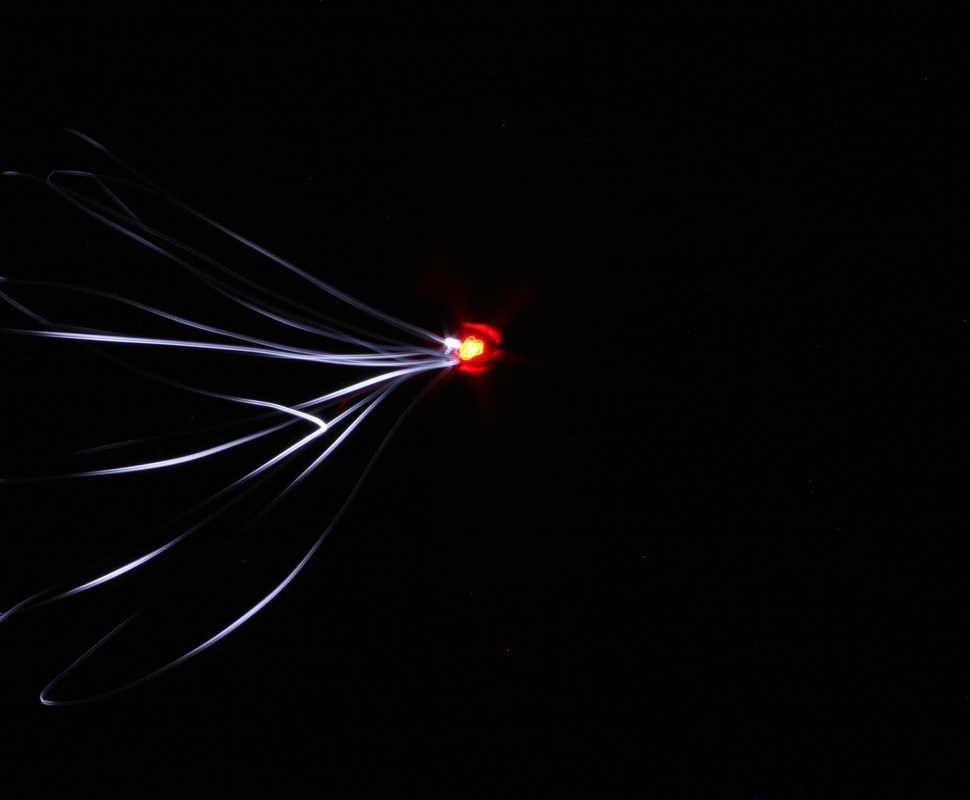 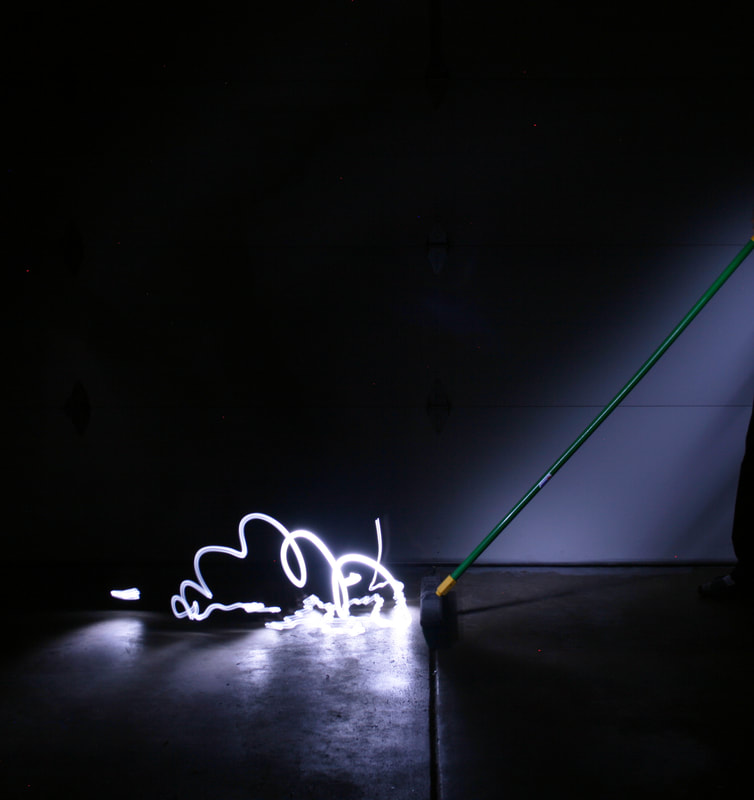 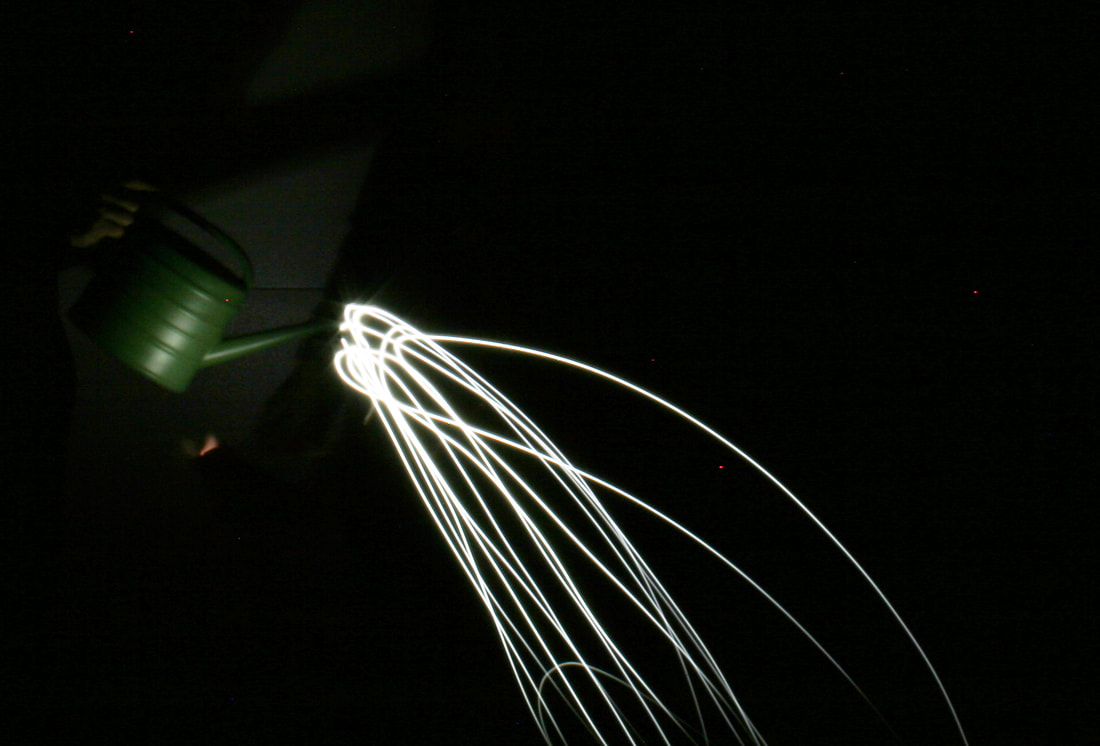 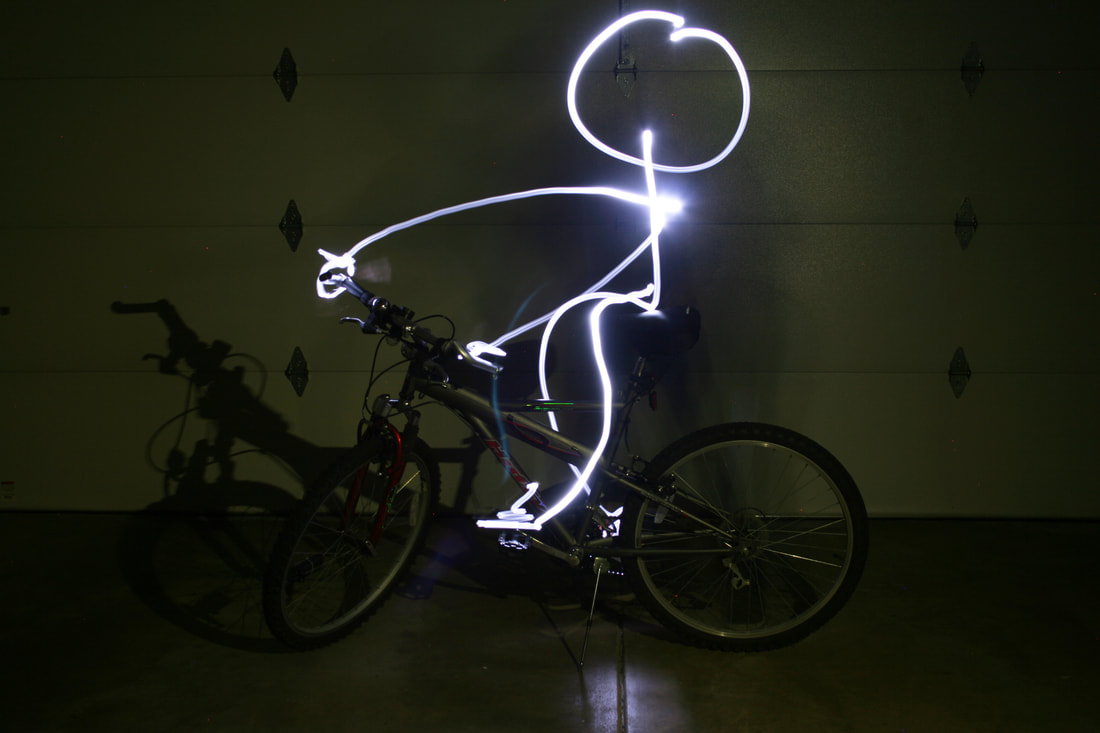 Through this assignment, I learned how to use the shutter speed and manual focus settings better. By learning to use manual focus, I was able to make sure the light and subject stayed in focus. Since it was a dark and the shutter speed was enough to capture all the light necessary, I didn't really have to adjust the ISO setting for I could keep it low and still have an image that captured all the light I needed. By adjusting the shutter speed, I was able to shoot may wonderful pictures of moving light at my house.
3 Comments
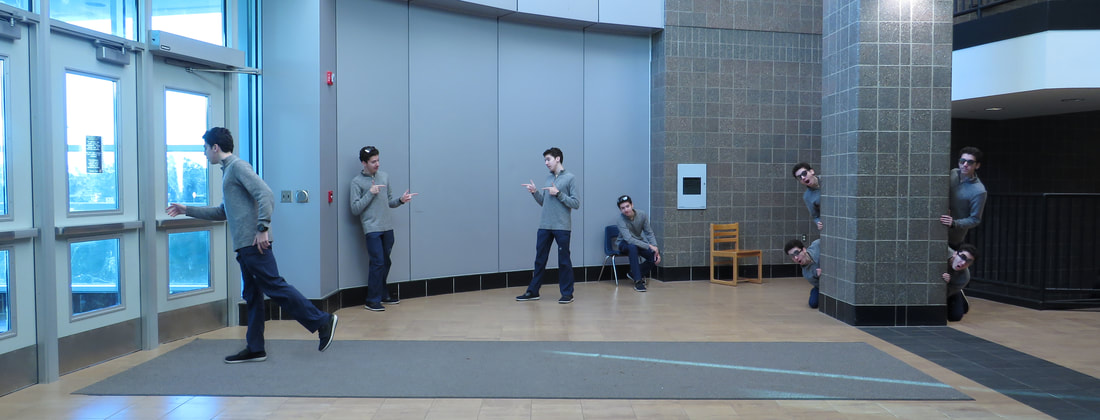 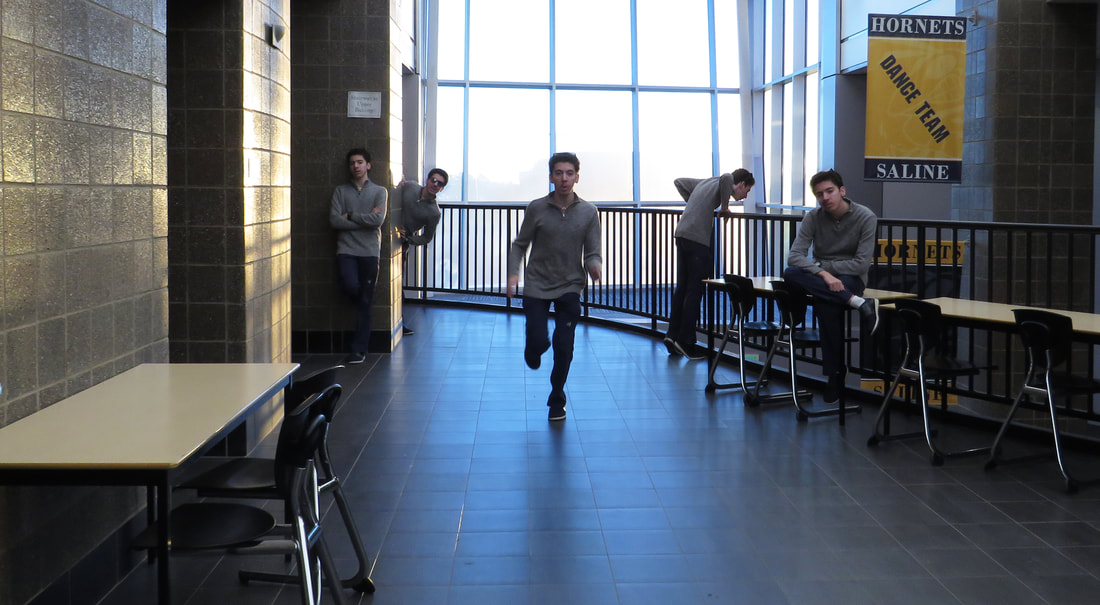 For this assignment, we had to take multiple pictures of ourselves and put them into one scene. To do this, we had to put our camera into manual mode and adjust the various settings to maintain a constant exposure with every photo taken. We then had to utilize the stacks feature in photoshop and then mask each version of yourself.
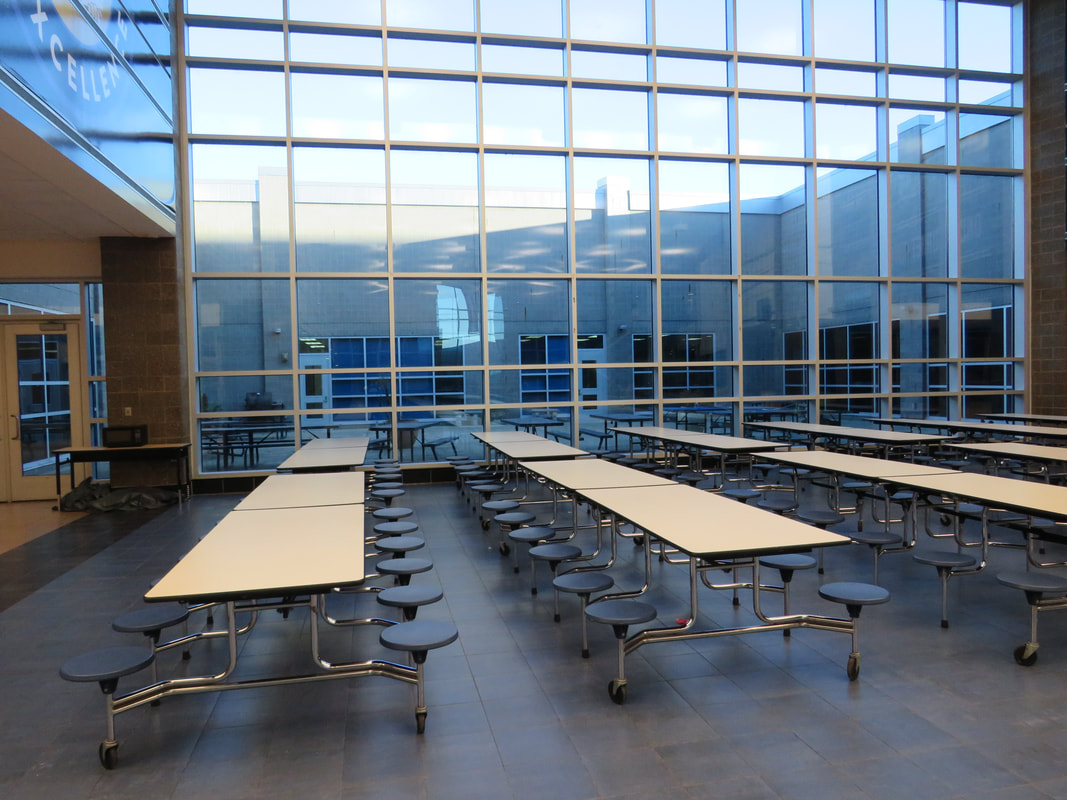
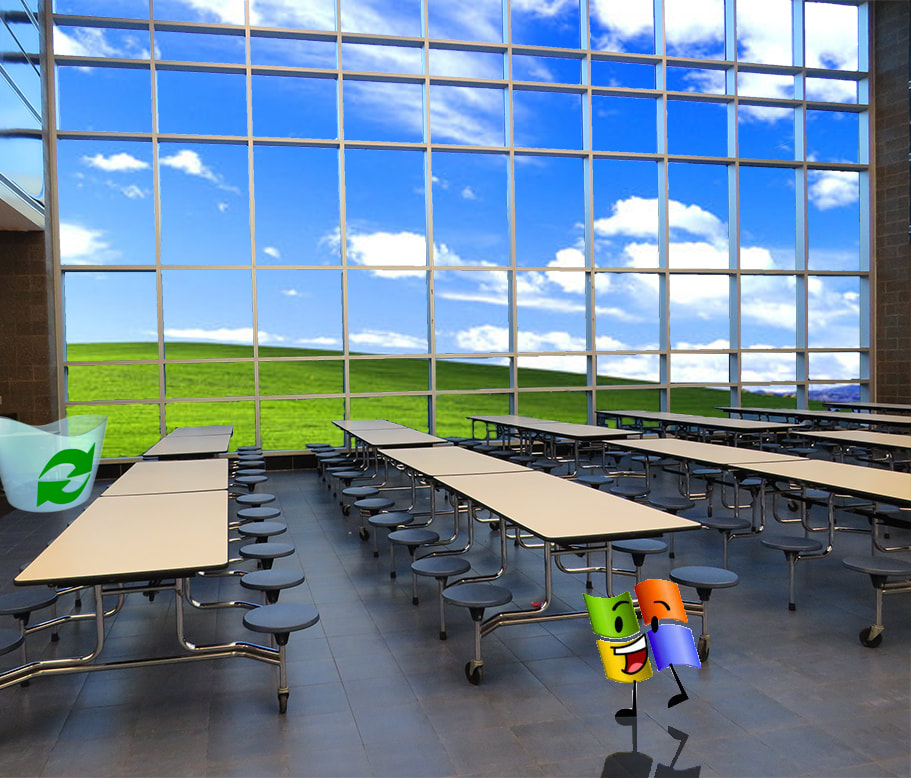
For this assignment, we were tasked with taking a photo of our school and adding things into it. To be able to do this, one must get a good picture and be able to have the patience to select and delete multiple parts of the picture. To accomplish this, we had to learn how to better use the different types of selecting modes as well as create a realistic shadow. From this assignment, I was able to learn how to use all the different types of select modes in photoshop.
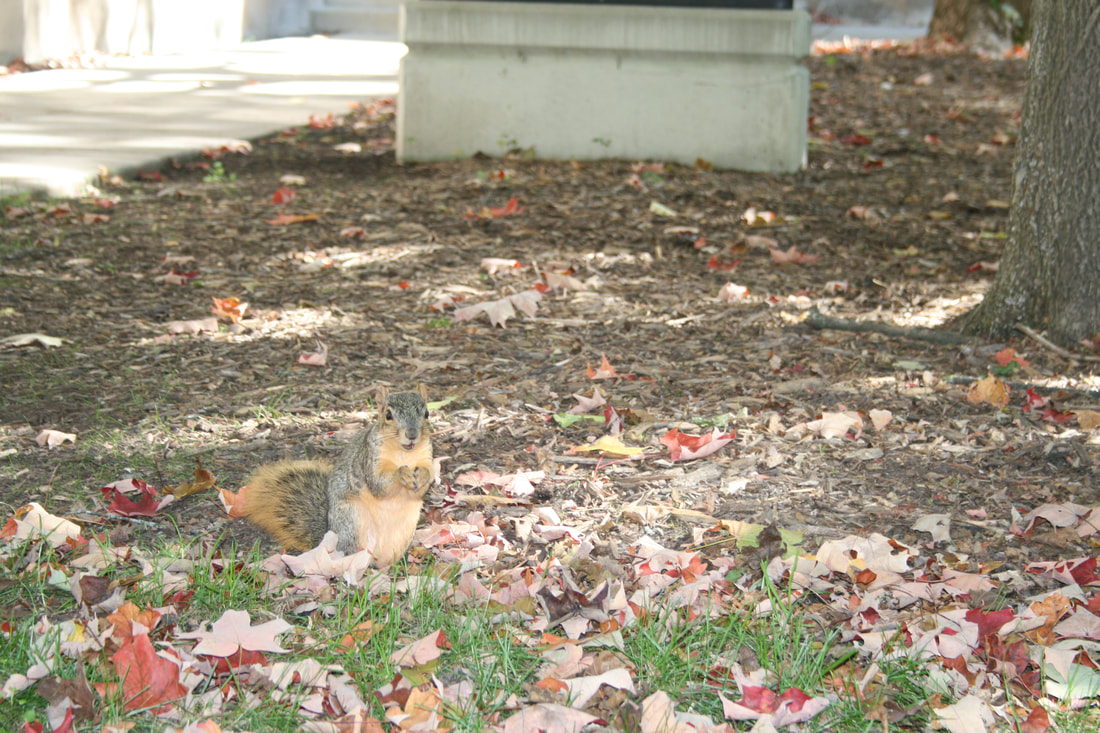
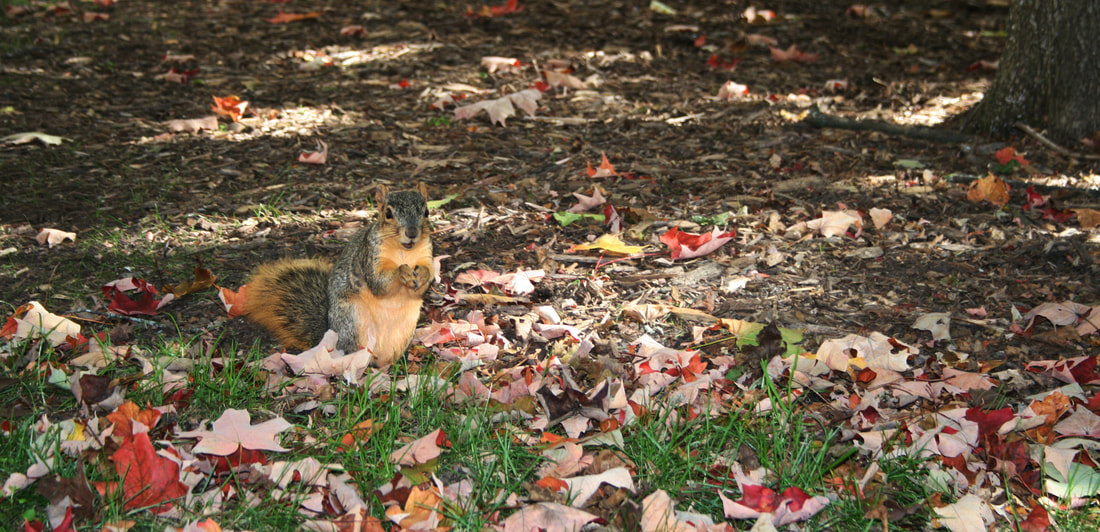
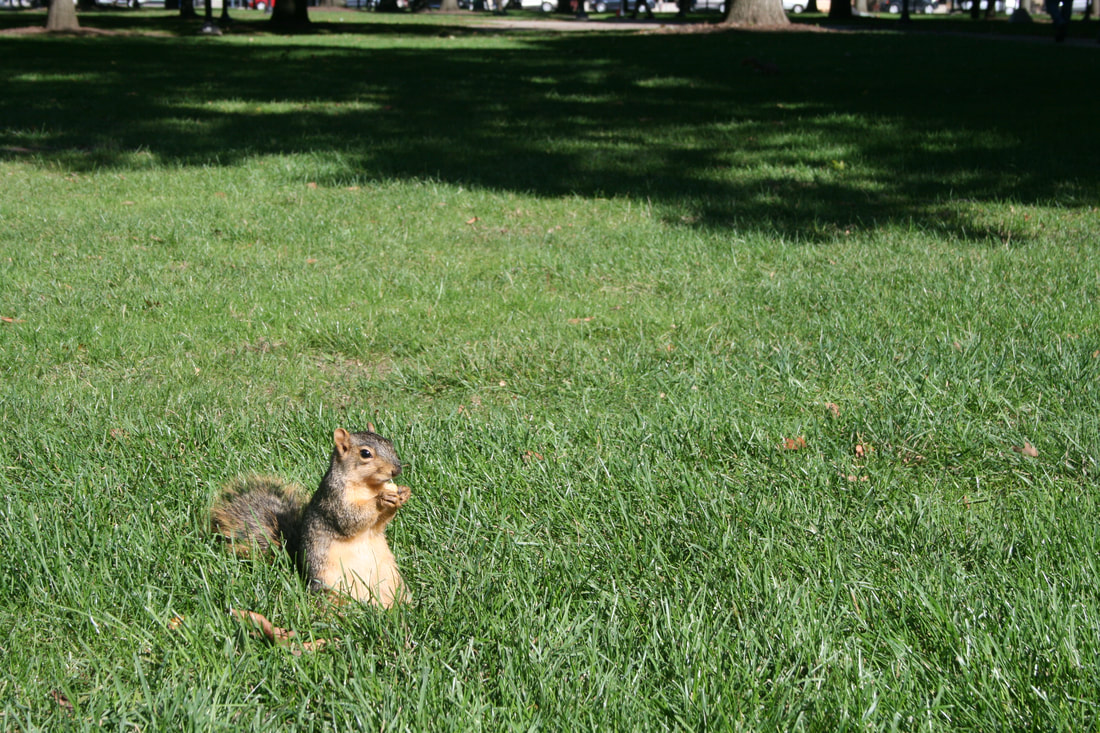
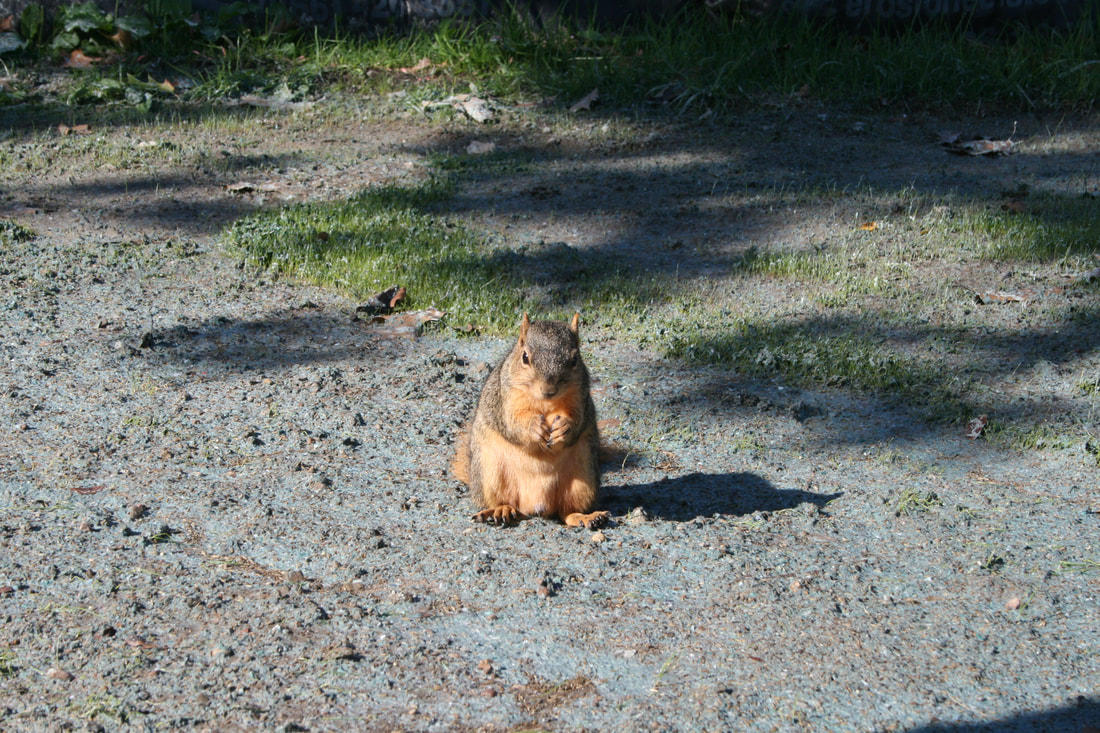
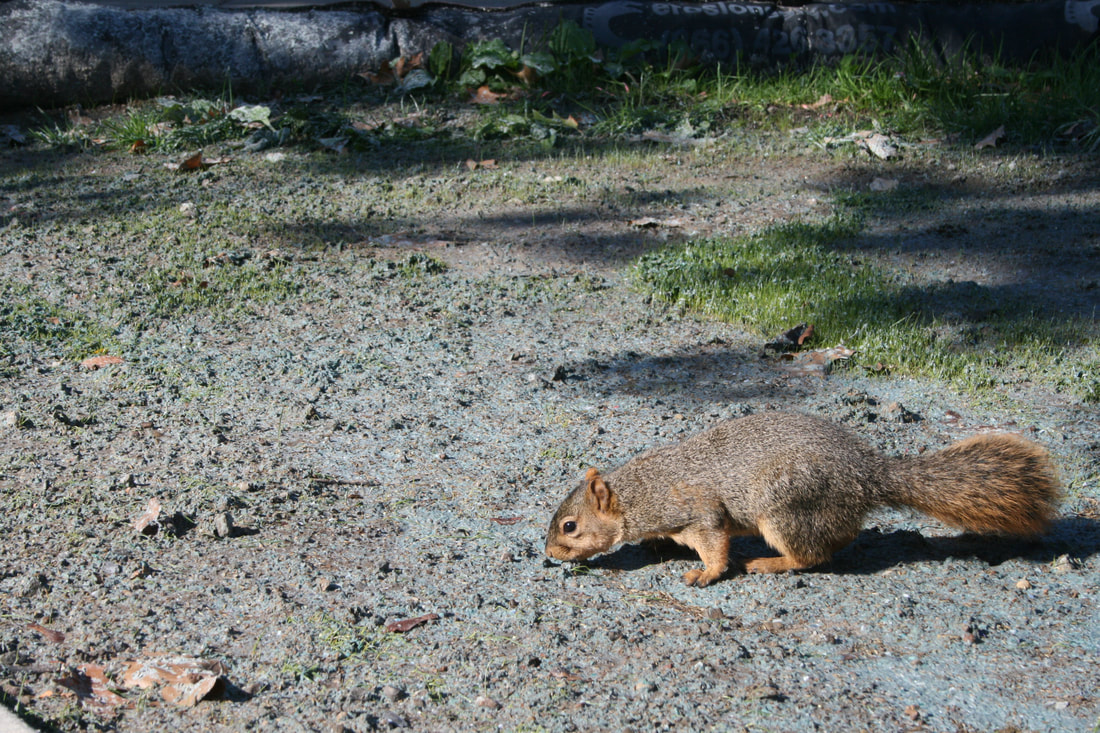
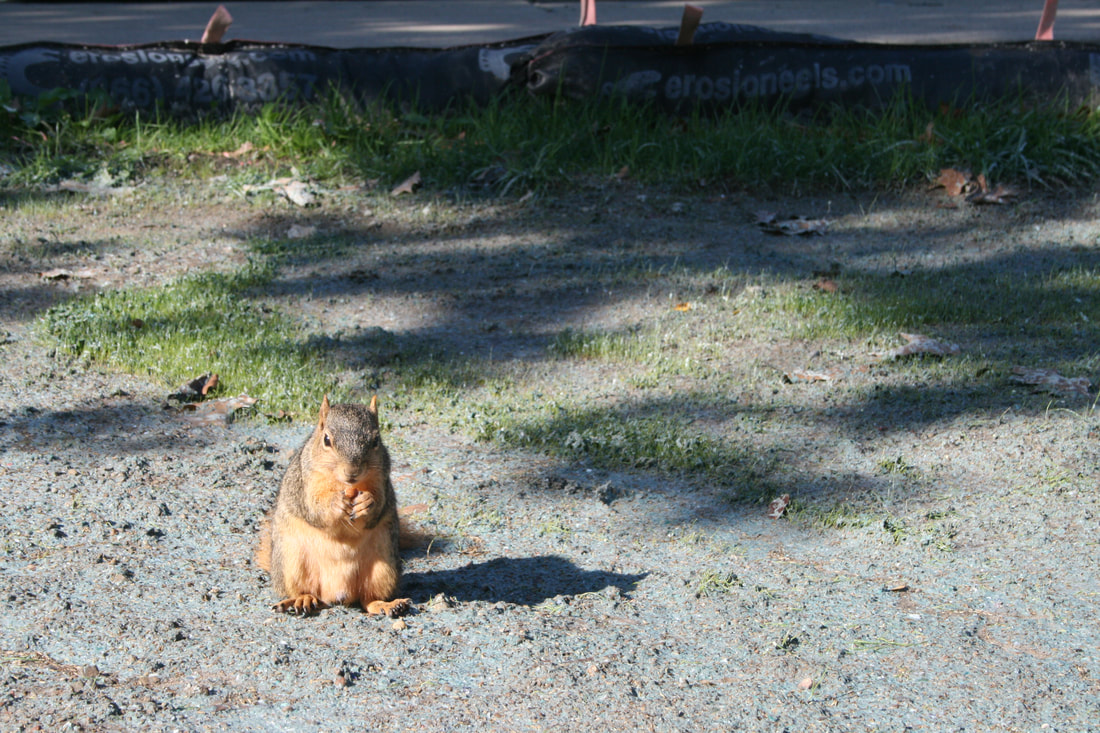
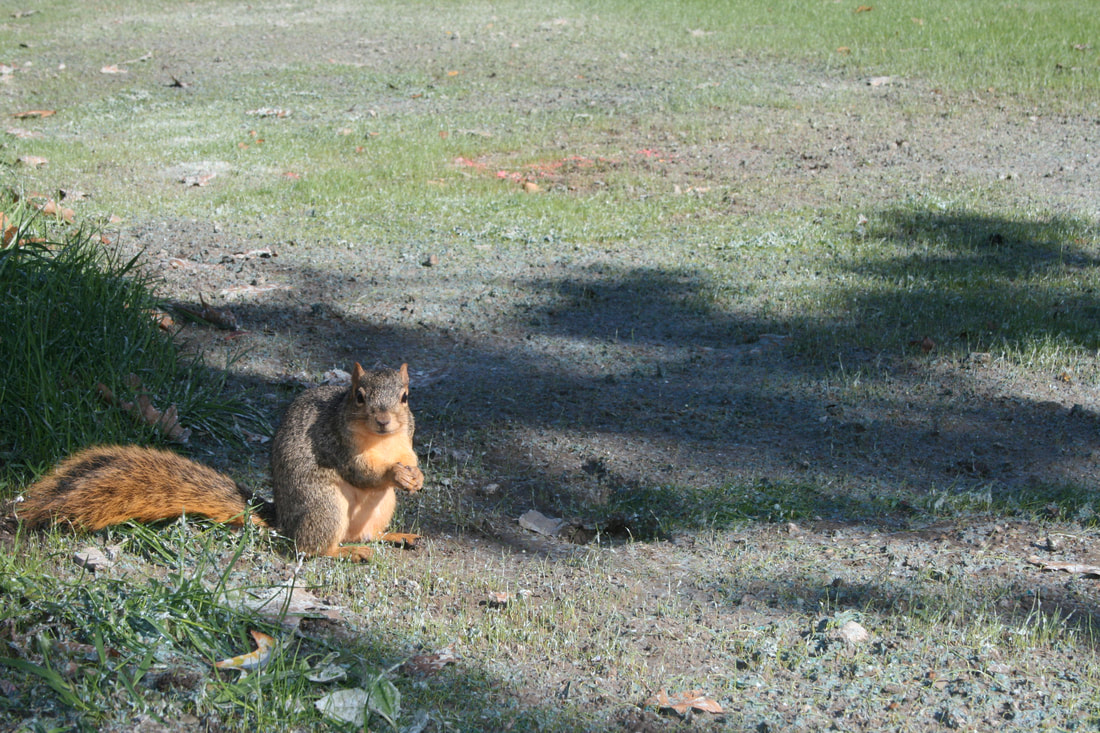
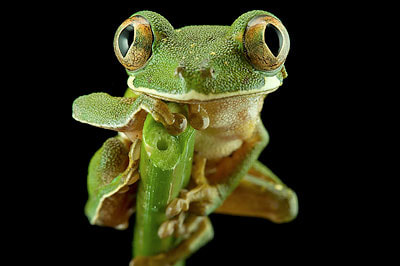
For this photo assignment, I was tasked with taking a photo that captures the natural beauty of an animal. To accomplish this, I went to Ann Arbor and walked around for about an hour and stopping every time I saw a squirrel to give it a couple of nuts. With all the photos I took that day, this one, in my opinion, is the best.
When I took this photo, the ISO was set to 400, the aperture was set to 5.6, and the shutter speed was set to 1/80. To make the original photo better, I went into Adobe Photoshop and lowered the brightness while increasing the contrast to really make the colours of the setting around the squirrel pop out as well as to decrease the white wash effect in the original photo. I also cropped it in order to remove distractions from the background and draw the viewer's eye to the main focus, the squirrel. Through this assignment, I learned how to use the aperture setting better. By learning to use the aperture, I was able to create a medium depth of field to capture the squirrel and the foreground, but have the background slightly blurred out. Since it was a bright and sunny day, I didn't really have to adjust the ISO setting for I could keep it low and still have an image with a good exposure. By adjusting the aperture, I was able to shoot may wonderful pictures of the squirrels in Ann Arbor.
For this photo assignment, I was tasked with taking a photo of a architecture. To accomplish this, I went to Ann Arbor and walked around for about two hours with my family stopping at every building to take at least 10 pictures of the beautiful architecture. With all the photos I took that day, this one, hands down, is the best. 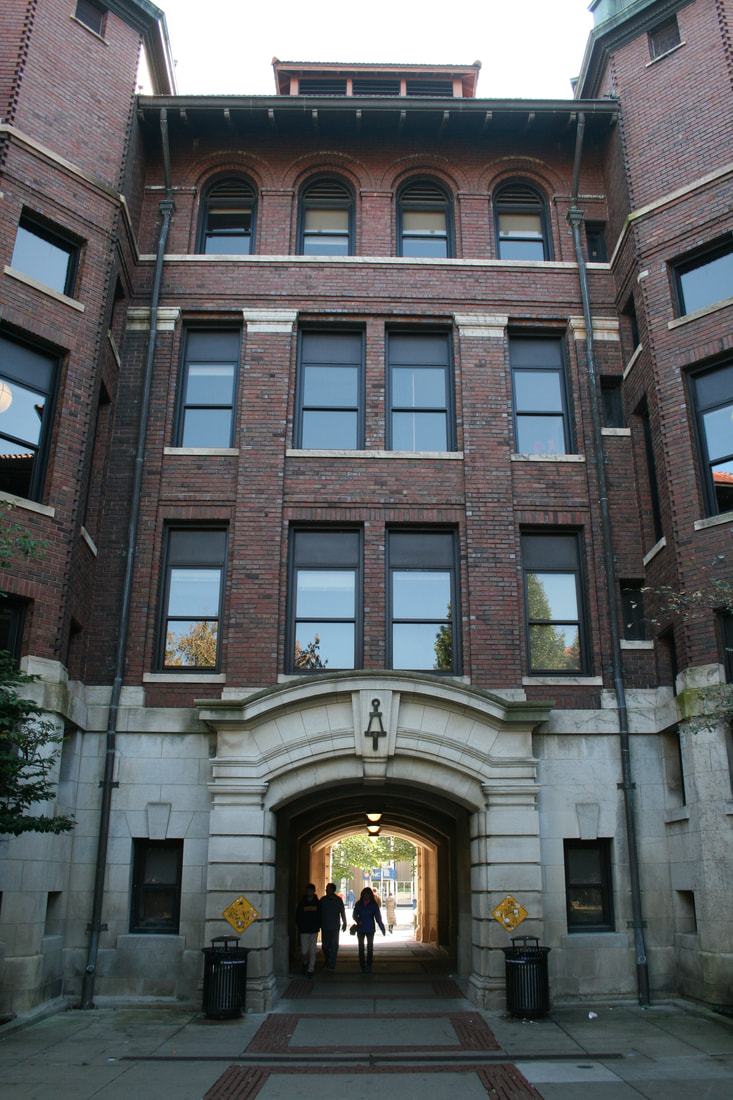 When I took this photograph, the camera was set to an aperture of 6.3, a shutter speed of 1/100, and an ISO of 400. My next best 5: 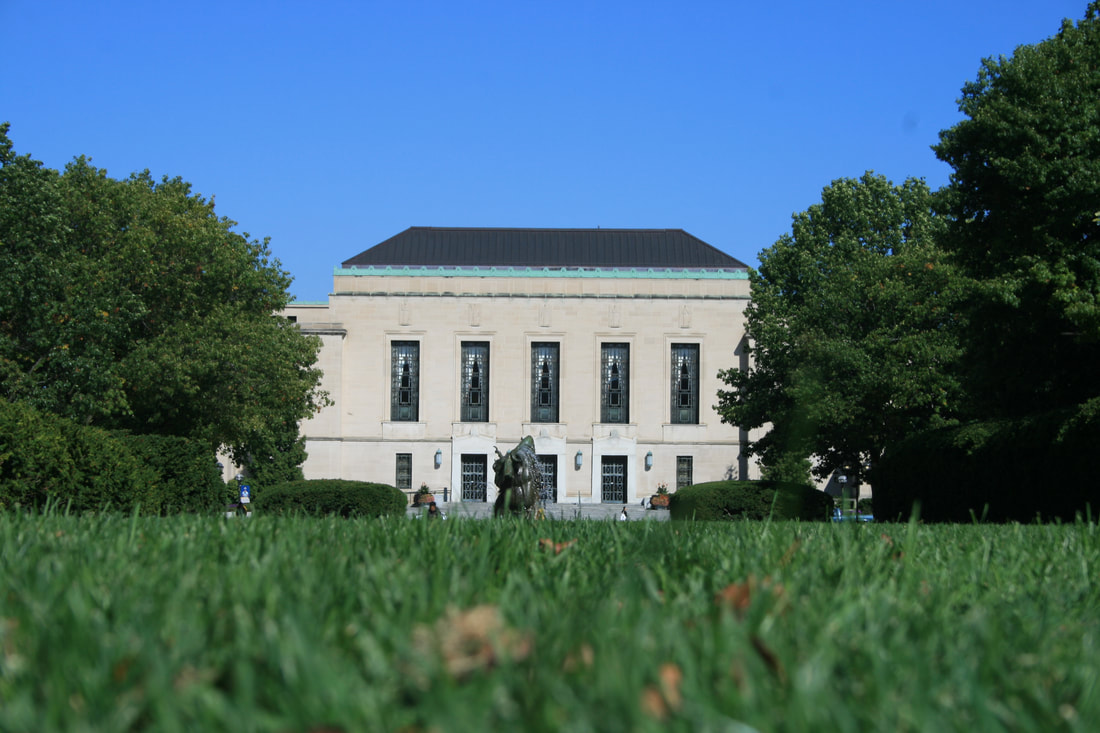 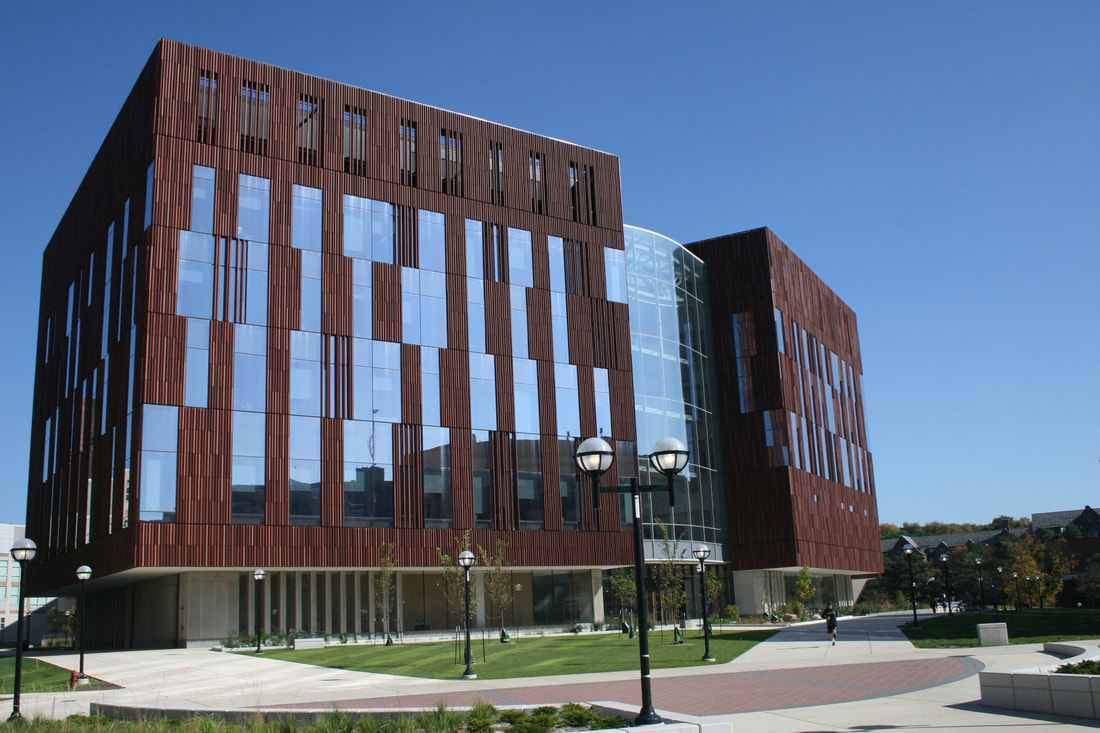 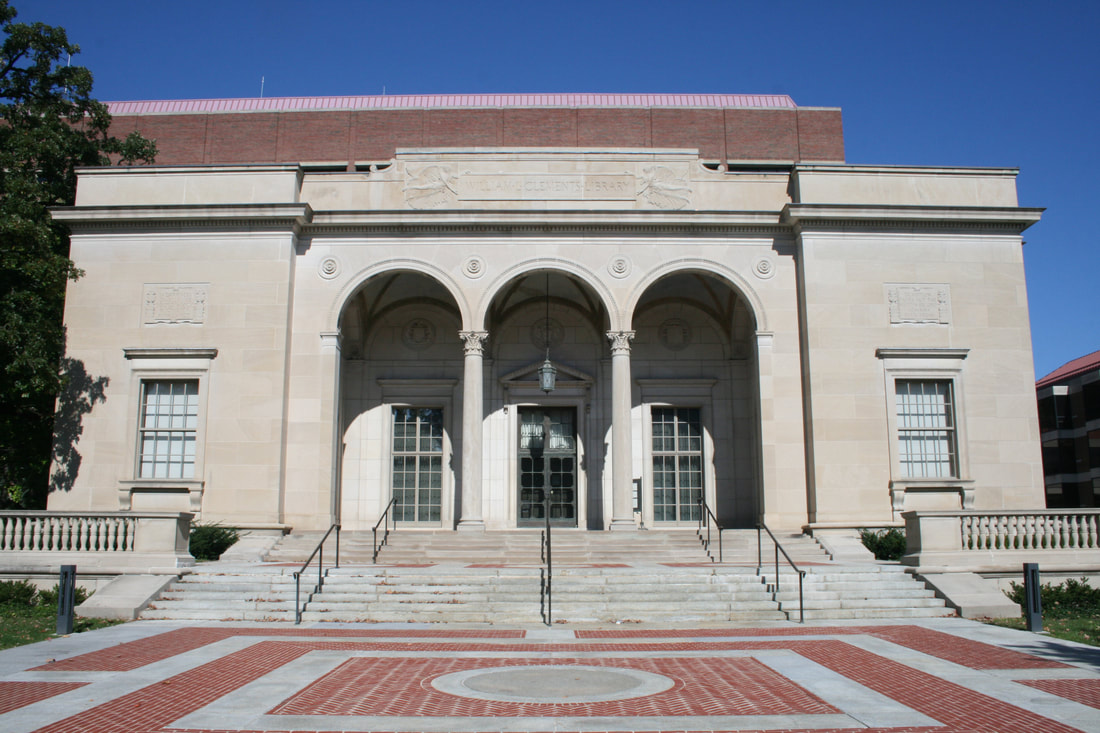 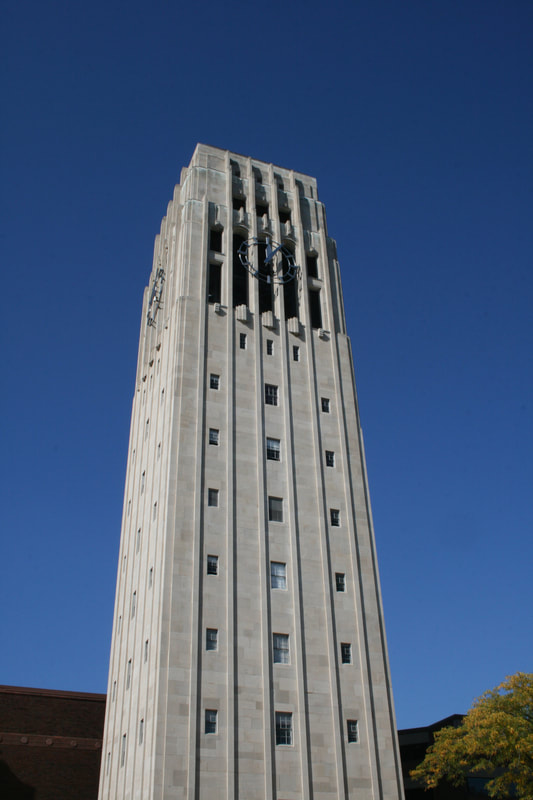 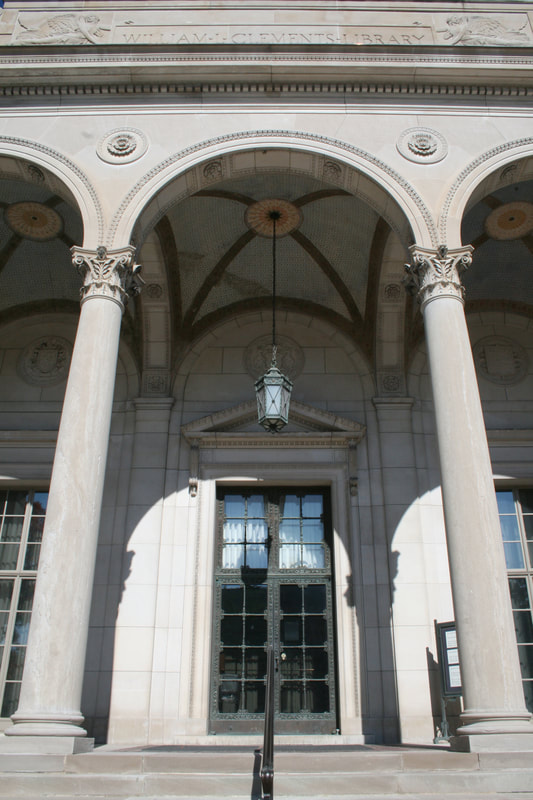 Through this assignment, I learned how to use the aperture setting better. By learning to use the aperture, I was able to create a large depth of field to capture all the beauty of each building. Since it was a bright and sunny day, I didn't really have to adjust the ISO setting for I could keep it low and still have an image with a good exposure. By adjusting the aperture, I was able to shoot over a hundred beautiful photos of the buildings in Ann Arbor.
My two best panoramic photographs:   For this assignment, we were tasked with creating panoramic photos in photoshop. To be able to create panoramic photos, we had to go and take multiple photos of a certain scene while mounted on a tripod and use the photomerge function in Adobe Photoshop. To accomplish this, we had to learn how to better use the cameras in manual mode for the panoramic could be messed up if the exposure or focus is different. From this assignment, I was able to learn how to use all the functions of the camera in manual mode as well as use photoshop to create wonderful pictures. My next best 3: 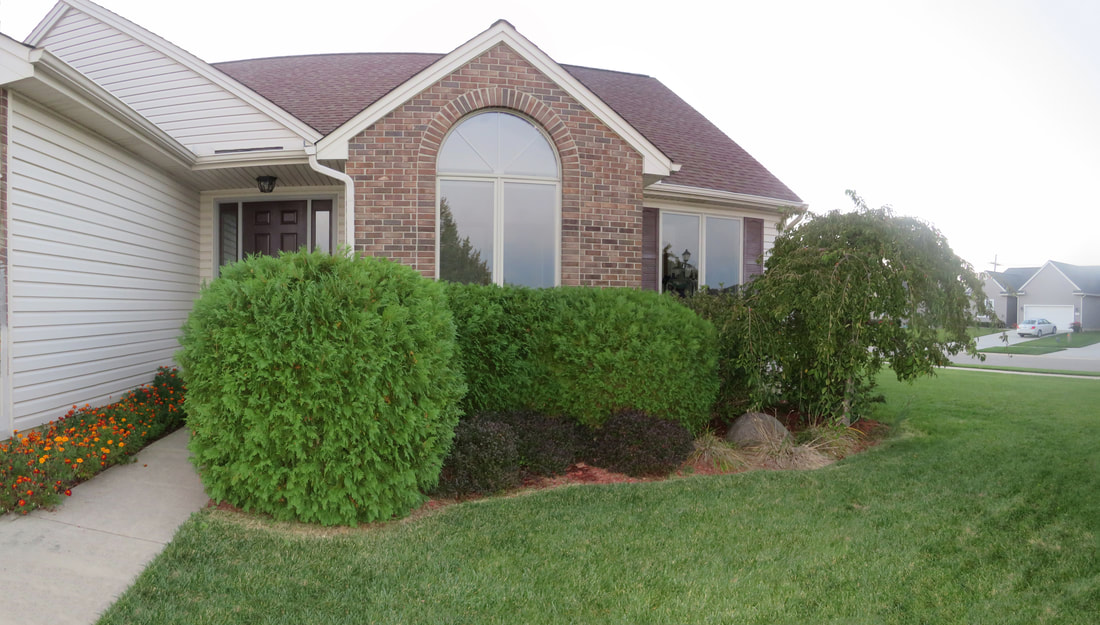   For this photo assignment, I was tasked with taking a photo of a beautiful landscape. To accomplish this, I went to Gallup Park in Ann Arbor and walked around for about two hours with my family and took over 100 pictures. With all the photos I took that day, this one, in my opinion, is the best. 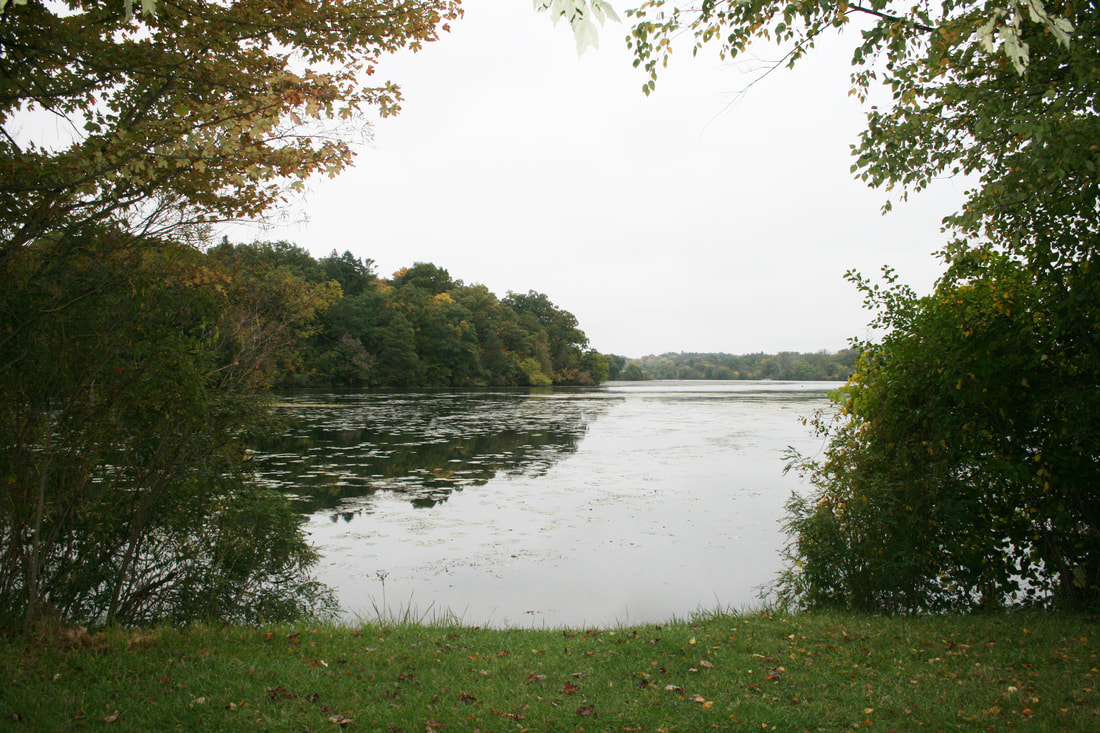 When I took this photograph, the camera was set to an aperture of 8.0, a shutter speed of 1/200, and an ISO of 400. When I edited this photo, I made it a little brighter and changed the corves to bring out the colours of the trees in the landscape. My next top 5: 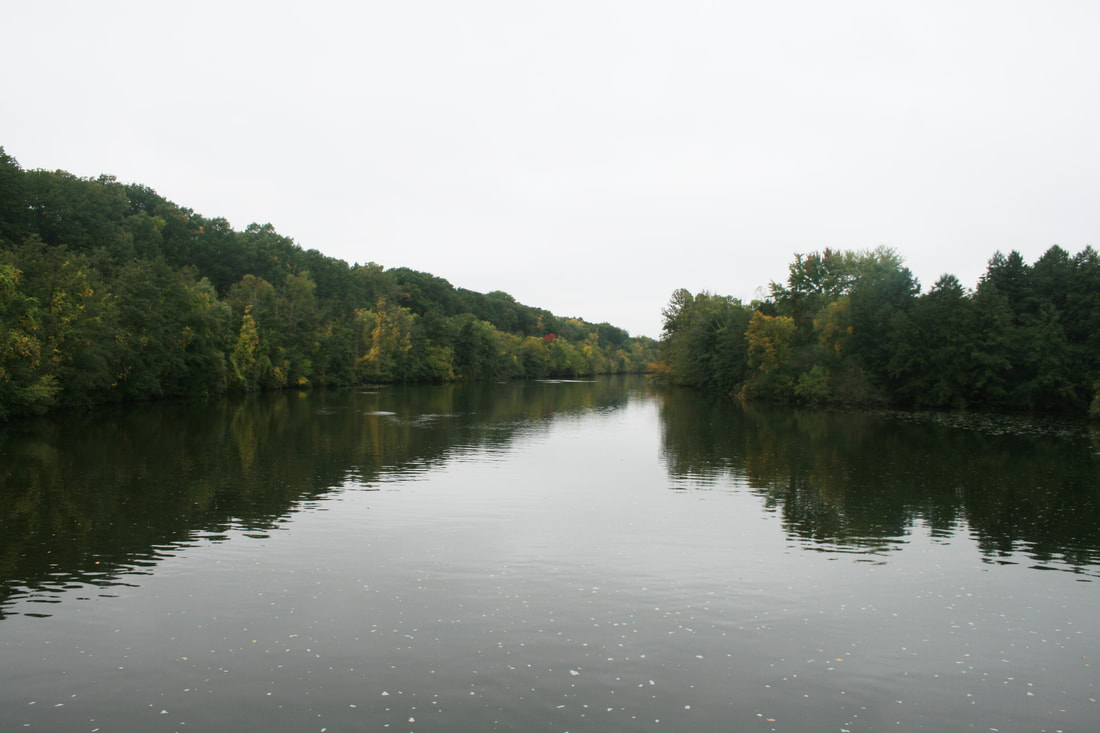 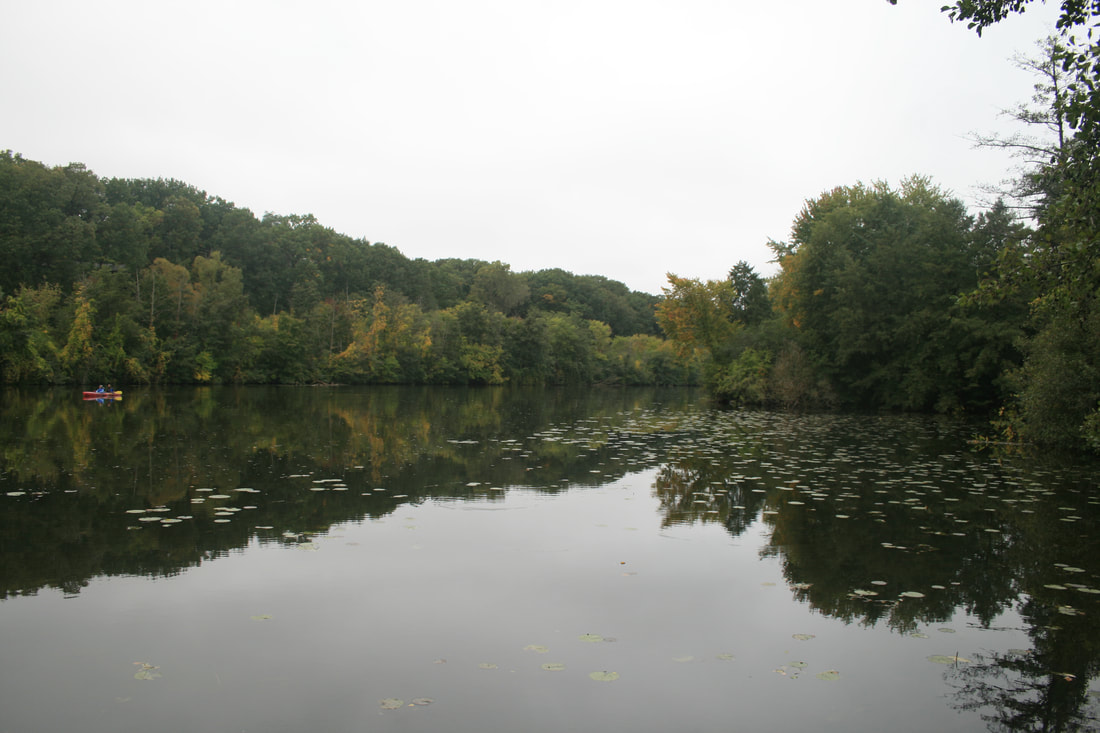 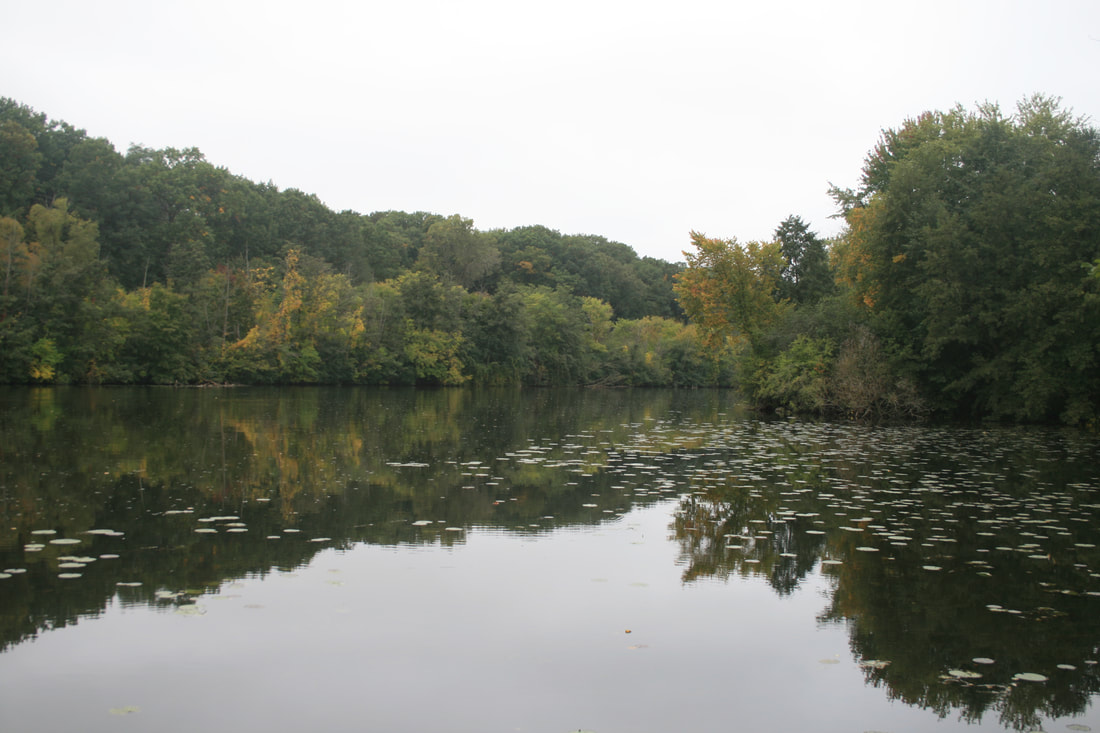  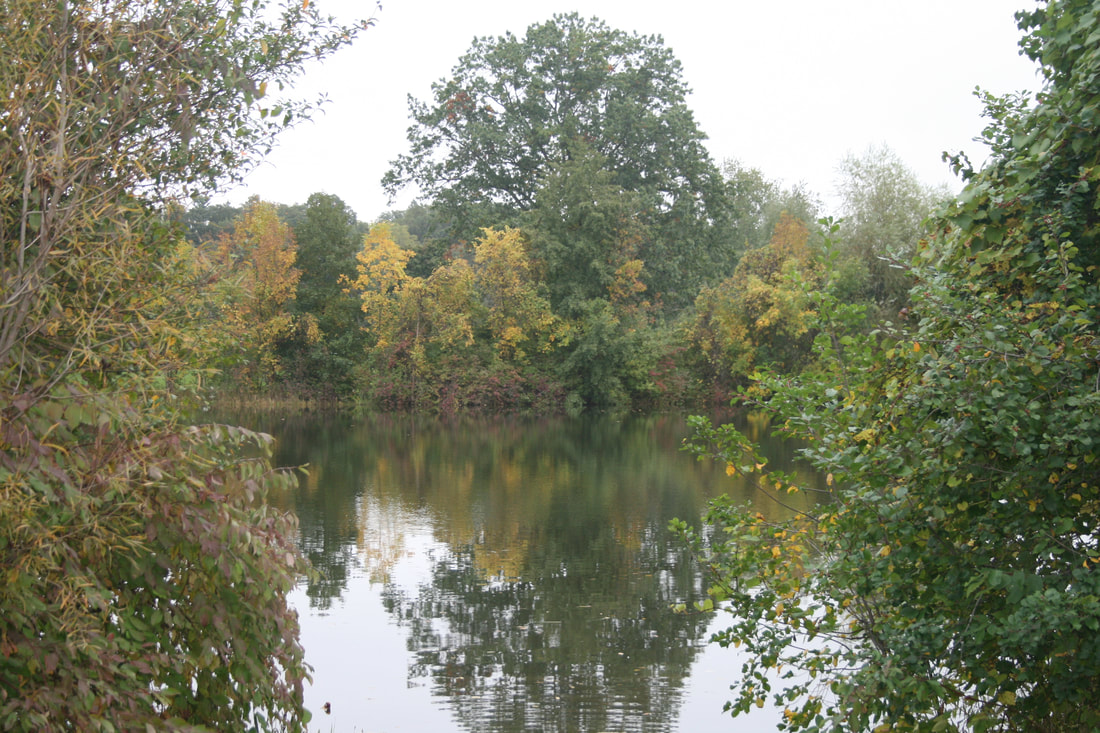 Through this assignment, I learned how to use the aperture and ISO settings better. By learning to use the aperture, I was able to create a large depth of field to capture all the beauty of the landscape. Since it was a dark day, I had to adjust the ISO settings so that the camera was more sensitive to light while trying to prevent the occurrence of digital noise. By adjusting these settings, I was able to shoot over a hundred beautiful photos of Gallup Park.
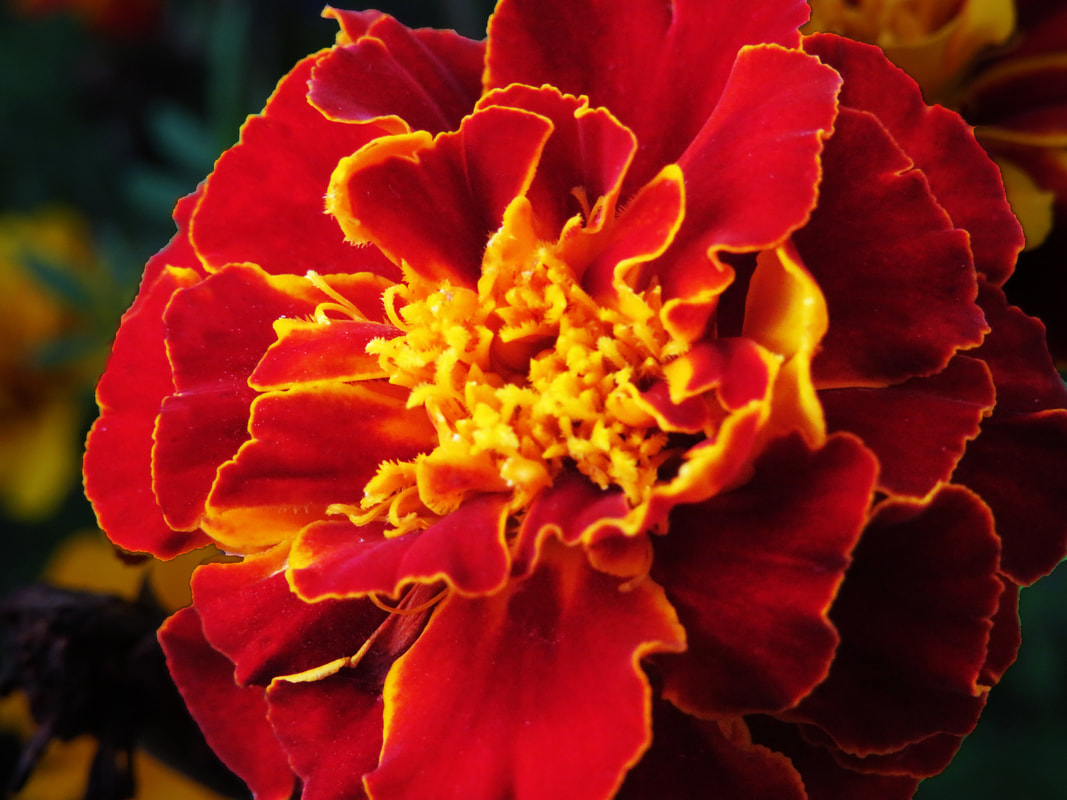
For my second photo assignment, I have chosen to try using the macro setting on the camera more often. I chose this because it can reveal a lot of tiny details that we usually don't pay attention to. Macro photos can be really interesting, give you a new perspective, and I would like to try and create some really good ones. Some photos that have inspired me: In this assignment, we were tasked with taking a original picture (right) and modifying it in Adobe Photoshop to make it look better (left).   In this assignment, I learned how to better use the tools in Adobe Photoshop. Overall it was a lot of fun. Now I know how to use even more tools in Adobe Photoshop which will help me a lot in this class. Since I had some extra time, I tried using the same tools on one of my own photos. Original on the left and edited on the right. For this assignment, I was tasked with taking a picture of nature. For this, I went around my house taking pictures of all the trees and flowers we have. In my opinion, the picture of the flowers were the most beautiful. 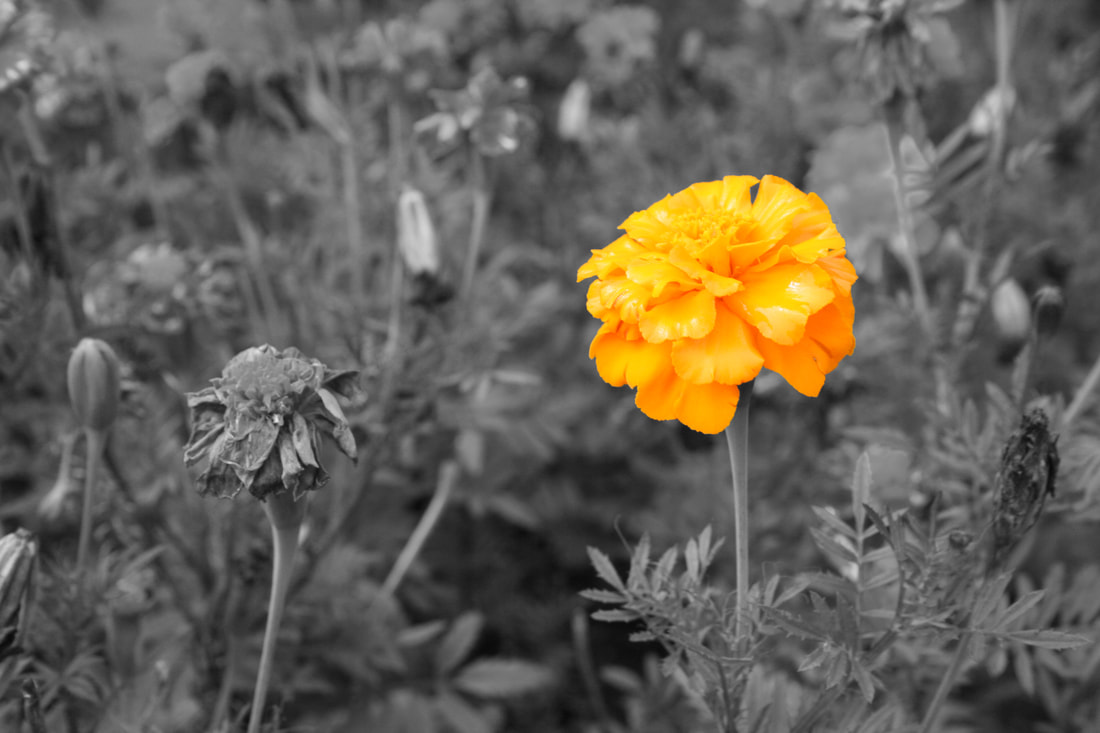 When I took this image, the camera was set to an aperture of 9.0, a shutter speed of 1/200, and an ISO of 400. When I edited this photo, i copied the main subject of the photo, the orange flower, and turned the rest of the surroundings black and white to draw the viewer's eye to the main point. My next top 5 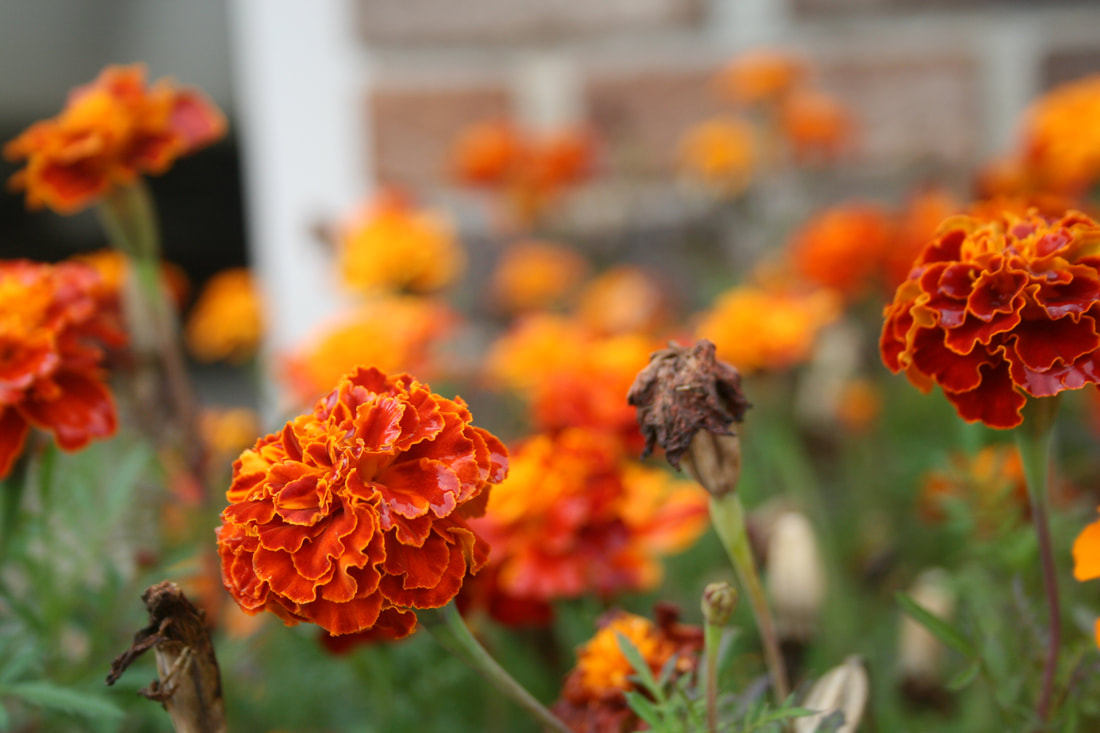 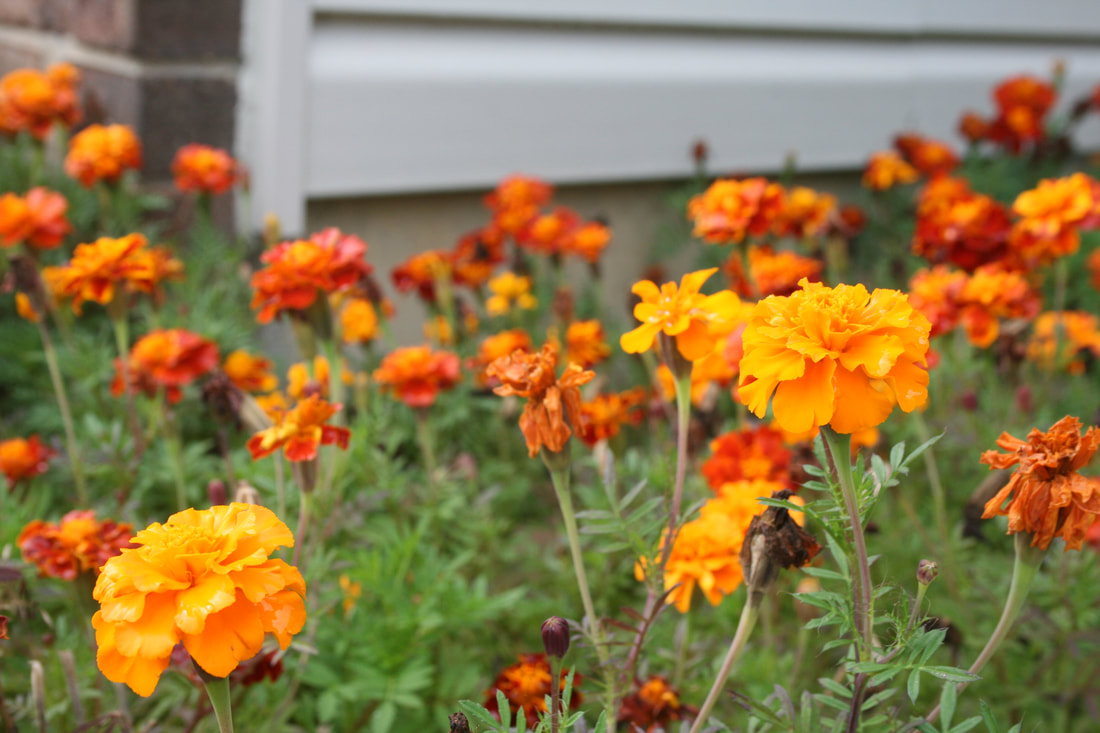 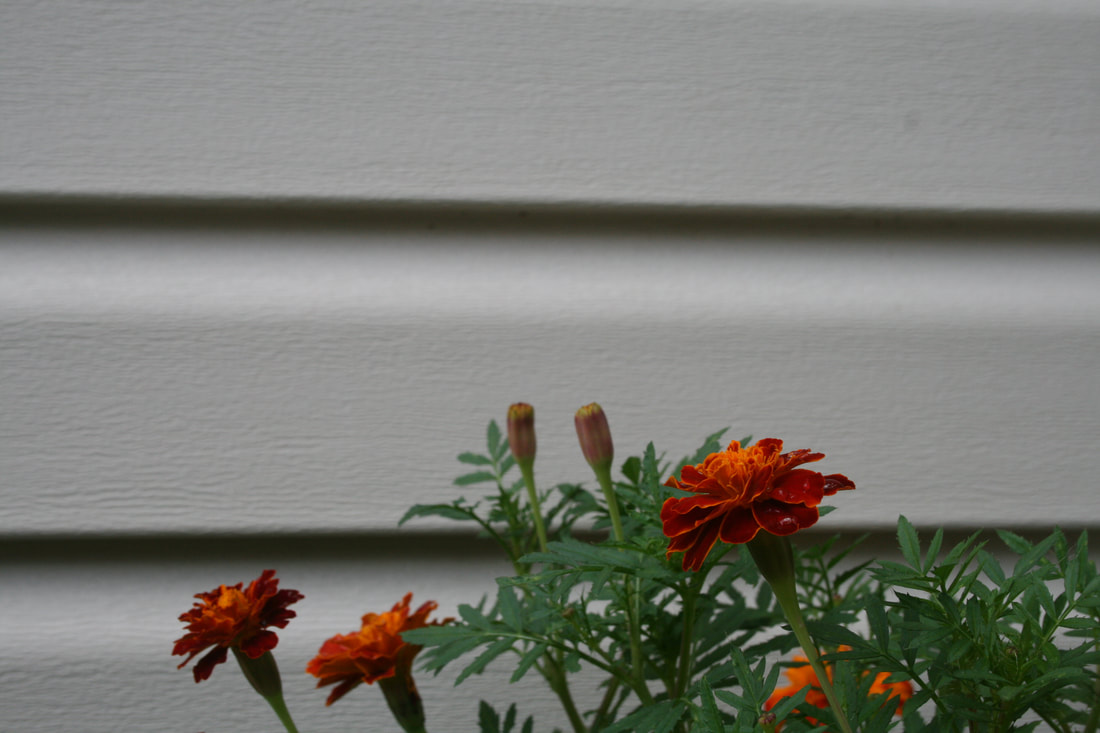 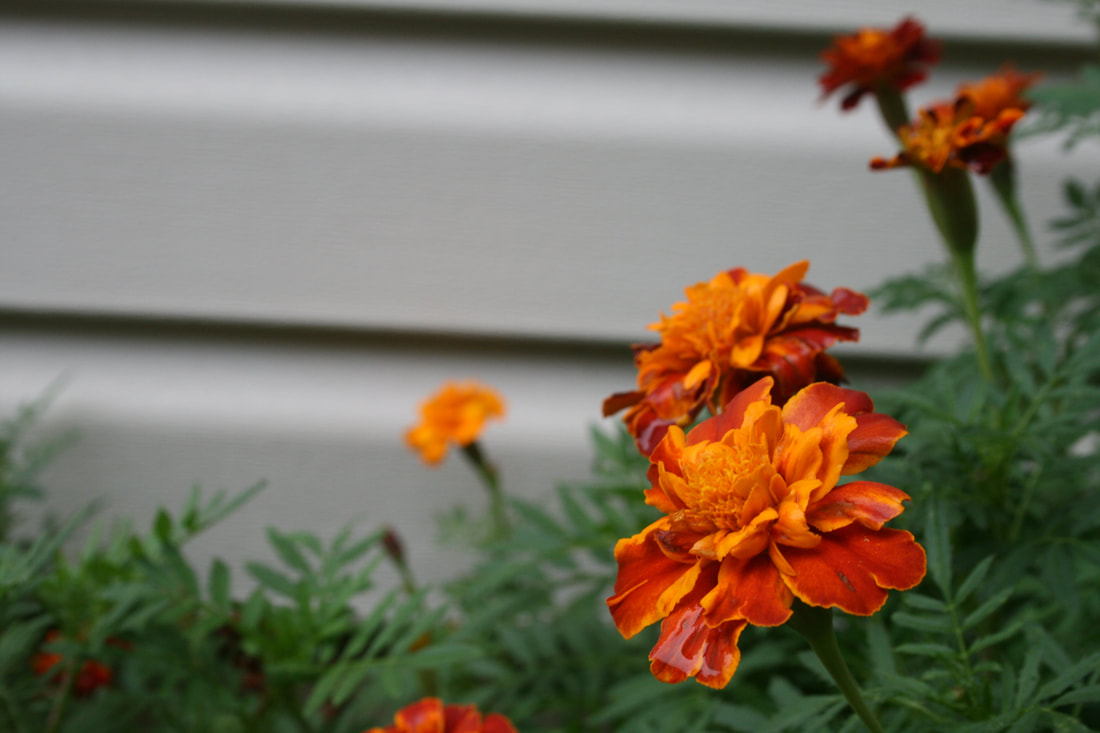 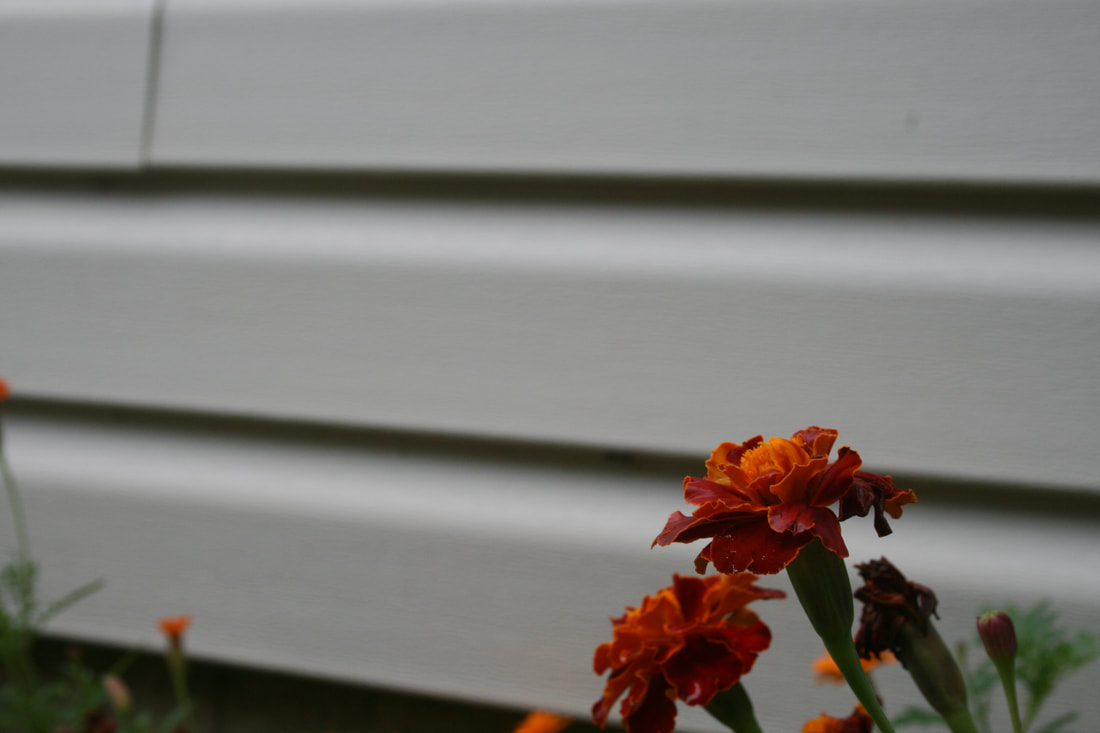 Through this assignment, I learned how to use the aperture and ISO settings better. By learning to use the aperture, I was able to create a shallow depth of field or a large depth of field. I also learned that you must find the right balance of shutter speed and aperture to get a picture just right. If you have a large aperture, you must adjust your shutter speed to make sure the picture is not washed out by light. If you have a large aperture, you must increase the shutter speed in order to make sure that your picture is not too dark. By adjusting these settings, I was able to take many beautiful photos.
|