|
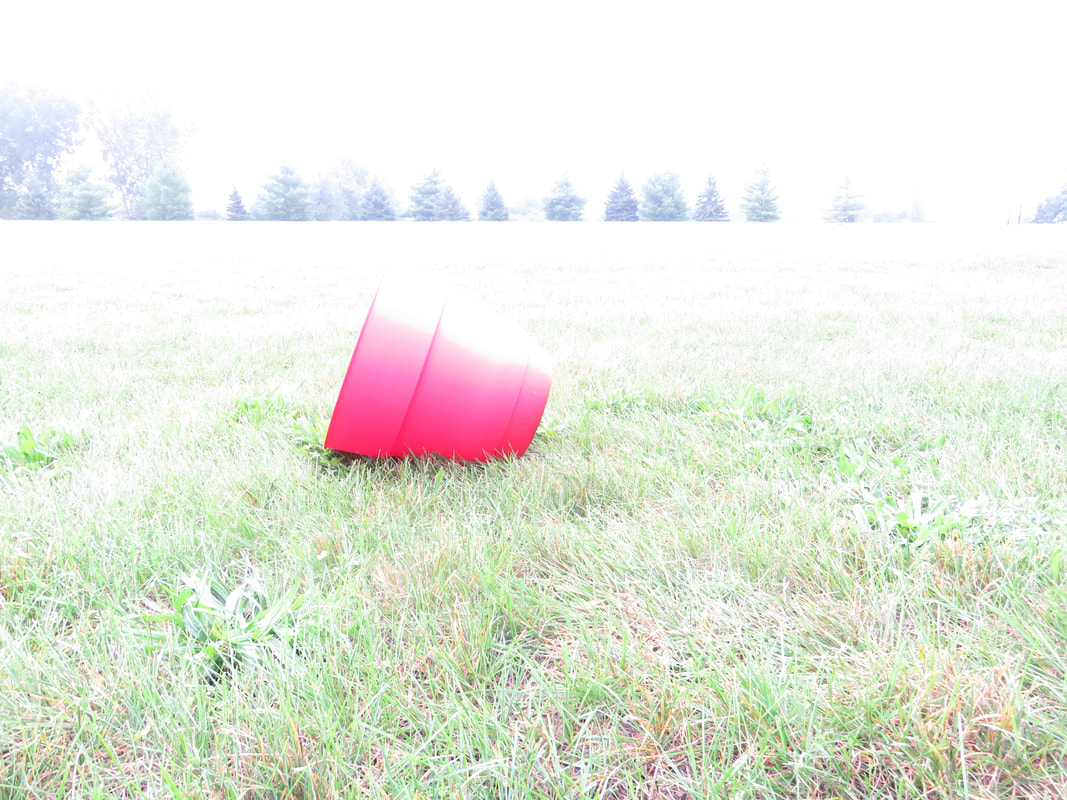
This class has really taught me a lot. When I first entered his class, I had no clue what all the functions and settings on the cameras meant, but now I can easily control and understand each and every function. The effect of blurring out a background for a picture had always interested me and now I know exactly how to create that effect. I also learned how to get the correct exposure on each photo to make sure they aren't too dark or white washed. For Example:
Both of the above pictures show how much I have improved on managing the exposure of each photo and the blurring effect by changing the aperture. This class also taught me a lot about Adobe Photoshop. When I first started this class, I knew little about the tools and features of Adobe Photoshop, but now I can use almost every tool with confidence. I've learned how to use all the different selection tools, all the filters, etc. This class has really taught me a lot. For Example:
0 Comments
 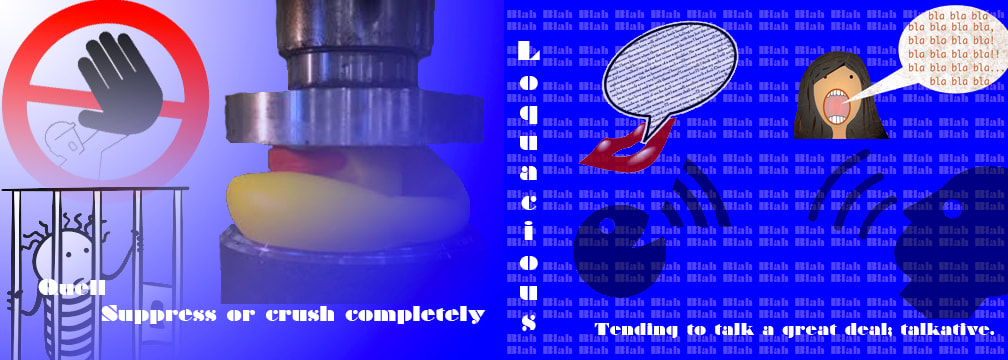 For the final Adobe Photoshop assignment, we were tasked with making a visual dictionary and puns. To do this, we had to use different tools such as gradients, levels, and different blending modes. This assignment was fairly easy for we have used many of the tools required before. It was overall a very fun assignment and I learned the definitions of two new words from it.
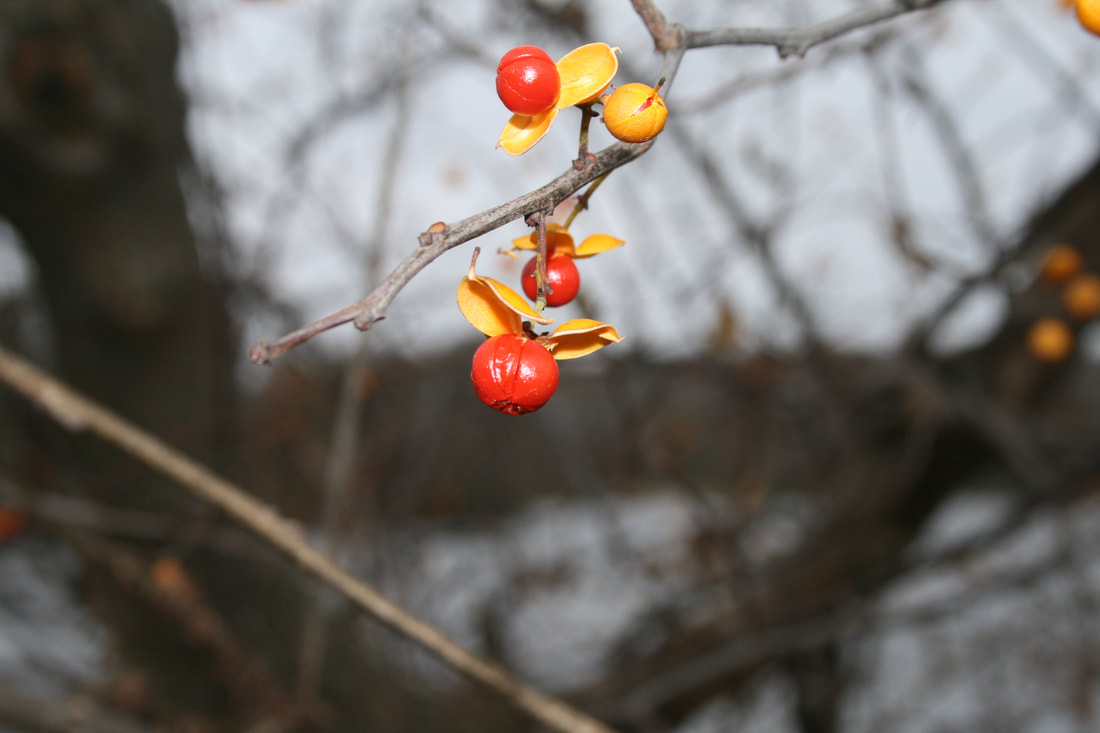
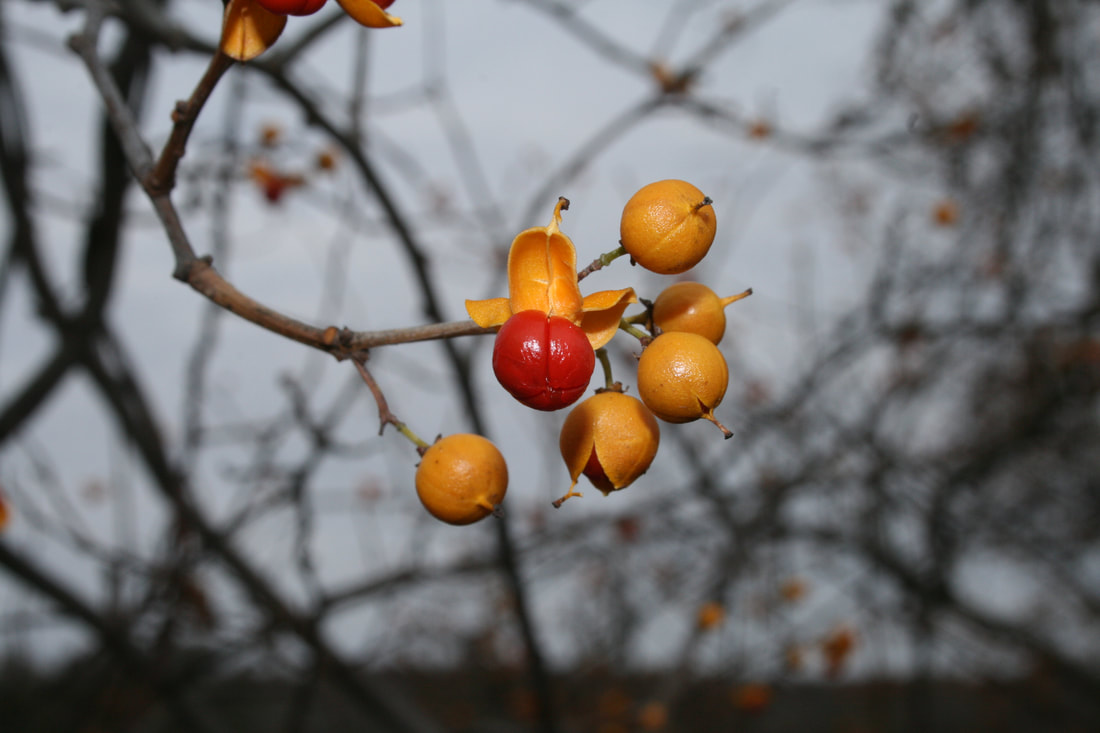
For this photo assignment, I was tasked with taking a photo of an object very close to the camera to capture all the detail of it. To accomplish this, I went to Gallup Park in Ann Arbor and took pictures of all the berries and leaves I could find . I took lot of pictures, but this one has to be the best.
When I took this photo, the ISO was set to 400, the aperture was set to 18.0, and the shutter speed was set to 1/200. To make the original photo better, I went into Adobe Photoshop and raised the brightness and contrast of the photo. My next best five: 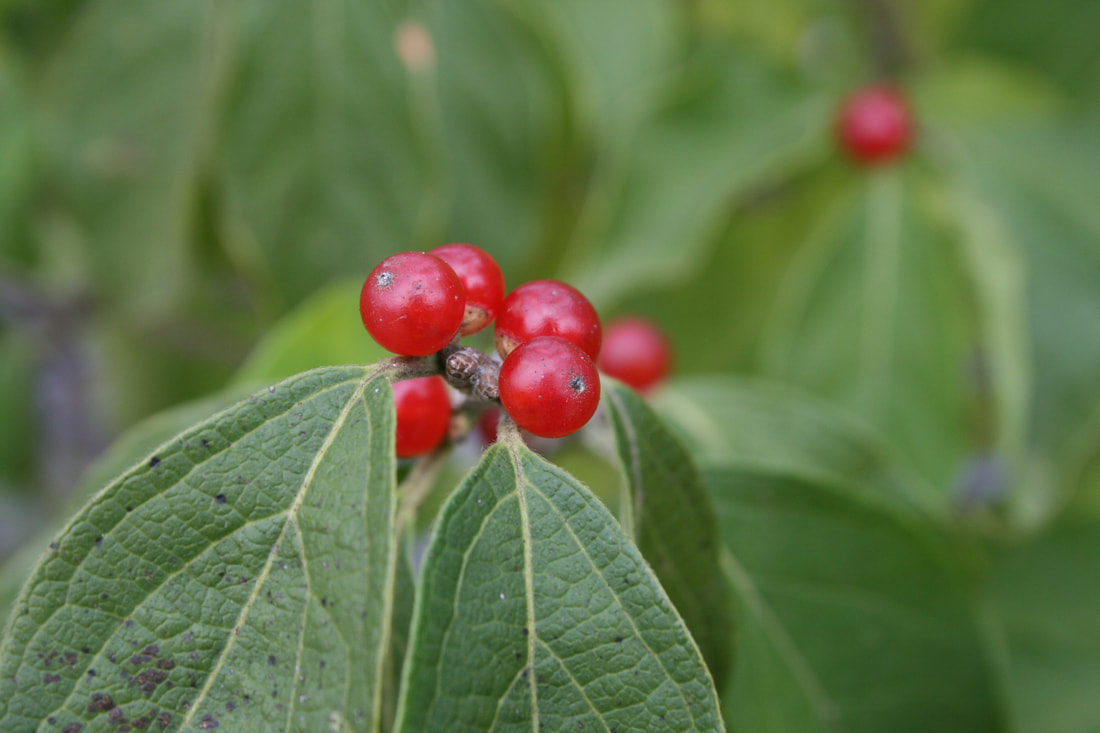 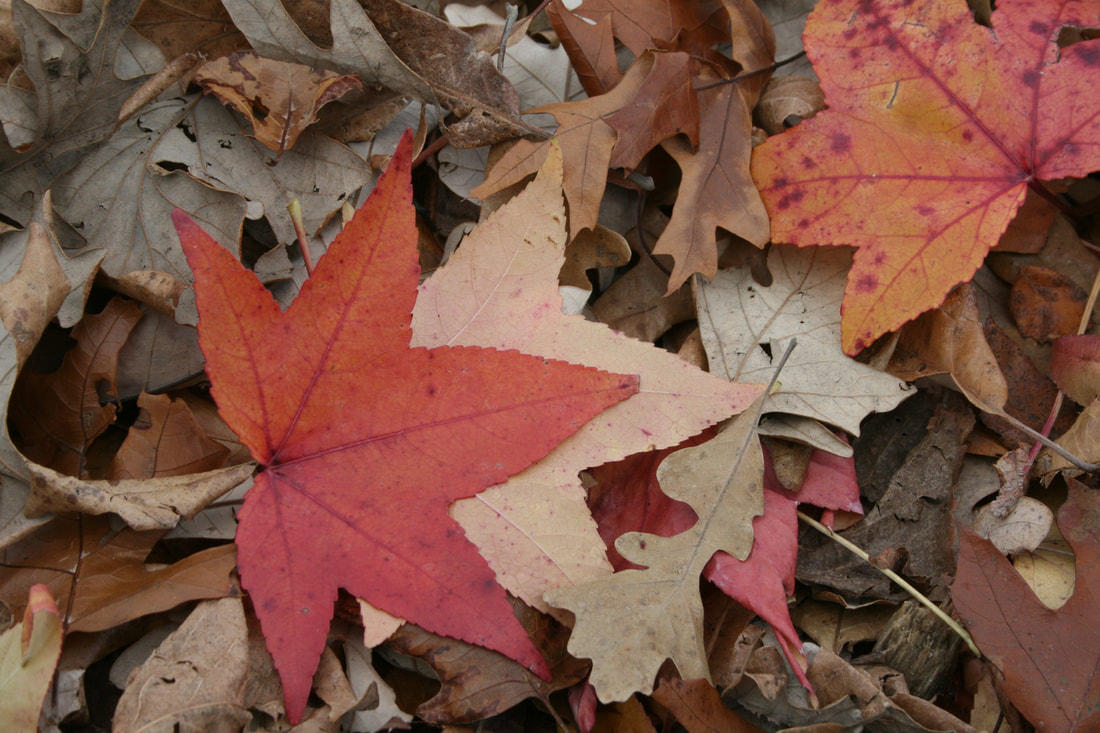 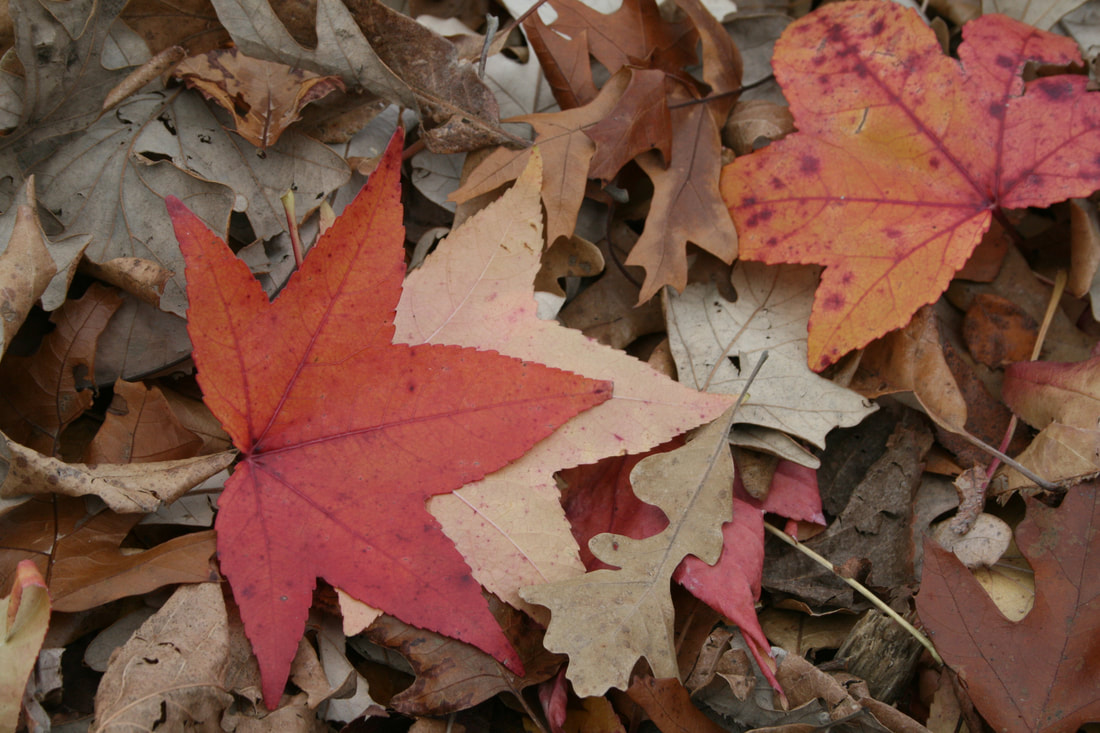 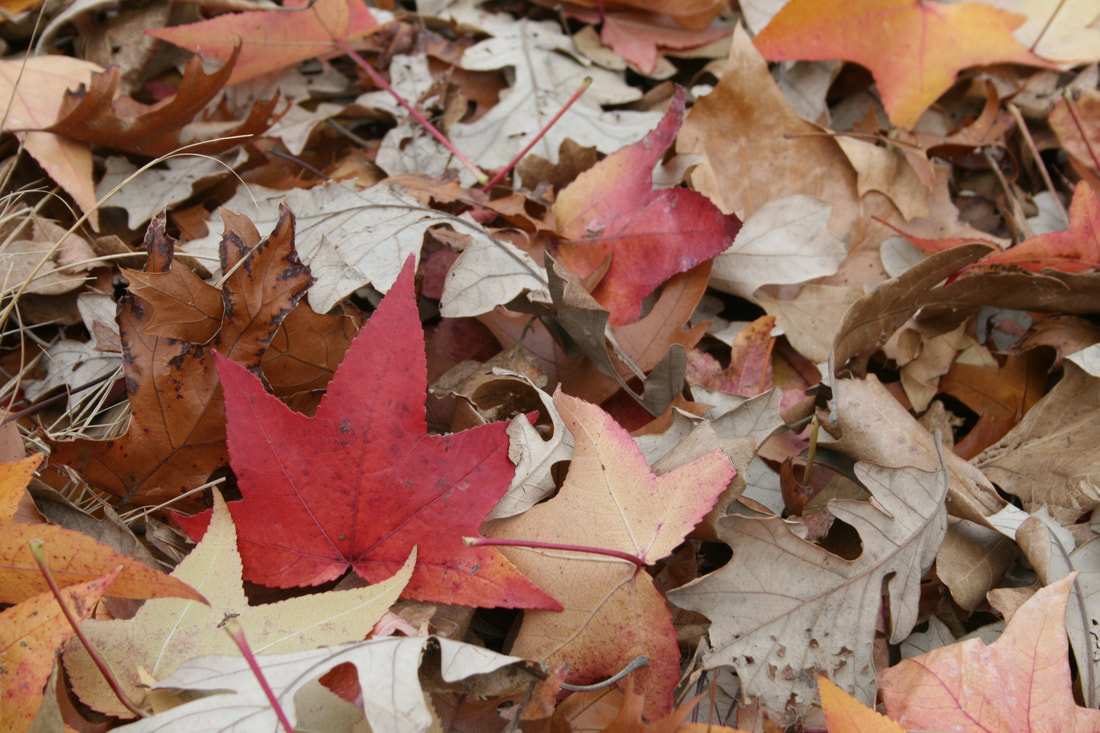  Through this assignment, I learned how to use the camera better. By learning to use the aperture setting better, I was able to take photos that capture the details of small objects and having the background blurred out. By using using the camera in macro setting and adjusting the aperture, I was able to take a lot of pictures that capture the natural beauties and small details of the objects at Gallup Park.
For this assignment, we had to take portraits of people in our class and frame them in photoshop.. This assignment aimed to help us learn how to take portraits as well as use the tools in Adobe Photoshop. 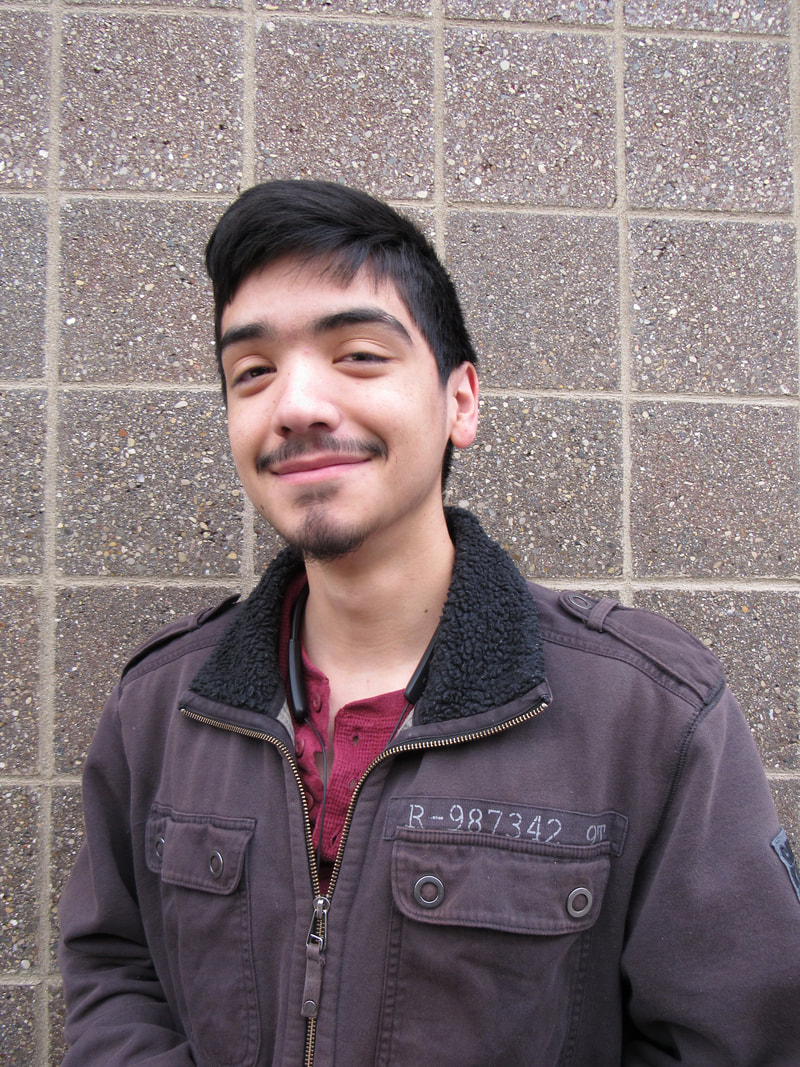 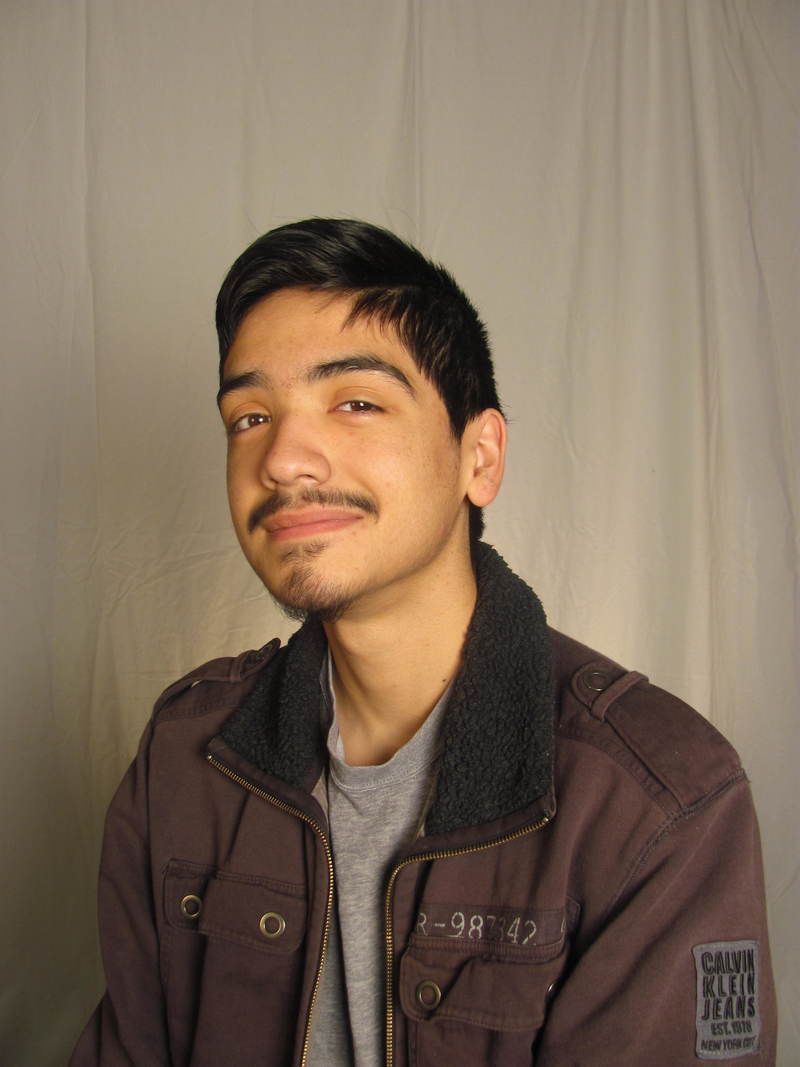 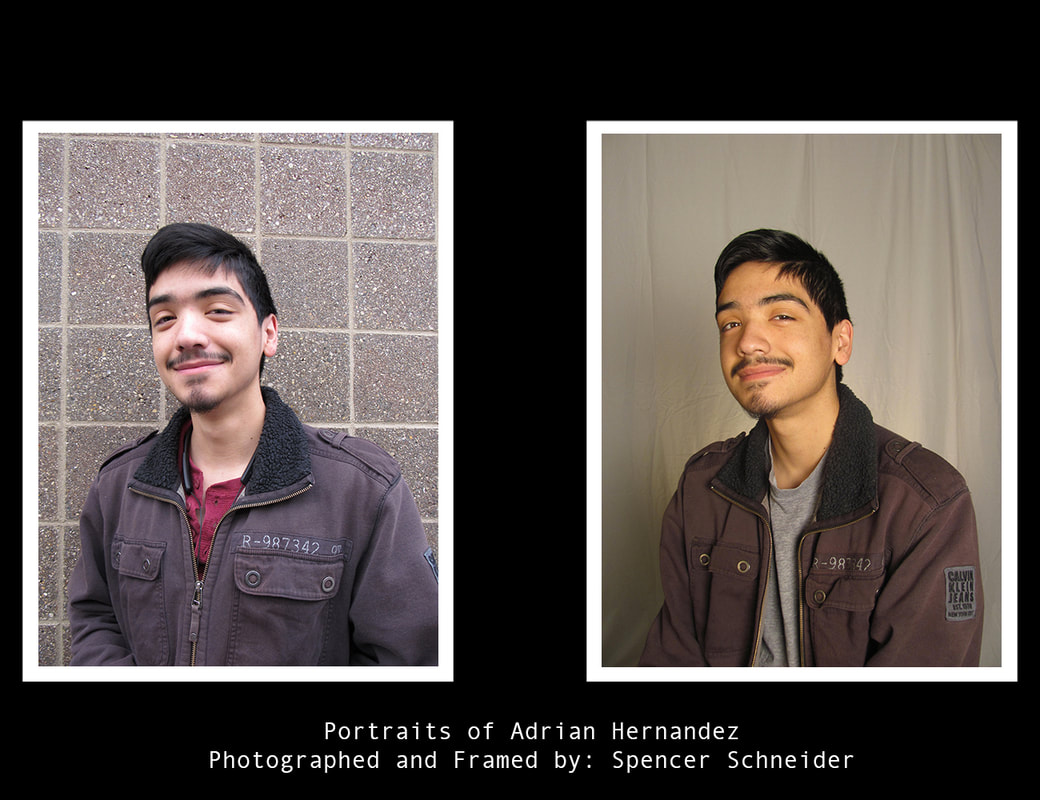 Through this assignment, I was able to learn how to take a portrait in a studio setting as well as use a bounce card in a non-studio setting. The assignment was fairly easy for all we had to do was take multiple photos of the subject while adjusting the aperture and shutter speed. The framing was also easy because it was just the matter of making a white rectangle around one photo and then copying it.
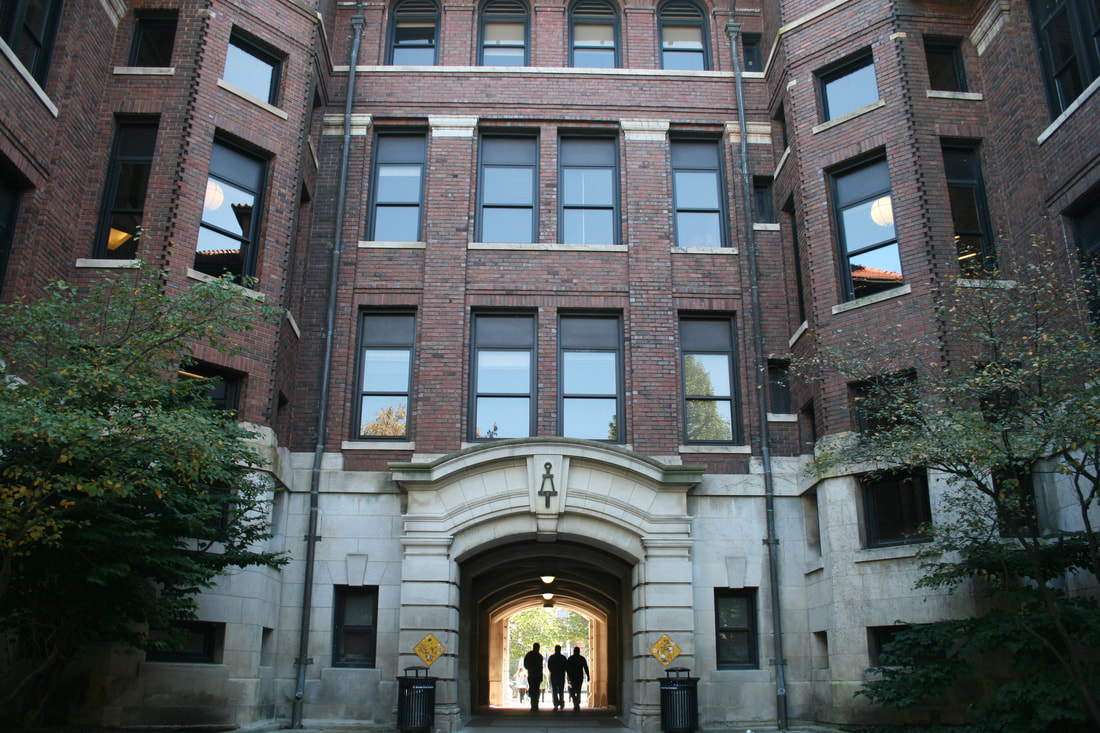
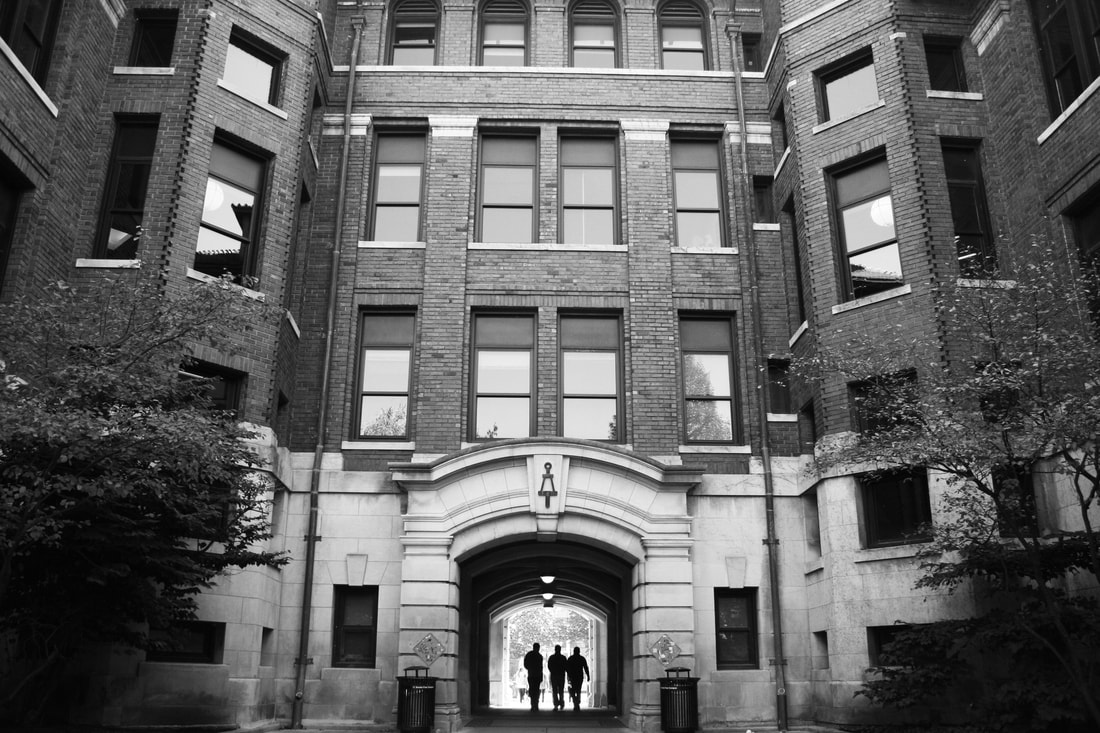
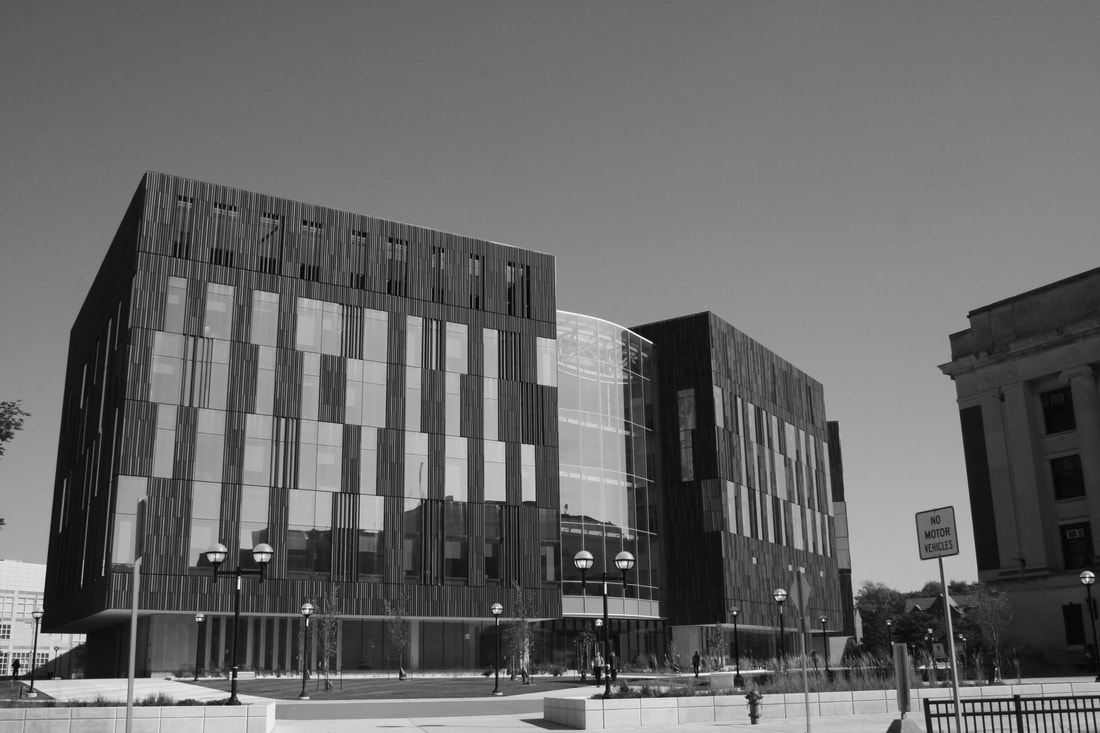
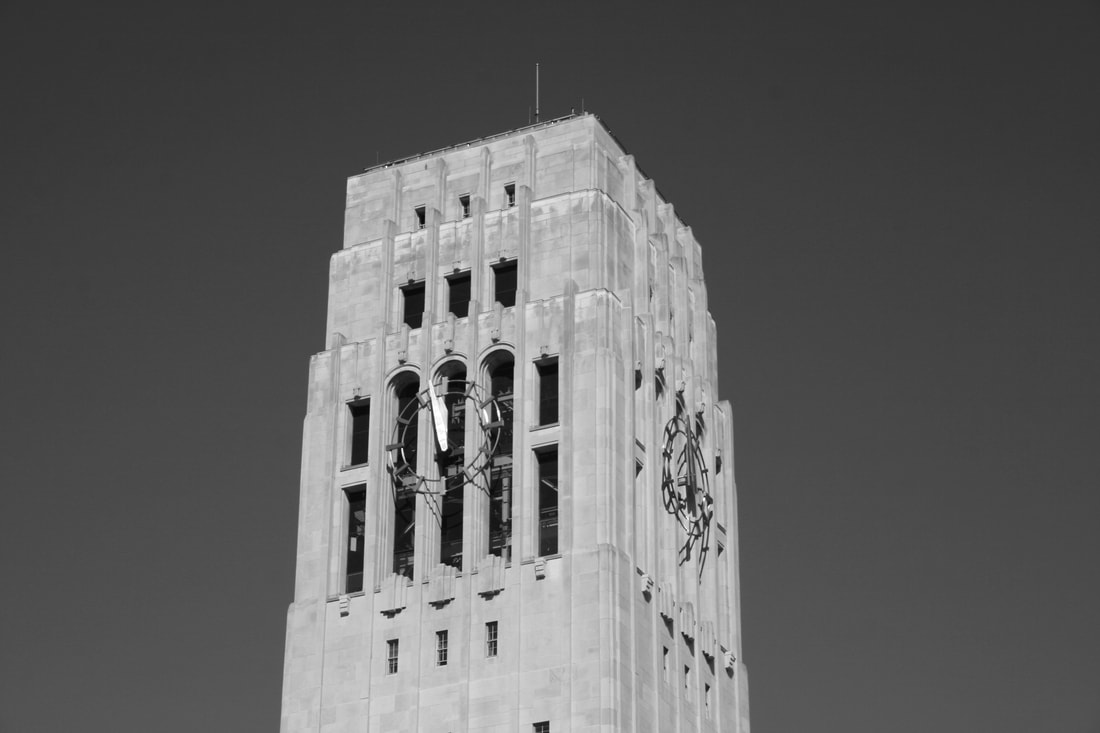
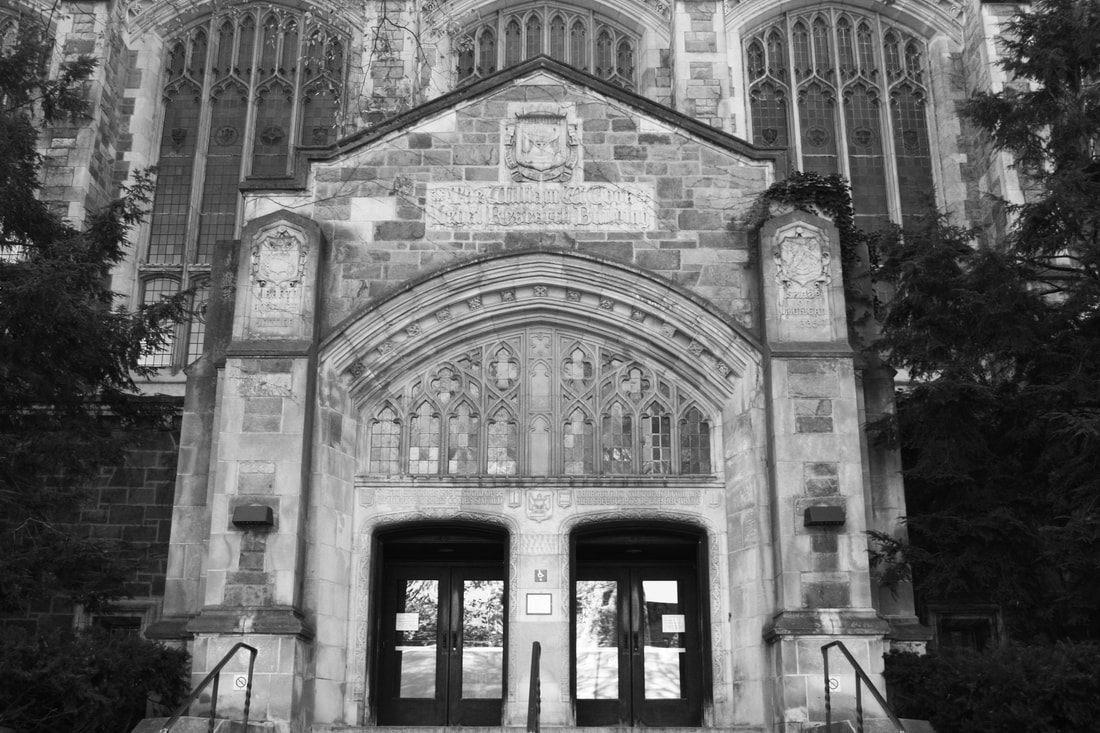
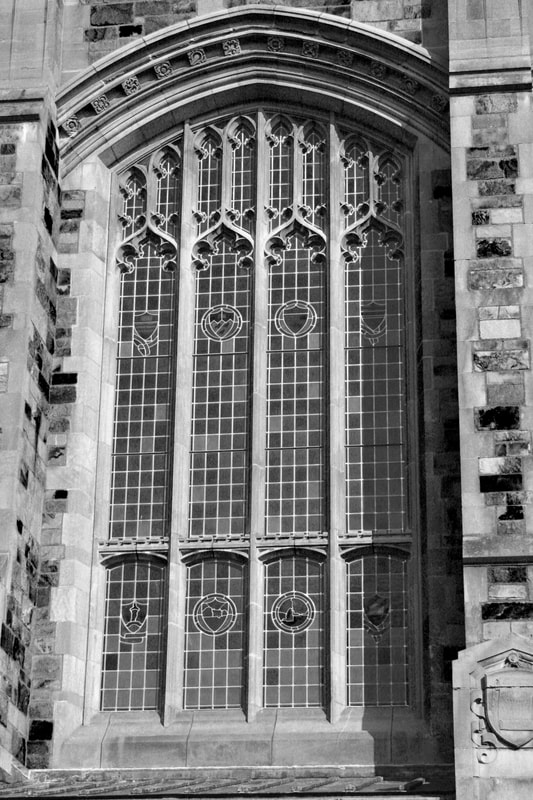
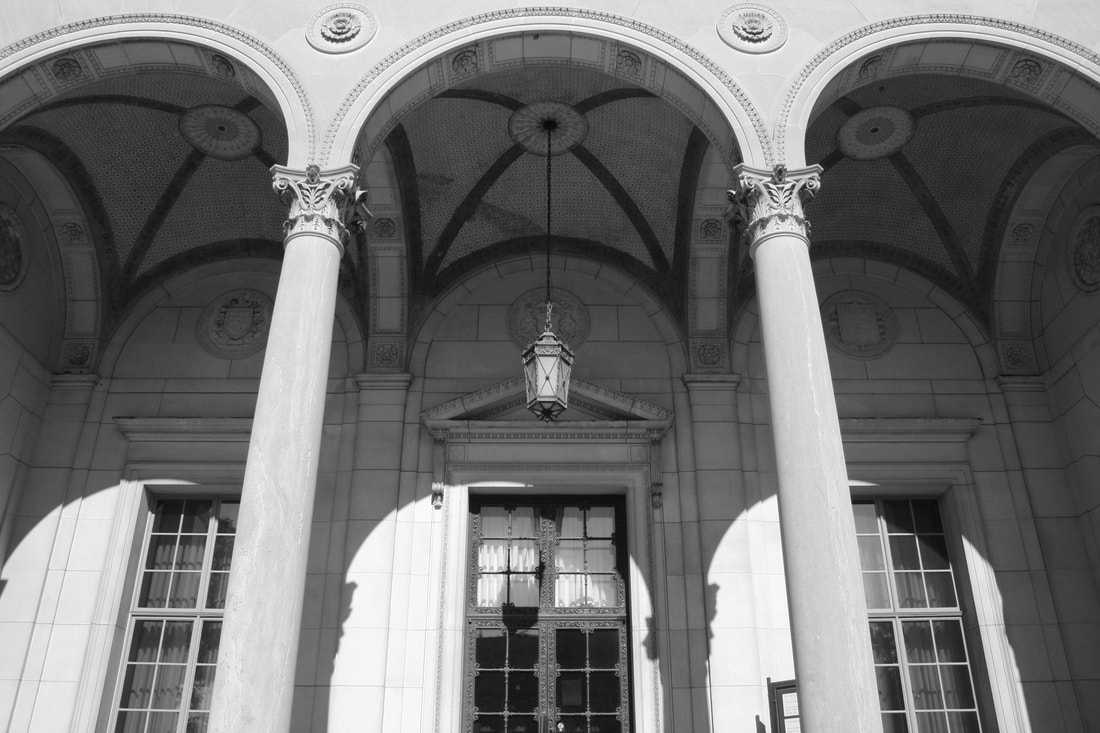
For this photo assignment, I was tasked with taking a photo and changing it to black and white. To accomplish this, I took pictures I had previously taken and changed them to black and white in Adobe Photoshop. I edited lot of pictures, but this one has to be the best.
When I took this photo, the ISO was set to 400, the aperture was set to 5.6, and the shutter speed was set to 1/100. To make the original photo better, I went into Adobe Photoshop and raised the brightness and contrast as well as make the picture black and white. My next best 5: Through this assignment, I learned how to use Adobe Photoshop better. By learning to use brightness and contrast adjustment as well as the black and white adjustment, I was able to make photos that have a vintage feel. By using Adobe Photoshop to change my photos into black and white, I was able to make many wonderful pictures.
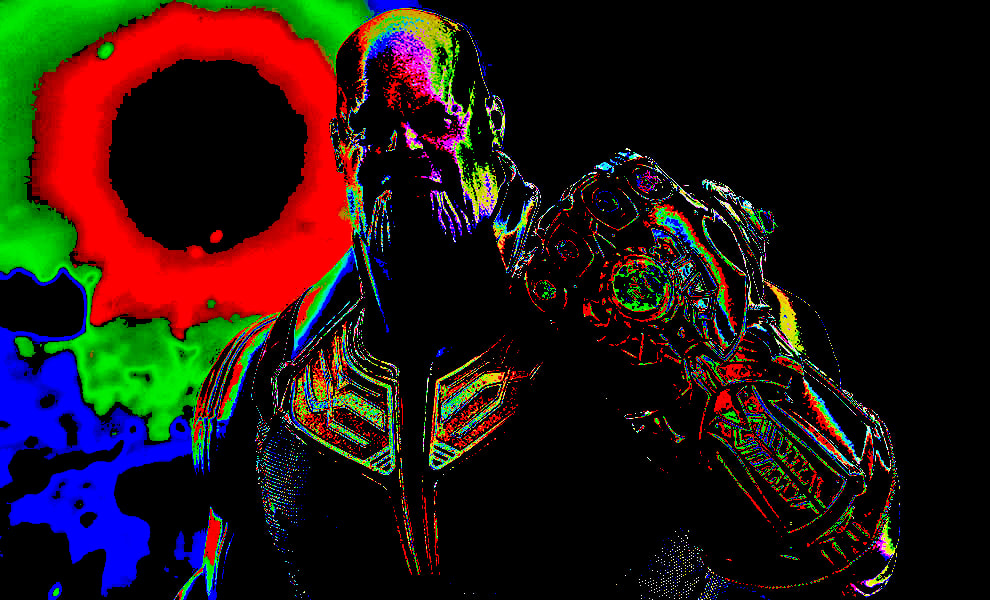
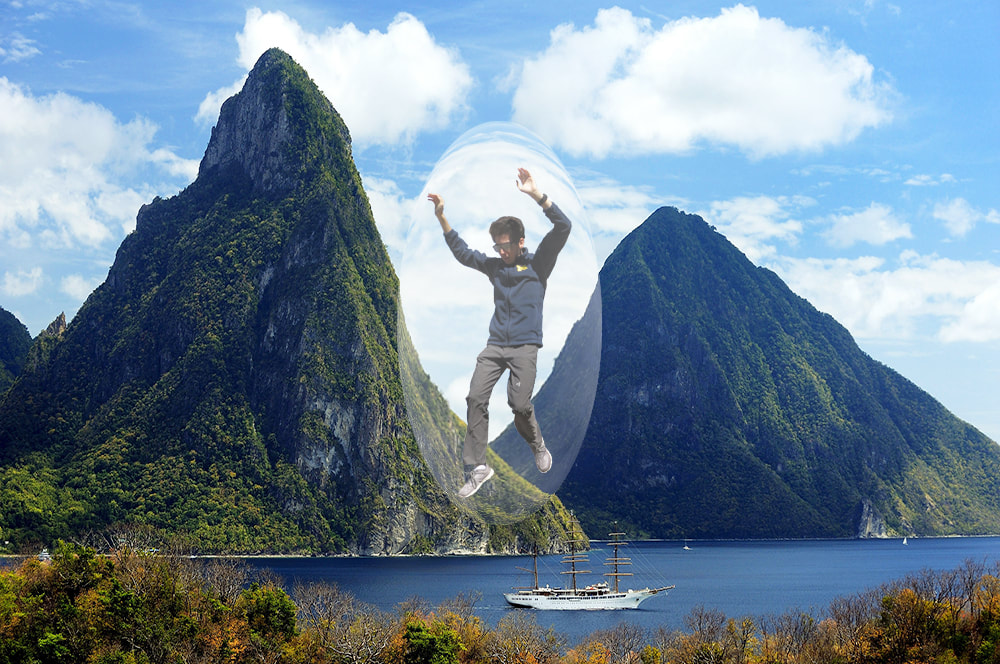
For this assignment, we had to research or choose to do certain tutorials from a list and try and create a photo like the ones in the tutorials. This assignment aimed to help us learn the tools in Adobe Photoshop. Through this assignment, I was able to learn about new tools I had never used before in Adobe Photoshop. Overall the assignment was fairly easy for all we had to do was follow the steps listed on the webpages. Some new tools I learned about was the effects tools like an outer glow on an object. I also learned how to use different filters such as the add noise filter and even the spherize filter to create some stunning photos.
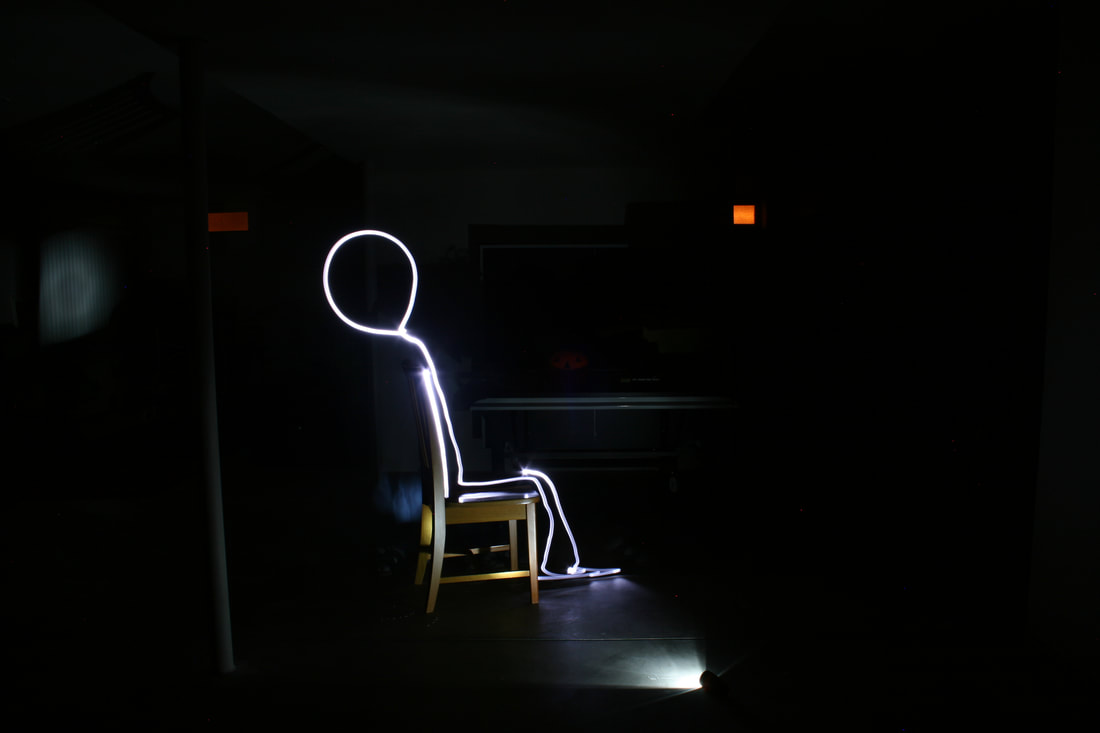
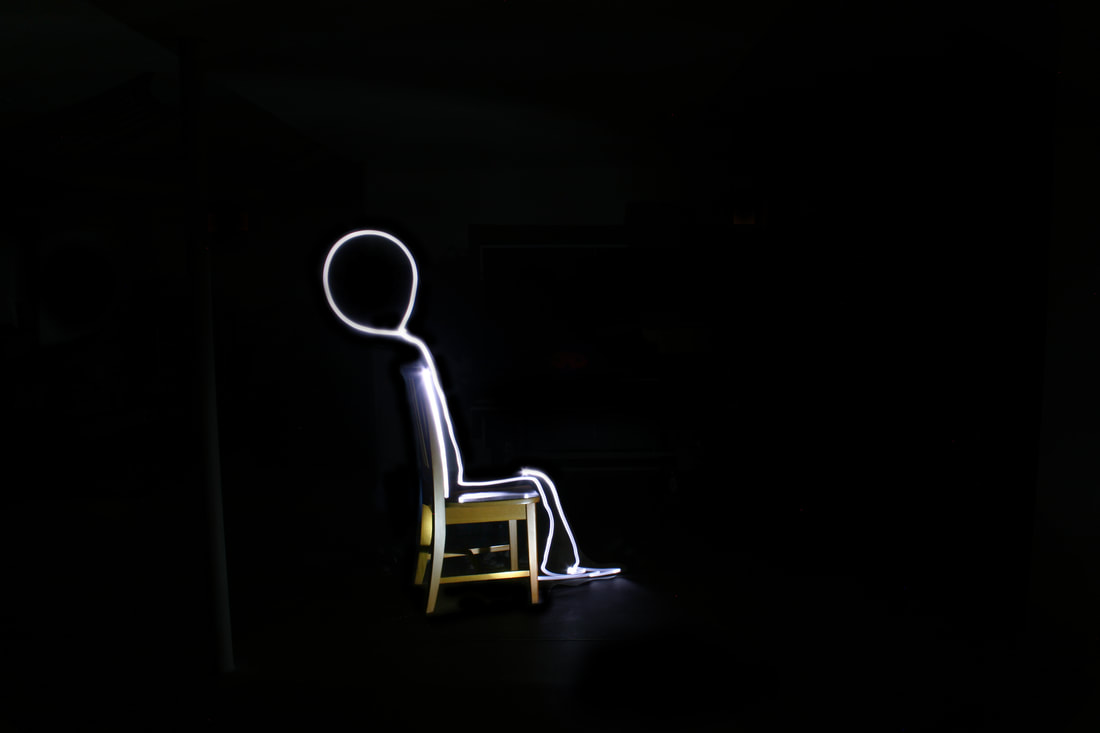
For this photo assignment, I was tasked with making a light painting. Light Painting is the process of leaving the camera shutter open for a long period of time while moving a light source around to create the effect of lines of light in the air. To accomplish this, I went in both the garage and basement, turned all the lights off, and set the camera in manual mode to make sure it didn't focus on anything else. I took a lot of pictures, but this one has to be the best.
When I took this photo, the ISO was set to 100, the aperture was set to 10, and the shutter speed was set to 30. To make the original photo better, I went into Adobe Photoshop and raised the brightness as well as make the rest of the background darker to get rid of distractions. 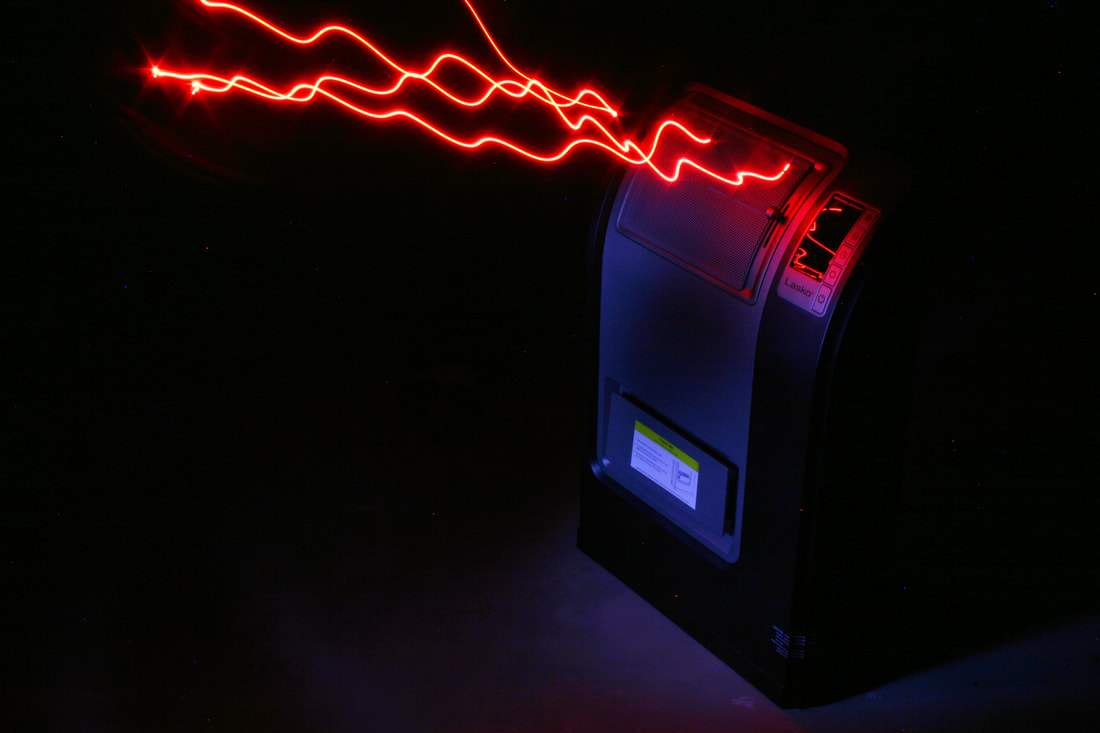 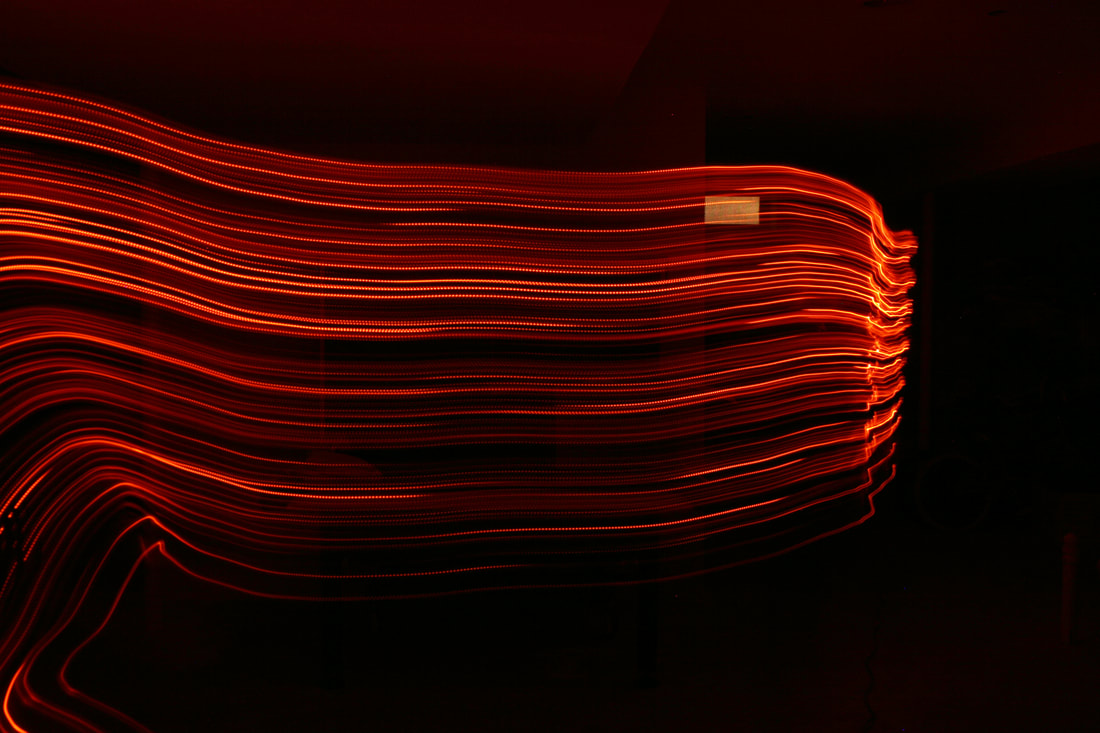 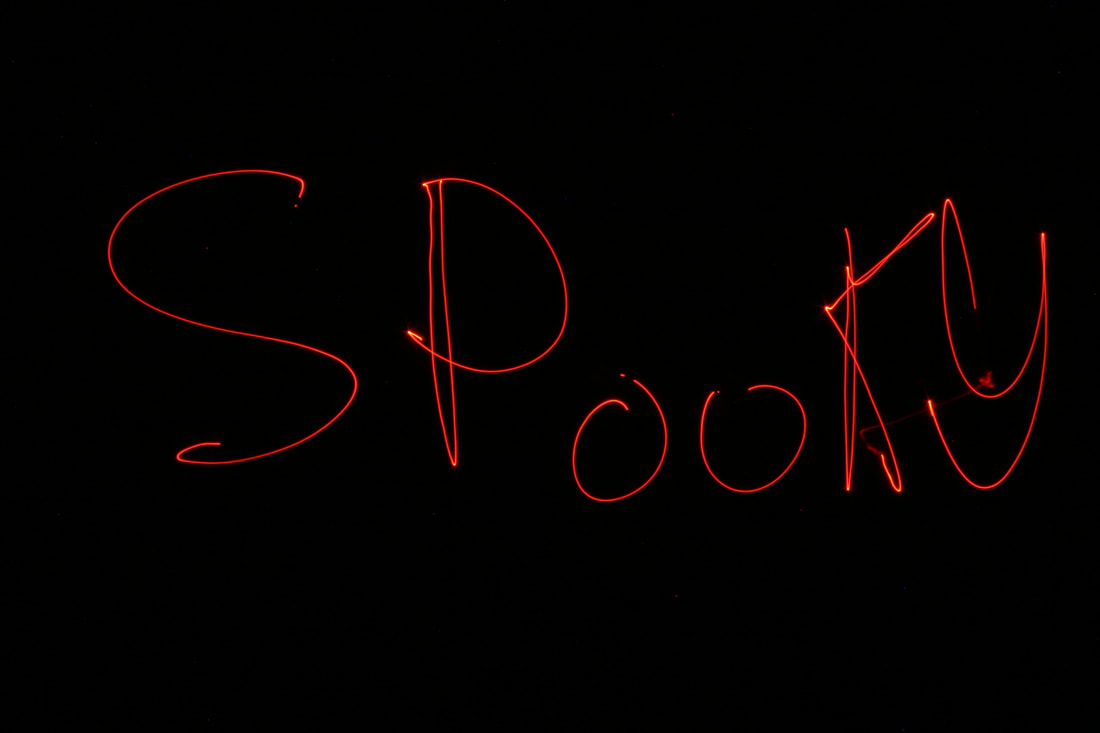 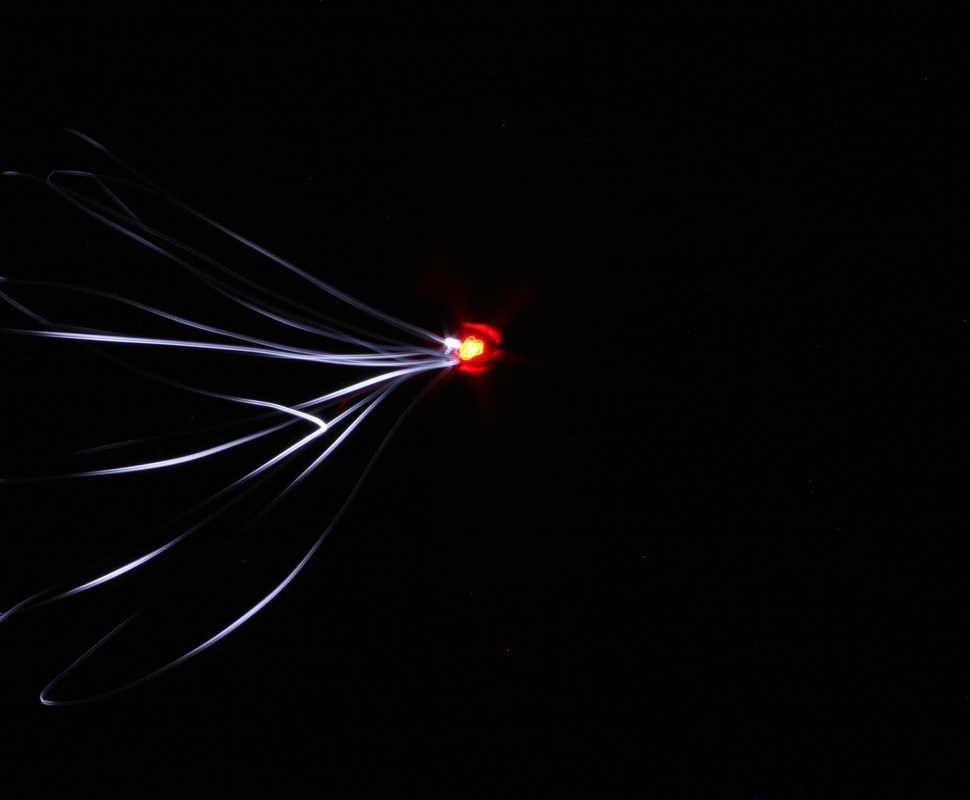 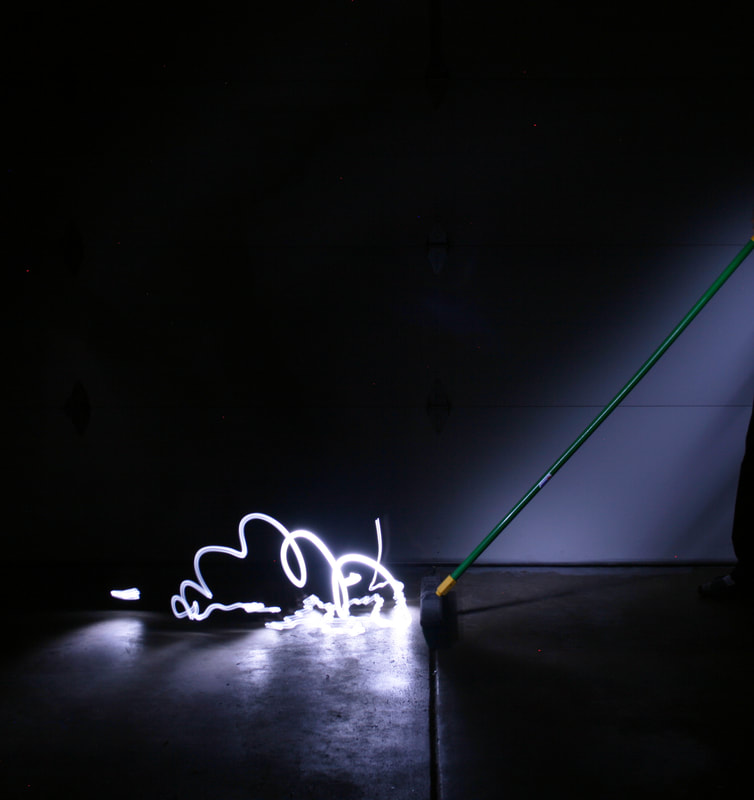 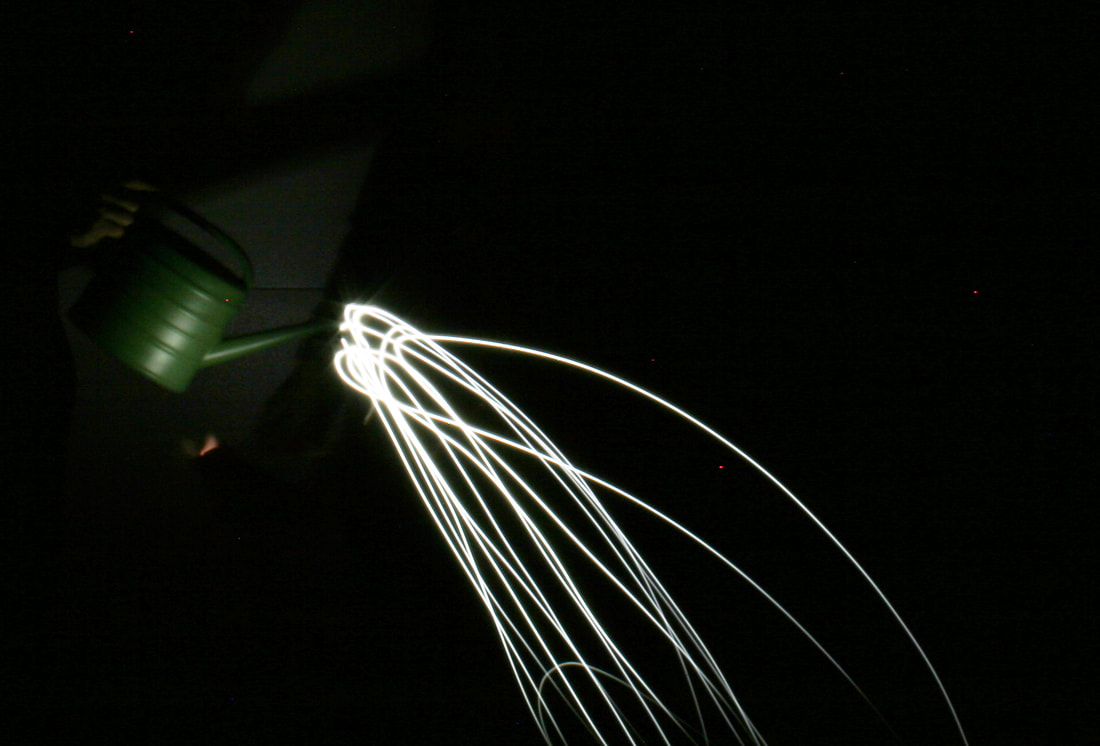 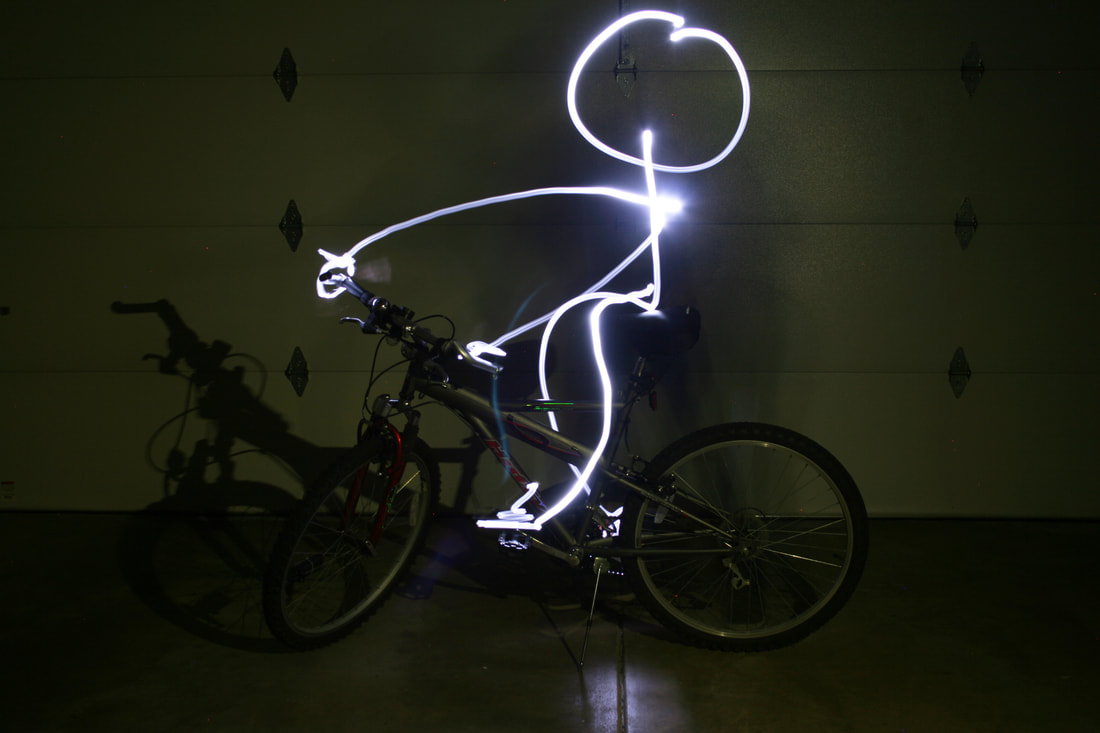 Through this assignment, I learned how to use the shutter speed and manual focus settings better. By learning to use manual focus, I was able to make sure the light and subject stayed in focus. Since it was a dark and the shutter speed was enough to capture all the light necessary, I didn't really have to adjust the ISO setting for I could keep it low and still have an image that captured all the light I needed. By adjusting the shutter speed, I was able to shoot may wonderful pictures of moving light at my house.
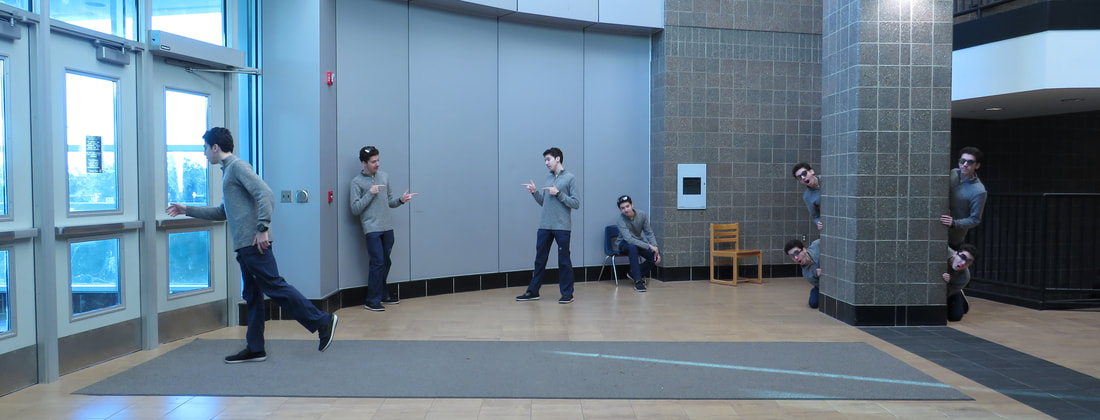
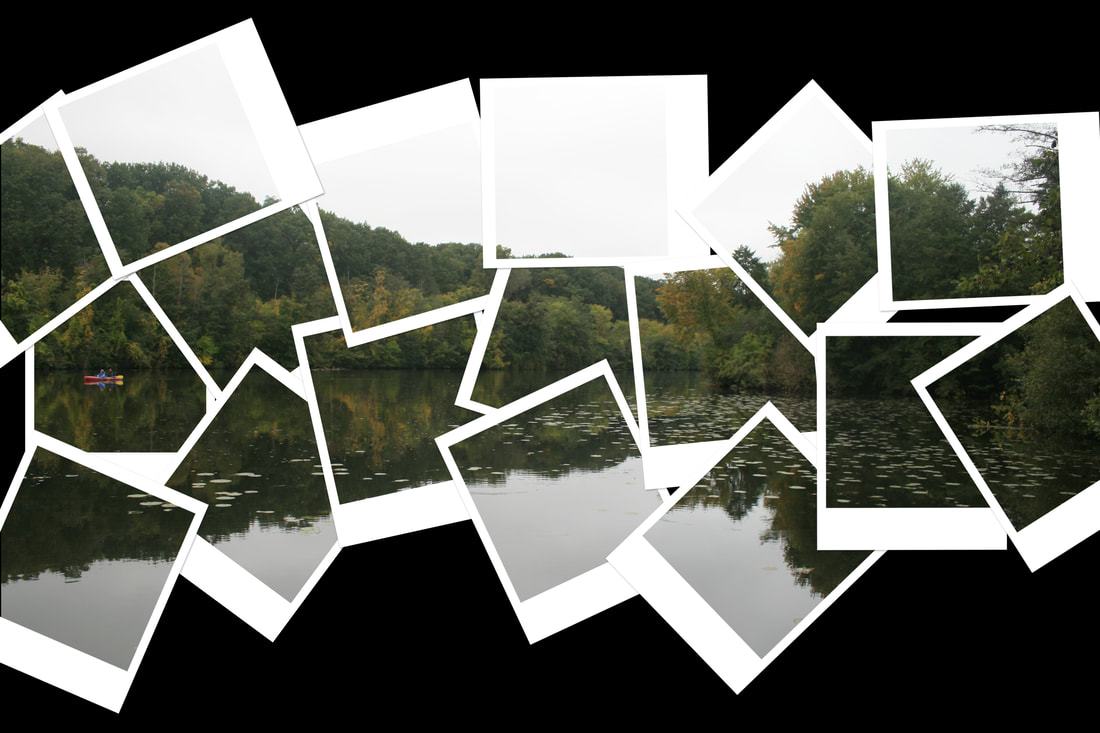
 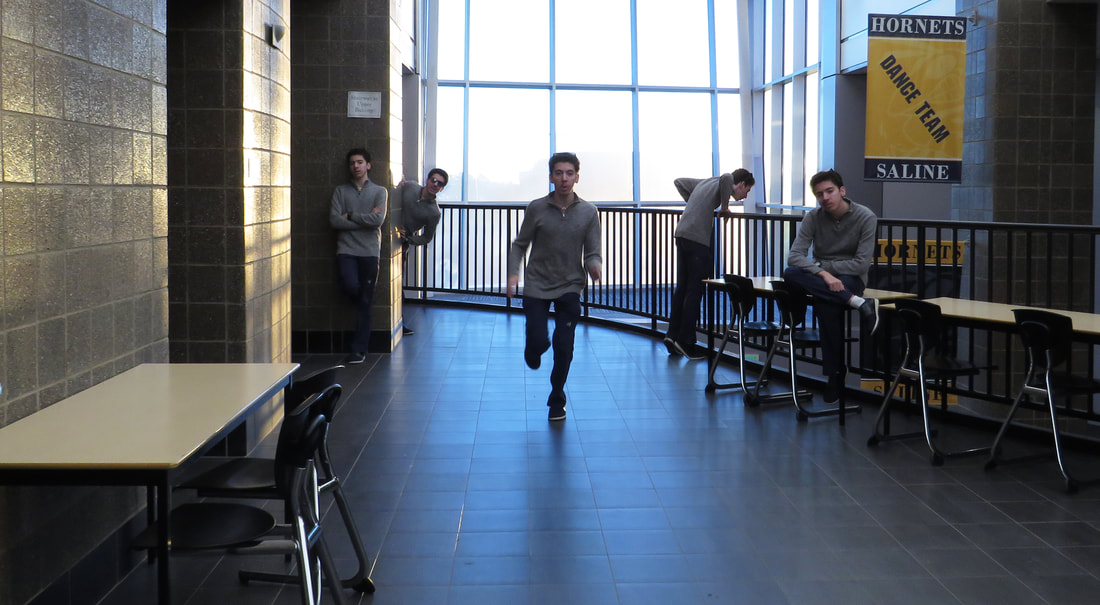 For this assignment, we had to take multiple pictures of ourselves and put them into one scene. To do this, we had to put our camera into manual mode and adjust the various settings to maintain a constant exposure with every photo taken. We then had to utilize the stacks feature in photoshop and then mask each version of yourself.
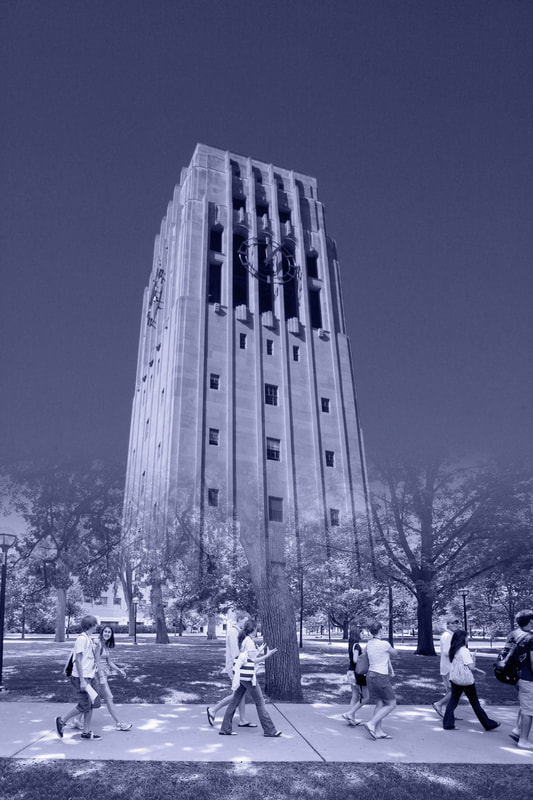
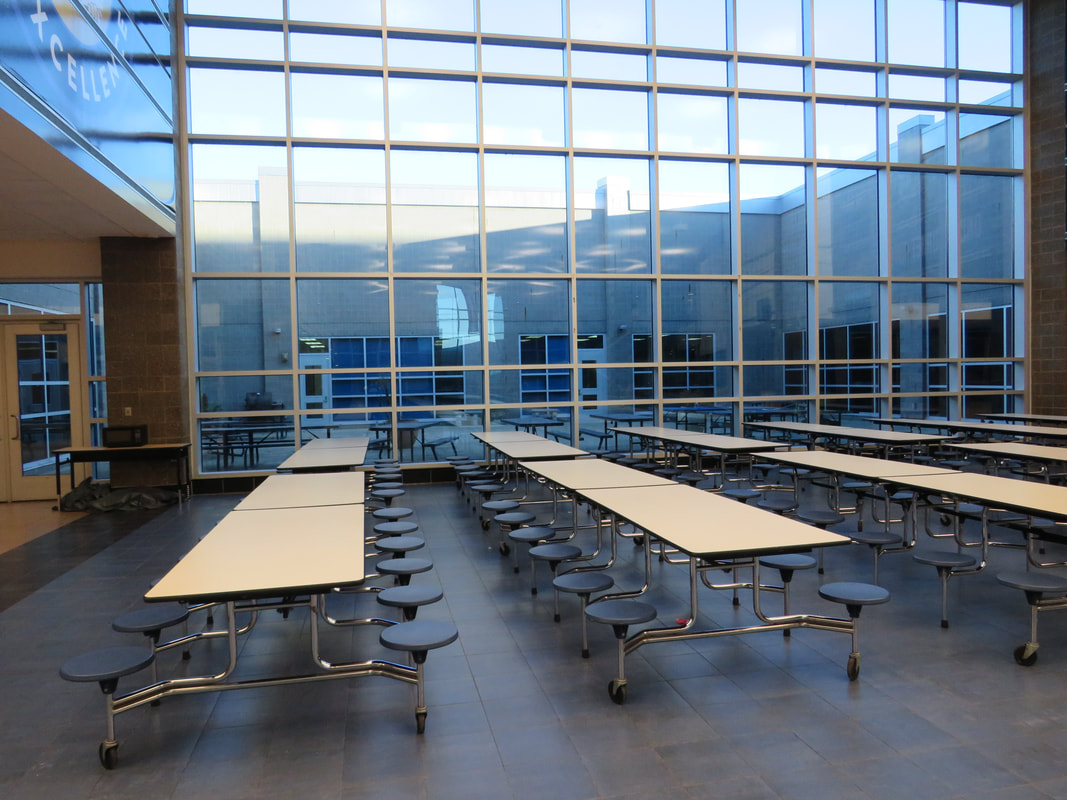
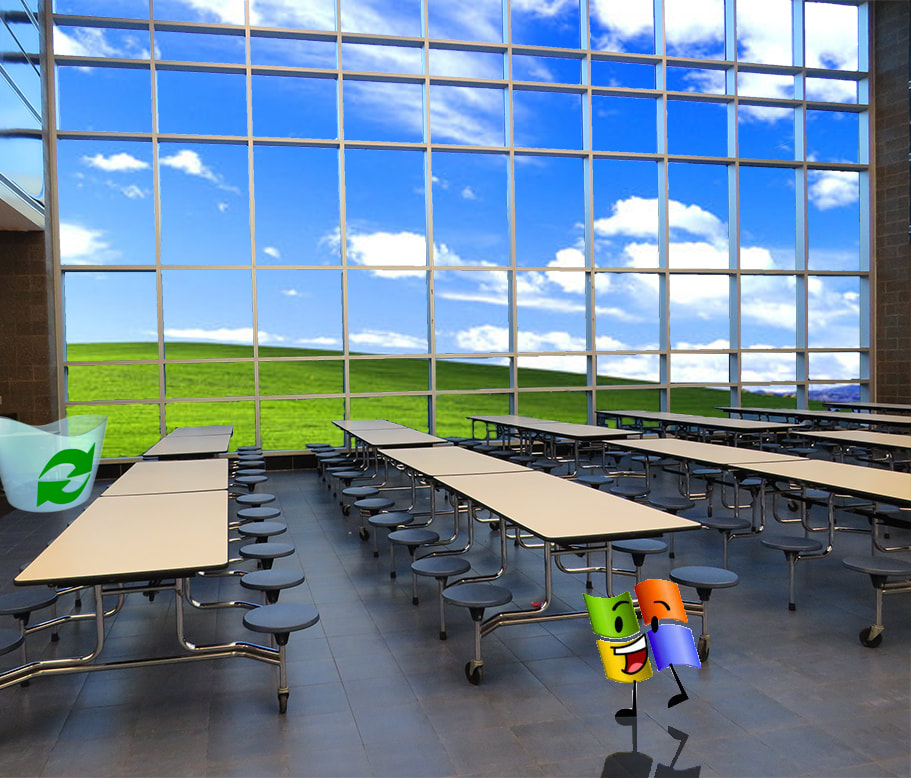
For this assignment, we were tasked with taking a photo of our school and adding things into it. To be able to do this, one must get a good picture and be able to have the patience to select and delete multiple parts of the picture. To accomplish this, we had to learn how to better use the different types of selecting modes as well as create a realistic shadow. From this assignment, I was able to learn how to use all the different types of select modes in photoshop.
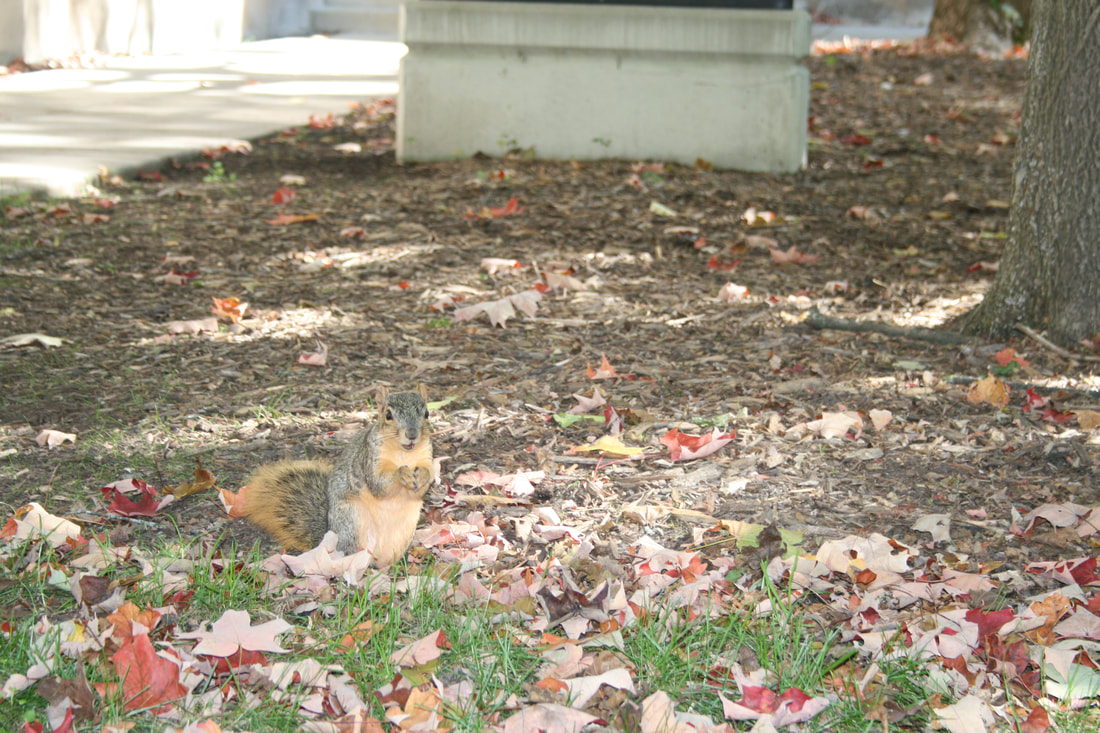
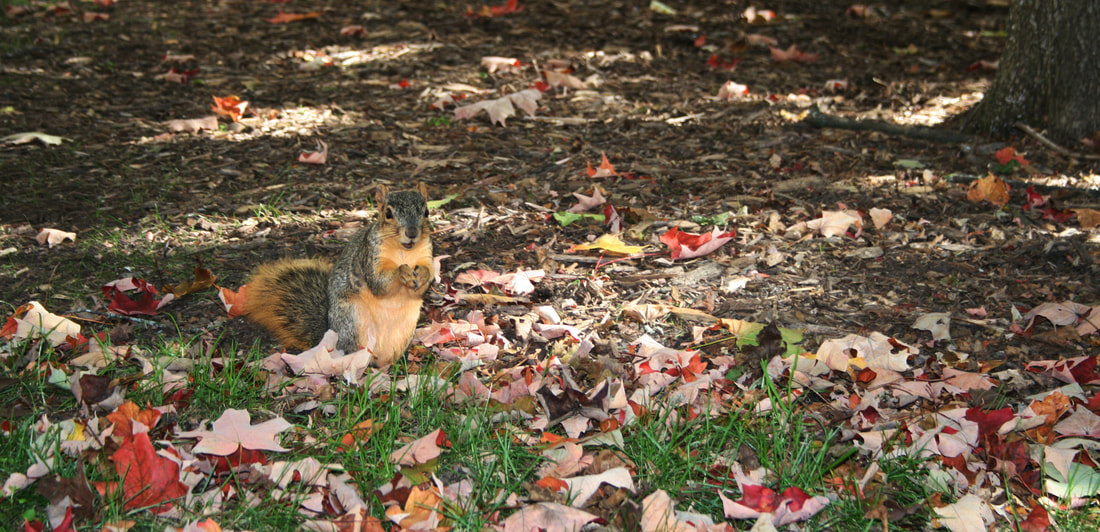
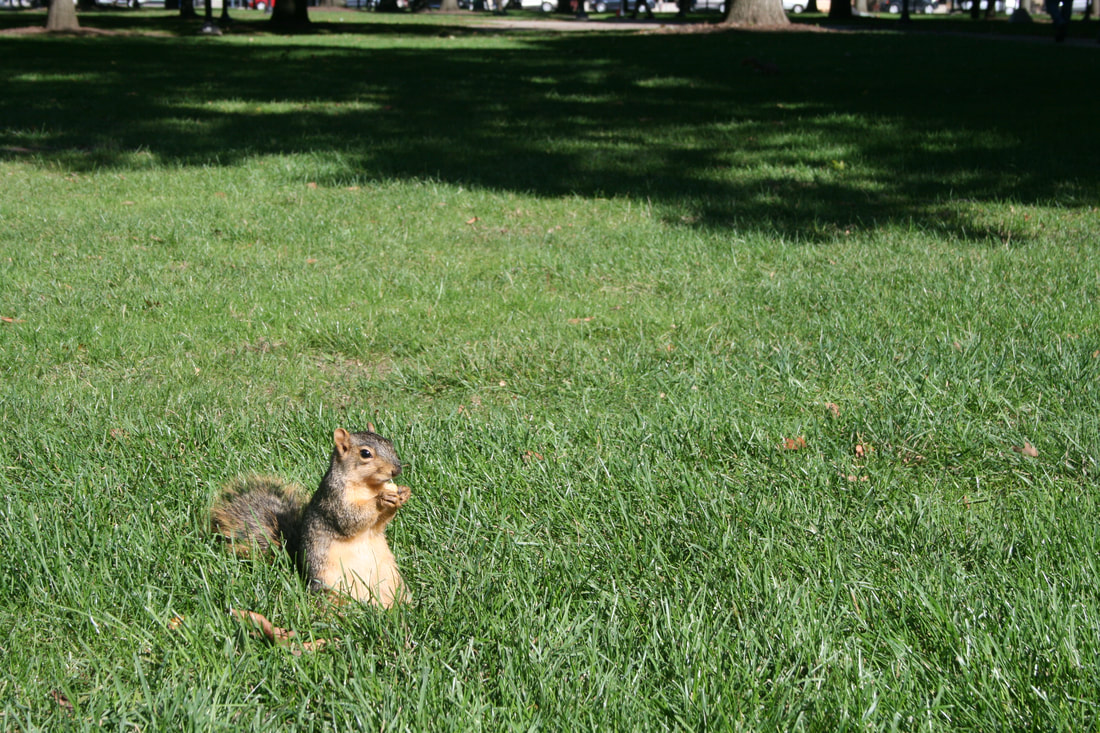
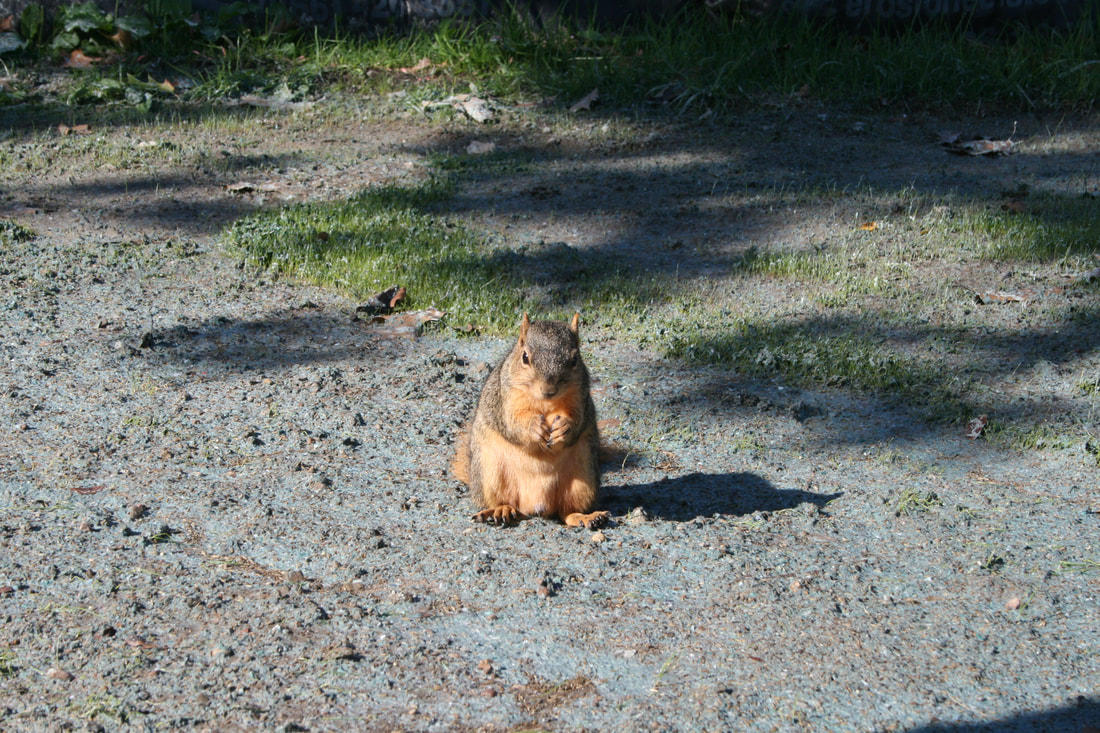
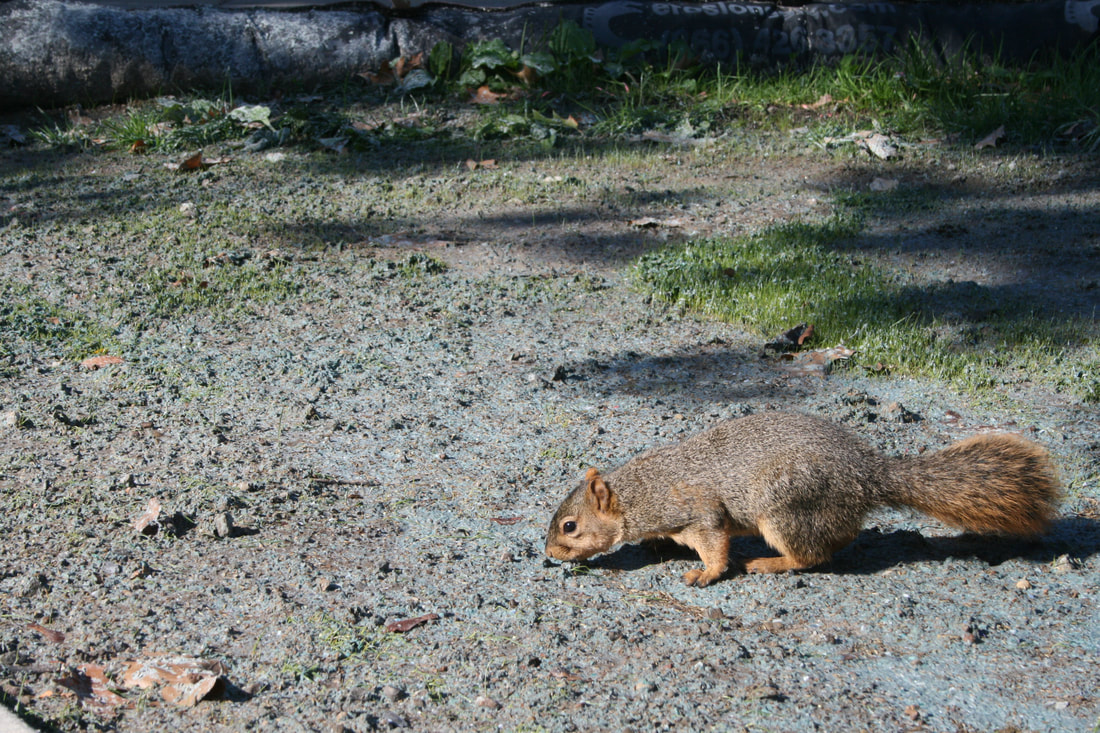
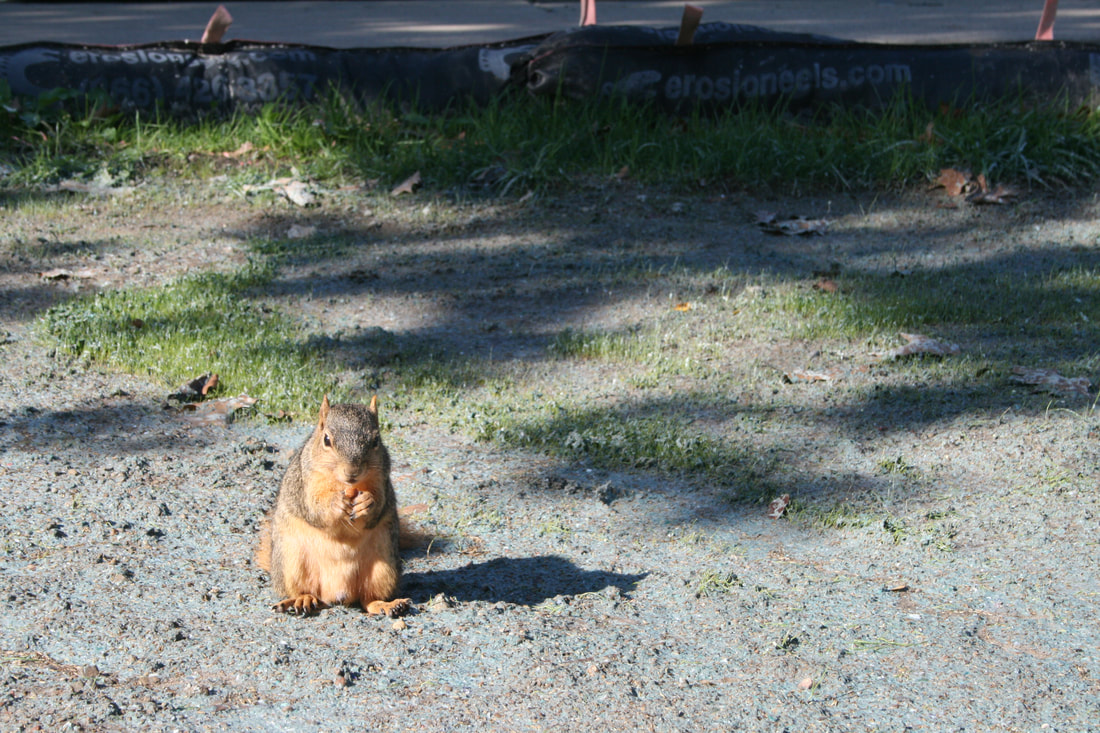
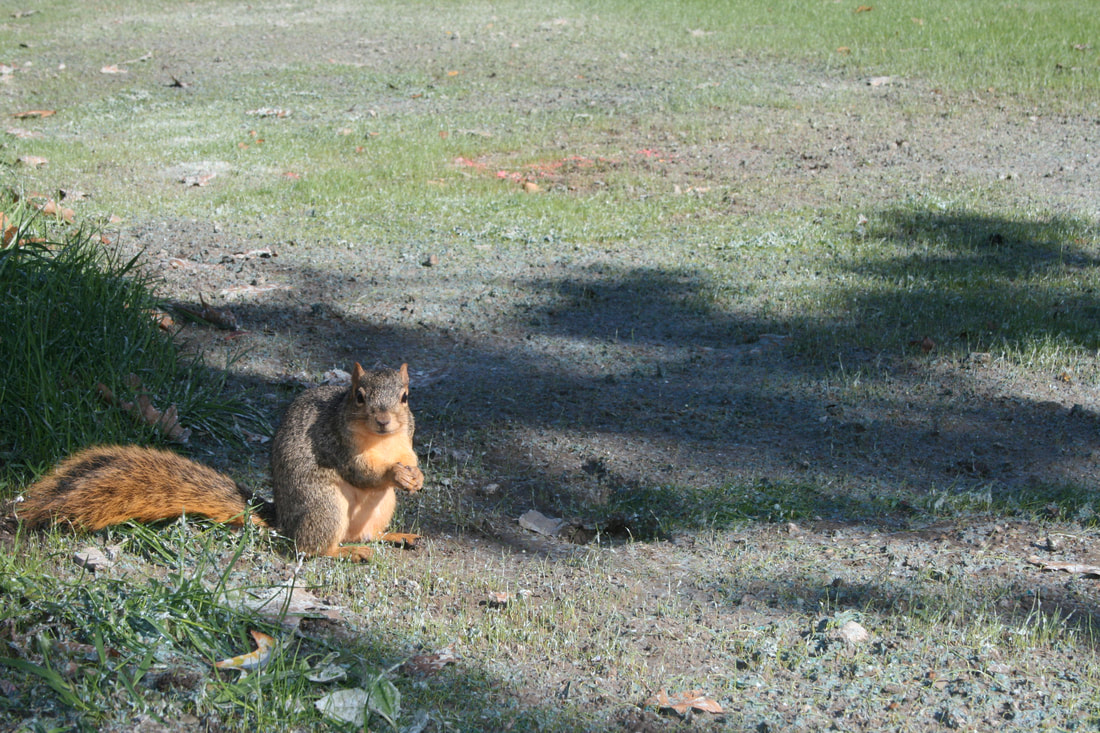
For this photo assignment, I was tasked with taking a photo that captures the natural beauty of an animal. To accomplish this, I went to Ann Arbor and walked around for about an hour and stopping every time I saw a squirrel to give it a couple of nuts. With all the photos I took that day, this one, in my opinion, is the best.
When I took this photo, the ISO was set to 400, the aperture was set to 5.6, and the shutter speed was set to 1/80. To make the original photo better, I went into Adobe Photoshop and lowered the brightness while increasing the contrast to really make the colours of the setting around the squirrel pop out as well as to decrease the white wash effect in the original photo. I also cropped it in order to remove distractions from the background and draw the viewer's eye to the main focus, the squirrel. Through this assignment, I learned how to use the aperture setting better. By learning to use the aperture, I was able to create a medium depth of field to capture the squirrel and the foreground, but have the background slightly blurred out. Since it was a bright and sunny day, I didn't really have to adjust the ISO setting for I could keep it low and still have an image with a good exposure. By adjusting the aperture, I was able to shoot may wonderful pictures of the squirrels in Ann Arbor.
|